Keyframe interpolation – Apple Color 1.5 User Manual
Page 353
To move a keyframe while updating the previewed image
µ
Press Option while dragging a keyframe to the left or right.
If you need to, you can also make the keyframe graph in the Timeline taller, to make it
easier to see what you're doing. For more information, see
You can also use the keyframe graph to navigate to a room with keyframed effects.
To open the room corresponding to a keyframe track
µ
Double-click any keyframe track in the Timeline.
Keyframe Interpolation
The interpolation method that a keyframe is set to determines how settings are animated
from one keyframe to the next. There are three possible types of interpolation:
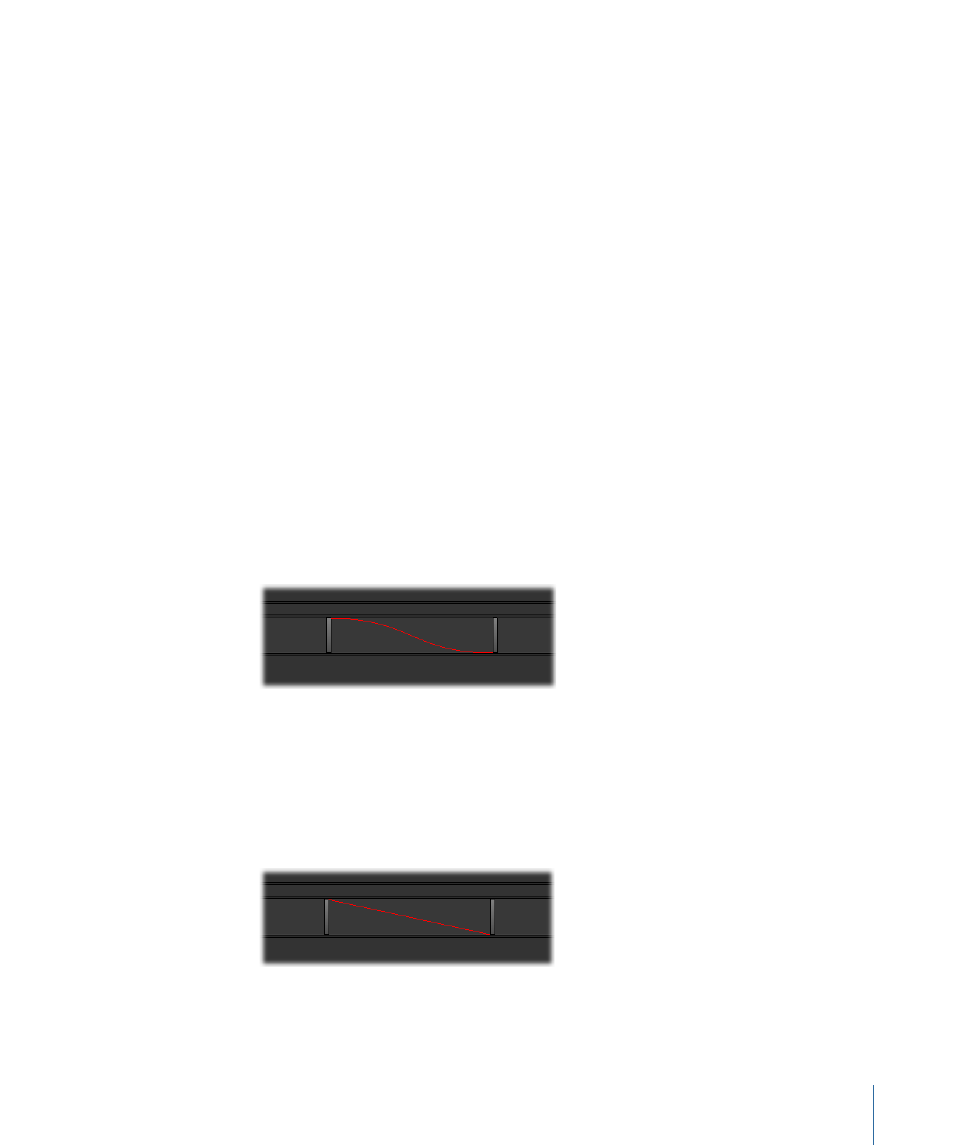
• Smooth: Smooth keyframes begin the transition to the next keyframed state slowly,
reaching full speed in the middle of the transition and then slowing down to a stop at
the next keyframe. This "easing" from one keyframe to the next creates transitions
between color corrections, animated Color FX node parameters, Pan & Scan settings,
and animated user shapes that look and move smoothly and naturally. However, if you
have more than two keyframes, your effect will seem to pause for one frame as the
playhead passes over each keyframe, which may or may not be desirable.
• Linear: Linear keyframes make a steady transition from one keyframed state to the
next, with no acceleration and no slowing down. If you use linear keyframes to animate
an effect that happens somewhere in the middle of a shot, the animated effect may
appear to begin and end somewhat abruptly. On the other hand, if you are keyframing
an animated effect that begins at the first frame and ends at the last frame of the shot,
the appearance will be of a consistent rate of change.
353
Chapter 14
Keyframing