Importing media directly into the timeline – Apple Color 1.5 User Manual
Page 105
Importing Media Directly into the Timeline
You also have the option of importing media files to the Timeline directly, which lets you
use Color to process digital dailies and convert DPX or Cineon image sequences to suitable
QuickTime formats. You can import individual shots, or entire folders of shots.
For more information on doing batch DPX to QuickTime conversions, see
Cineon and DPX Image Sequences to QuickTime
.
To import a single shot into the Timeline
1
Do one of the following:
• Choose File > Import > Clip.
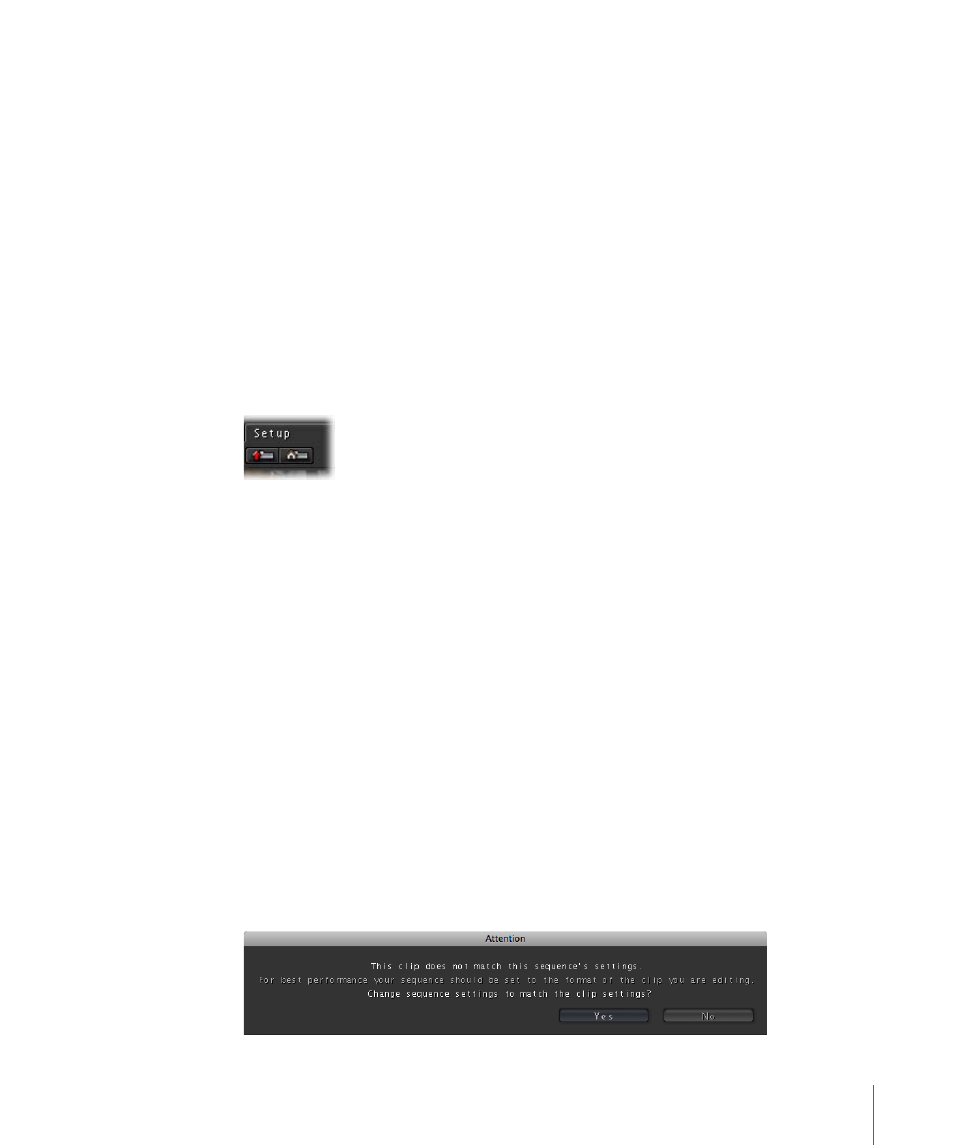
• Click the Setup tab.
2
Use the navigation controls at the top left of the file browser to find the directory
containing the media you want to import.
Tip: If the media you need is on another hard drive, click the Up Directory button
repeatedly until you’re at the top level of your computer’s directory structure, then
double-click the Volumes directory to open it. This will provide you with a list of all the
hard drives and partitions that are currently mounted on your system. From here, it should
be easy to find the media you need.
3
Double-click the directory to open it, then click to select an individual media file to import
into the Timeline.
4
Do one of the following:
• Double-click the shot in the file browser to edit the shot into the Timeline at the position
of the playhead.
• Drag the shot directly into the Timeline.
• Click the Import button below that shot’s preview to edit the shot into the Timeline at
the position of the playhead.
5
If you import a shot into an empty Timeline in Color, you’ll be asked if you want to change
the project settings to match those of the shot you’re importing. Click Yes if you want to
do so. (This is recommended.)
105
Chapter 4
Importing and Managing Projects and Media