Installing the dds auto-changer – Toshiba Magnia 7010 User Manual
Page 70
Installing Hardware
Installing the DDS auto-changer
54
Installing the DDS auto-changer
NOTE: When a DDS auto-changer is installed, you cannot install the
redundant fan unit.
The Magnia7010 offers a Digital Data Storage (DDS) auto-changer unit. To
install the DDS auto-changer:
1 If the server is running, shut it down, set the AC switch on the back of the
server to OFF and unplug the power cable.
2 Remove the server cover. For more information, see “Removing and
replacing the server panels” on page 19.
3 Remove the device bay bezel and spacer as shown in “Removing a device
bay spacer” on page 49.
4 Remove the FAN module. See “Fan module installation/removal” on
page 37.
5 Remove the device bay’s rear cover. See “Installing a SCSI device” on
page 50.
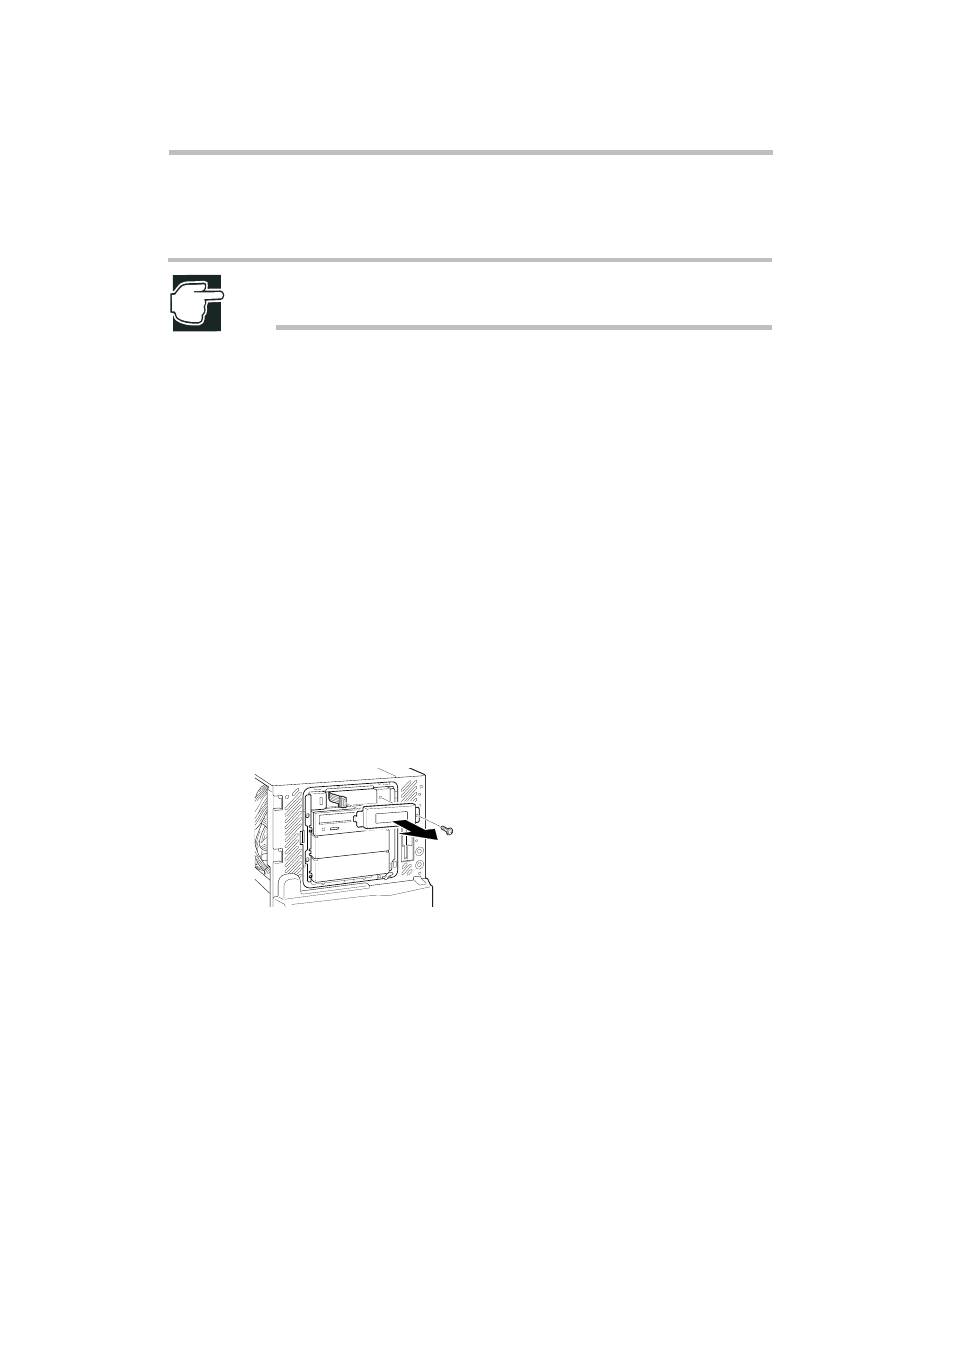
6 Disconnect the power and signal cables for the CD-ROM drive.
7 Remove the CD-ROM drive.
8 Remove the LCD module.
9 Remove the six screws securing the 5.25-inch drive chassis and remove the
chassis.
- Bluetooth USB Adapter (PA3710) (20 pages)
- Dynadock U10 (44 pages)
- Slim Port Replicator III (31 pages)
- JournE Air800-801 (706 pages)
- JournE Air800-801 (829 pages)
- JournE F800-F801 (244 pages)
- JournE F800-F801 (178 pages)
- Camileo X450 (47 pages)
- External SuperMulti Drive (533 pages)
- Satellite Pro P100 (PSPA4) (172 pages)
- Satellite P100 (PSPAA) (170 pages)
- Qosmio G20 (PQG20) (264 pages)
- Portege R200 (PPR21) (184 pages)
- Camileo P100 (51 pages)
- Satellite Pro 4310 (238 pages)
- Satellite Pro 4310 (230 pages)
- Satellite Pro 4310 (238 pages)
- Satellite Pro 4310 (248 pages)
- Camileo X400 (55 pages)
- Satellite 2650 (208 pages)
- Satellite 2650 (222 pages)
- Satellite M60 (168 pages)
- Equium A210 (170 pages)
- Camileo P25 (47 pages)
- Equium 8000 S-D (80 pages)
- Equium M40 (190 pages)
- Satellite Pro L100 (PSLA4) (186 pages)
- Equium L30 (162 pages)
- Satellite Pro A100 (PSAA3) (162 pages)
- Portege R400 (198 pages)
- Satellite A100 (PSAA8) (187 pages)
- Equium A80 (176 pages)
- Satellite M40X (170 pages)
- Qosmio G30 HD-DVD (PQG31) (272 pages)
- Qosmio F30 (PQF30) (276 pages)
- Equium L20 (178 pages)
- Dynadock W20 (62 pages)
- Satellite Pro U200 (236 pages)
- Satellite M40 (PSM40) (201 pages)
- Gigaframe L80-81 (870 pages)
- Satellite L30 (PSL30) (150 pages)
- Satellite L10 (170 pages)
- V1100 (76 pages)
- Satellite P30 (165 pages)
- Equium A100 (PSAAQ) (171 pages)