Comtech EF Data CTOG-250 User Manual
Page 135
CTOG-250 Comtech Traffic Optimization Gateway
Revision 1
Ethernet-based Remote Product Management
MN-CTOG250
7–33
QoS Upgrade Considerations:
• Upon upgrading from FW Ver. 1.2.x to FW Ver. 1.3.x, all user-defined QoS rules will be put
into the Default QoS Group.
• Upon upgrading from FW Ver. 1.3.x to FW Ver. 1.4.x, all user-defined QoS Groups and rules
will be remain exactly as they were. The one exception is that in FW Ver. 1.3.x each QoS
Group had a Max MODCOD attribute.
• When upgrading to FW Ver. 1.4.x, this value will be changed to the “VCM only MODCOD”.
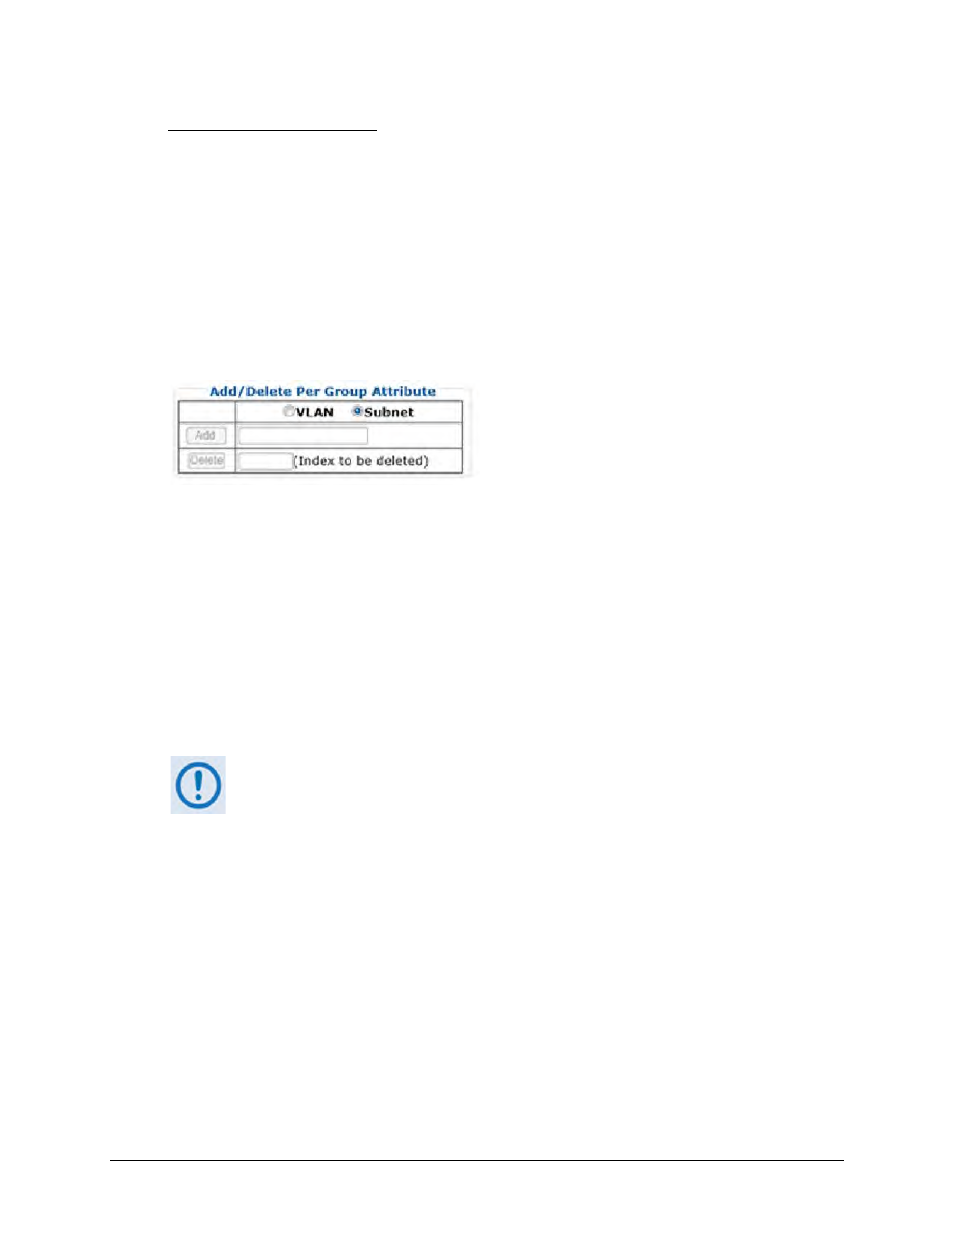
Add / Delete Per Group Attribute
When more than one group is created, use the controls in this section to configure an attribute.
Click Subnet to configure a subnet assigned to the group. All traffic within the configured subnet
will be routed through this QoS Group. If the QoS Group subnets should overlap, then the first
QoS Group will be used for traffic.
Click VLAN to configure a VLAN ID assigned to the group. All traffic with the configured VLAN ID
will be routed through the QoS Group. If more than one QoS Group has the same VLAN ID, then
the subnet will be used to match the packet to the correct QoS Group.
Note: The system must be in BPM mode in order to use the VLAN ID to match packets to a QoS
Group.
IMPORTANT – Starting in v1.5.1.x, once traffic for a given Remote Site matches to a
QoS Group, the Remote Site list will be automatically populated for that QoS
Group. The Remote Site must show up in the QoS Group Remote Site list in order
for the ACM/VCM Controller to use the correct MODCOD for that Remote Site.
Once traffic is no longer passing for
xx
minutes, the Remote Site will be
automatically timed out and remove from the QoS Group.
The list of Remote Sites that match a QoS Group is listed as part of the QoS Group page.
• To add a new group VLAN ID – Enter the VLAN ID (1-4094), and then click [Add].
• To add a new group subnet – Enter the subnet in xxx.xxx.xxx.xxx/yy format, and then click
[Add].