4 calculation function, Reference, Setting v a ri o us f u nct ion s ig-e – KEYENCE IG Series User Manual
Page 108: Judgment output

4-4 Calculation Function
4-50
4
Setting V
a
ri
o
us
F
u
nct
ion
s
IG-E
Note
• When the 2 heads mode is used, the functions of the "main unit" are
restricted as below.
1. Measurement mode : Only the Edge control/Positioning mode or
Glass edge mode selectable
"1. Measurement mode" (page 4-8)
Zero shift function : The zero shift is canceled temporarily. After that, the zero
shift is effective only for the calculation value (CALC value),
and the internal measurement value (R.V.) is not shifted.
"3-7 Zero Shift Function (Shifting the Internal Measurement Value (R.V.))" (page 3-16)
• When the 2 heads mode is used, screens of "expansion unit 1" other
than the following setting screens are not displayed.
4. Output mode, 9. Edge check function, 11. External input, 12. Saving
the standard waveform function,15. Displayed digit, 16. Power saving
indication, 17. Position monitor, 18. Display color
"4-2 Basic Settings and Advanced Settings" (page 4-4)
• When the 2 heads mode is used, the functions of the "expansion unit
1" are restricted as below.
1. Measurement Mode: Fixed to the same mode as the one for the main unit
2. Measurement direction: Fixed to "Top"
3. Average number of times (Response time): Fixed to the same setting as
the one for the main unit
11. External inputs: The zero shift input, timing input and reset input
are disabled.
"4-2 Basic Settings and Advanced Settings" (page 4-4)
Zero shift function: The zero shift is canceled. Cannot be used any more.
"3-7 Zero Shift Function (Shifting the Internal Measurement Value (R.V.))" (page 3-16)
Tolerance setting: The tolerance tuning and two-point tuning cannot be used.
"3-6 Setting the Tolerance Setting Value" (page 3-11)
Judgment output:
Outputs other than the error output during error are not output.
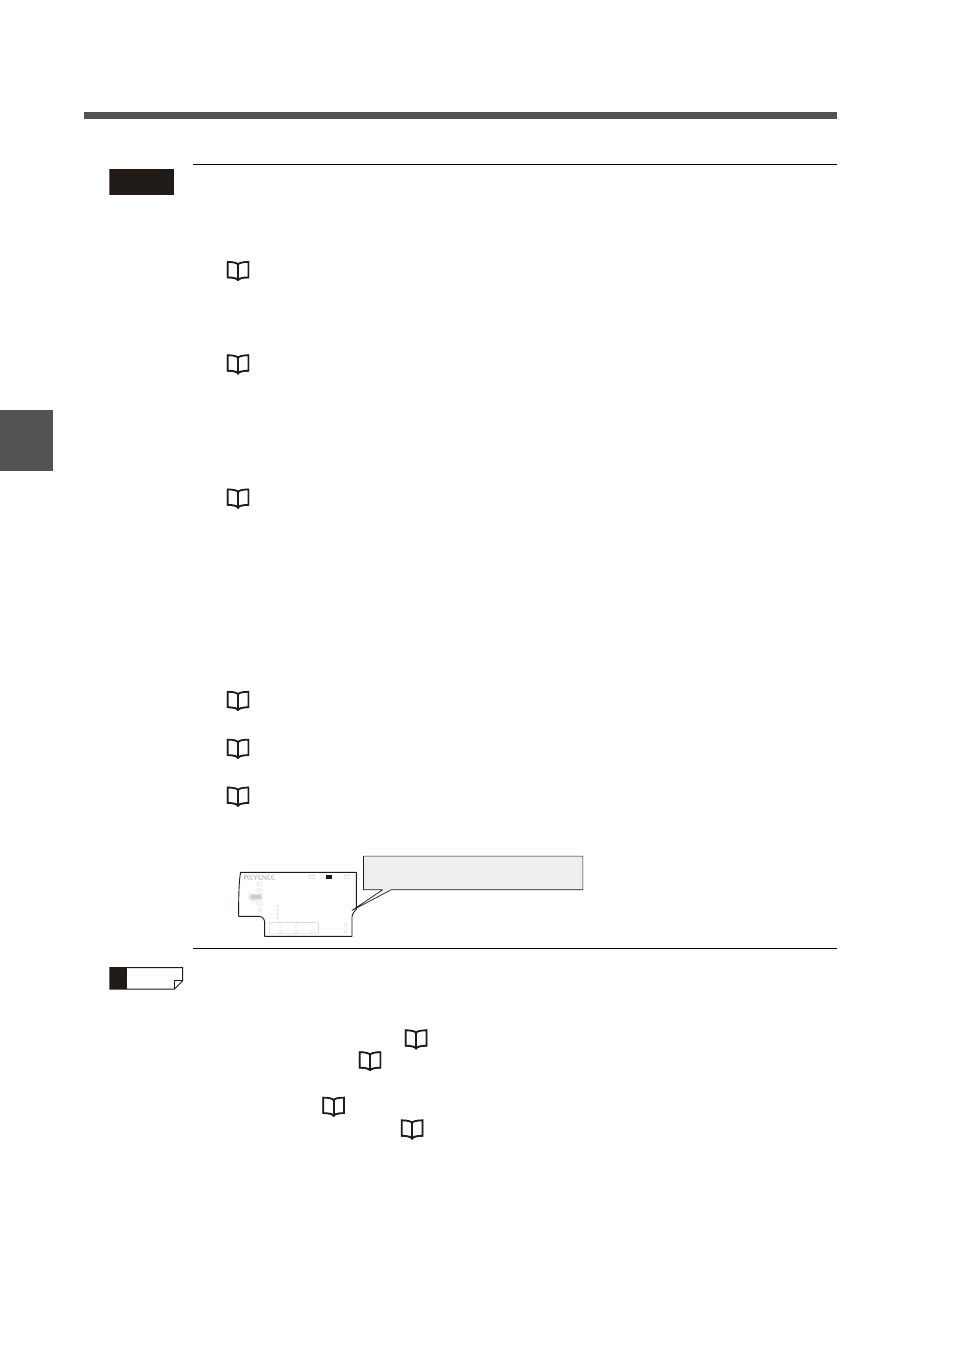
• When the 2 heads mode is used, the display of the "expansion unit 1" is as below.
Reference
• The display range of the main unit’s judgment value (P.V.) is changed to
-999.99 to 999.99. Therefore, the following setting range is changed to -999.99 to
999.99 and the value already set becomes ten-fold.
Tolerance setting value
"3-6 Setting the Tolerance Setting Value" (page 3-11)
Shift target value
"3-7 Zero Shift Function (Shifting the Internal
Measurement Value (R.V.))" (page 3-16)
Trigger level
"5. Hold function" (page 4-20)
Analog Output Scaling "10.
Analog output scaling" (page 4-32)
• The setting range of the tolerance setting width ("3-6 Setting the Tolerance Setting
Value" (page 3-11)) is changed to 0.00 to 999.99 and the value already set
becomes ten-fold.
• The setting range of the hysteresis ("8. Hysteresis" (page 4-30)) is changed to
0.00 to 99.99. (The value already set will not become ten-fold.)
LASER
BANK
0
1
2
3
HI
LO
R.V.
ANALOG
HI
SHIFT
ZERO SHIFT
TIMING
LO
ALIGNMENT
*'#F
HOLD
CALC
CHECK
GO
Internal measurement value (R.V.)
of the expansion unit 1
