The rendercamera angle – Apple Shake 4 User Manual
Page 490
490
Chapter 18
Compositing With the MultiPlane Node
Using and Navigating Within the Perspective Angle
In addition, there is a single non-isometric angle, Perspective (Persp). This is the only
pane where you can transform a layer’s X, Y, and Z parameters all at once.
In addition to panning and zooming to navigate within this angle, you can also orbit
the Perspective angle.
To orbit the Perspective view:
m
Move the pointer within a pane displaying the Perspective angle, press X, and drag
with the middle mouse button held down.
The Perspective angle rotates about the perspective view’s orbit point.
To center the Perspective view on a selected object:
m
Select an object that you want to be the new position of the orbit point (the camera or
a layer), and press Shift-B.
The Perspective view’s orbit point is moved so that it is centered on the selected
object, and the view within that pane is repositioned to a default position.
Note: You can also use the Shift-B keyboard shortcut in the camera view. However,
Shift-B only changes the interestDistance parameter of the camera to best match the
position of the selected object.
The renderCamera Angle
The camera or angle that’s assigned to the renderCamera parameter in the Camera tab
is special, since it represents the final output of the MultiPlane node. Each MultiPlane
node is created with one default camera, named camera1. However, you can use the
copy button to create duplicate cameras, or import additional cameras into a
MultiPlane node by importing one or more .ma (Maya ASCII) files.
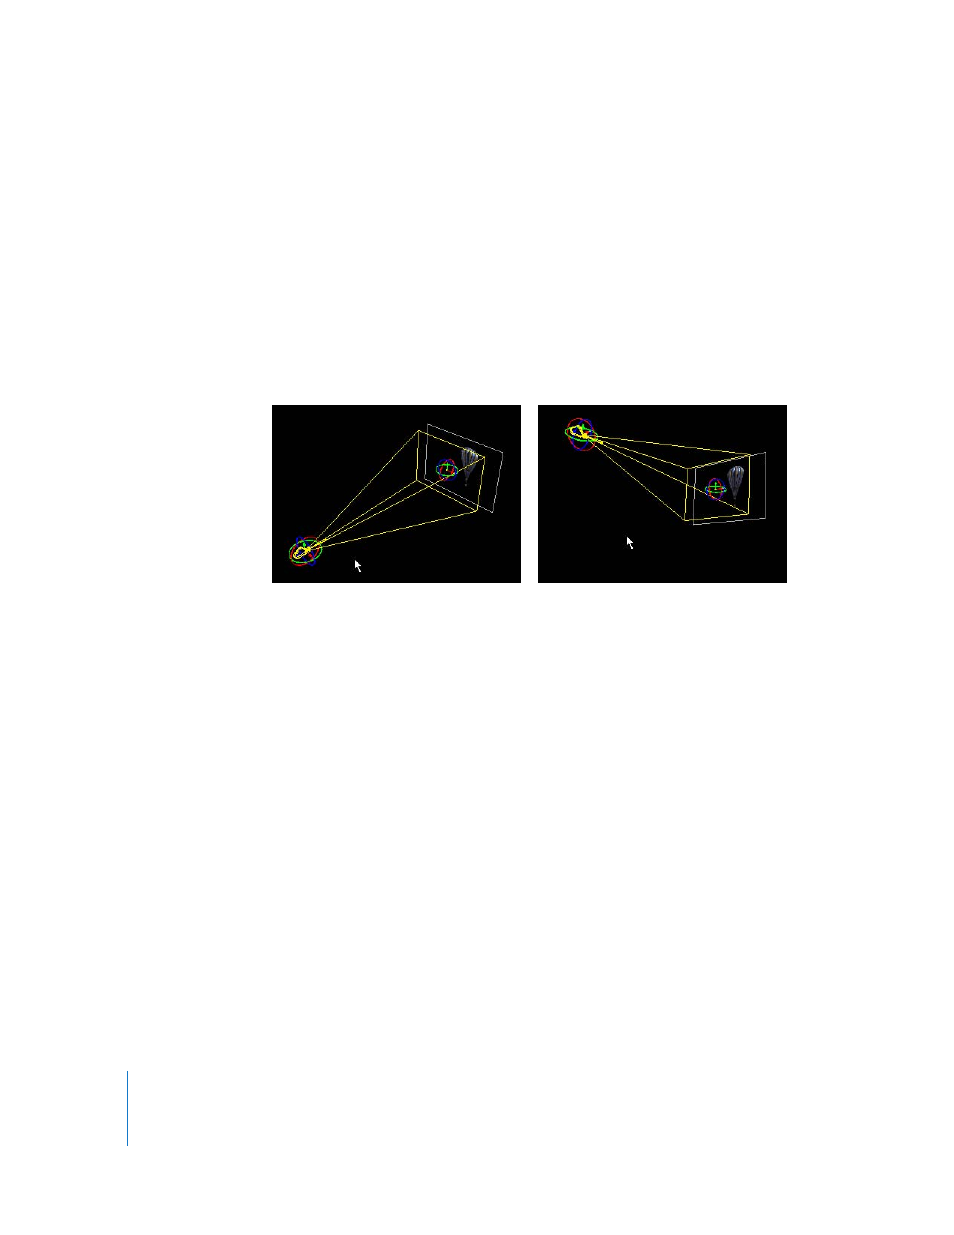
Before rotating the Perspective angle
Before rotating the Perspective angle
After rotating the Perspective angle