CONTREX CX-1200 User Manual
Page 170
5 - 77
EDIT BLOCK 7
0
*
0
*
0
*
0
*
P1/4
->NOT USED
Blk7 Val 1
Blk7 Val 2
Blk7 Val 3
Blk7 Val 4
->NOT USED
->NOT USED
->Line Spd SP
EDIT BLOCK 6
0
*
0
*
0
*
0
*
P1/4
->NOT USED
Blk6 Val 1
Blk6 Val 2
Blk6 Val 3
Blk6 Val 4
->NOT USED
->NOT USED
->Line Spd SP
EDIT BLOCK 1
0
*
0
*
0
*
0
*
P1/4
->NOT USED
Blk1 Val 1
Blk1 Val 2
Blk1 Val 3
Blk1 Val 4
->NOT USED
->NOT USED
->Line Spd SP
EDIT BLOCK 5
0
*
0
*
0
*
0
*
P1/4
->NOT USED
Blk5 Val 1
Blk5 Val 2
Blk5 Val 3
Blk5 Val 4
->NOT USED
->NOT USED
->Line Spd SP
EDIT BLOCK 2
0
*
0
*
0
*
0
*
P1/4
->NOT USED
Blk2 Val 1
Blk2 Val 2
Blk2 Val 3
Blk2 Val 4
->NOT USED
->NOT USED
->Line Spd SP
EDIT BLOCK 3
0
*
0
*
0
*
0
*
P1/4
->NOT USED
Blk3 Val 1
Blk3 Val 2
Blk3 Val 3
Blk3 Val 4
->NOT USED
->NOT USED
->Line Spd SP
EDIT BLOCK 4
0
*
0
*
0
*
0
*
P1/4
->NOT USED
Blk4 Val 1
Blk4 Val 2
Blk4 Val 3
Blk4 Val 4
->NOT USED
->NOT USED
->Line Spd SP
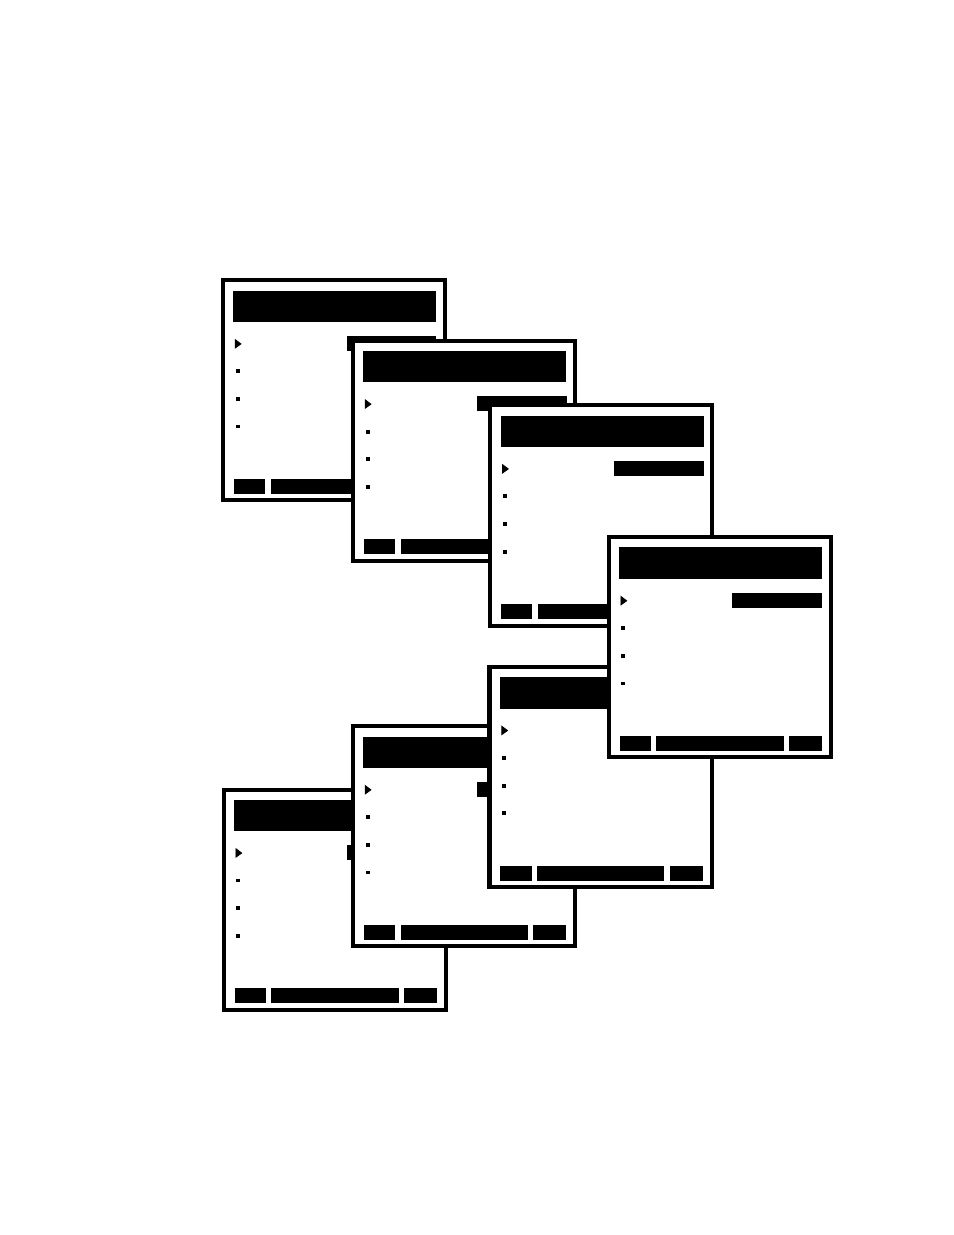
Use the Par keys to go scroll through the Block Setup menu and access the additional Edit Block
screens (1-7). The set up for these screens is identical to the Block 0 Edit Block screens that are
displayed on the previous pages. Enter the relevant Control Parameter values in these screens.