Configuring the lan port and pc port, Configuration files, Ip phone ui – AASTRA 6700i series, 9143, 9480i, 9480i CT SIP Administrator Guide EN User Manual
Page 190
41-001343-01 Rev 03, Release 3.2.2
4-27
Configuring the LAN Port and PC Port
You can configure the Ethernet port transmission method to use on the IP phones using the
configuration files, the IP Phone UI, or the Aastra Web UI.
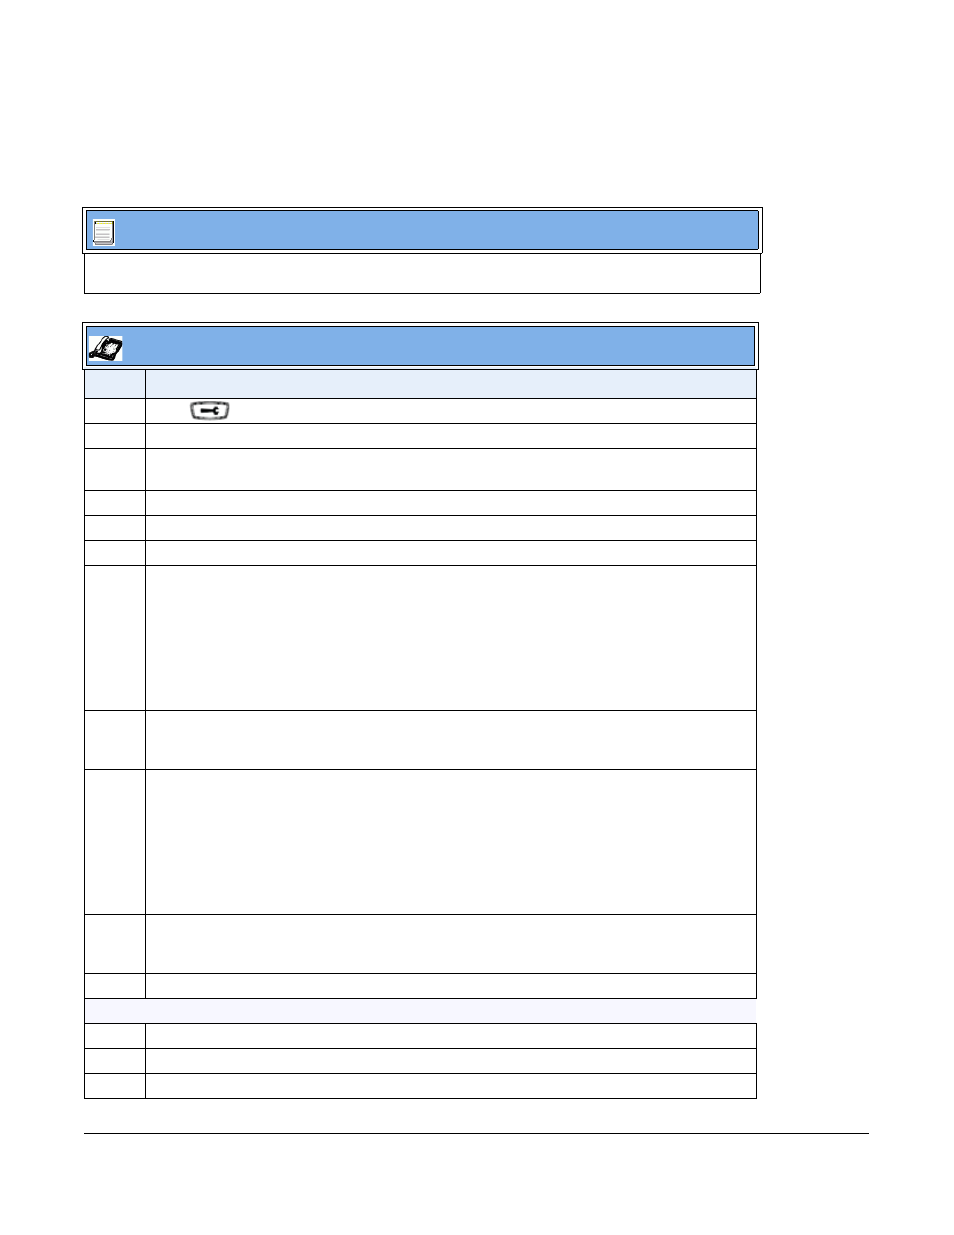
Configuration Files
For specific parameters you can set in the configuration files, see Appendix A, the section,
on
IP Phone UI
Step
Action
1
Press
on the phone to enter the Options List.
2
Select Administrator Menu.
3
Enter your Administrator password.
Note: The IP Phones accept numeric passwords only.
4
Select Network Settings.
5
Select Ethernet.
6
Select LAN Port Link.
7
Select a negotiation method to use on port 0 and press Done. Valid values are:
•
AutoNegotiation
•
FullDuplex 10Mbps
•
FullDuplex 100Mbps
•
HalfDuplex 10Mbps
•
HalfDuplex 100Mbps
Default is AutoNegotiation.
8
Select PC Port Link.
Note: PC Port Link parameters are not applicable to the 6730i IP Phone.
9
Select a negotiation method to use on port 1and press Done. Valid values are:
•
AutoNegotiation
•
FullDuplex 10Mbps
•
FullDuplex 100Mbps
•
HalfDuplex 10Mbps
•
HalfDuplex 100Mbps
Default is AutoNegotiation.
10
Press Done (3 times) to finish configuring the configuration server protocol for the IP phone.
Note: The session prompts you to restart the IP phone to apply the configuration settings.
11
Select Restart.
For the 6739i:
1
Press the Options key on the phone to enter the Options List.
2
Press Advanced. A keyboard displays.
3
Enter the Administrator password using the keyboard. Default is “22222”.