AASTRA 6700i series, 9143, 9480i, 9480i CT SIP Administrator Guide EN User Manual
Page 187
4-24
41-001343-01 Rev 03, Release 3.2.2
IP Phone UI
Step Action
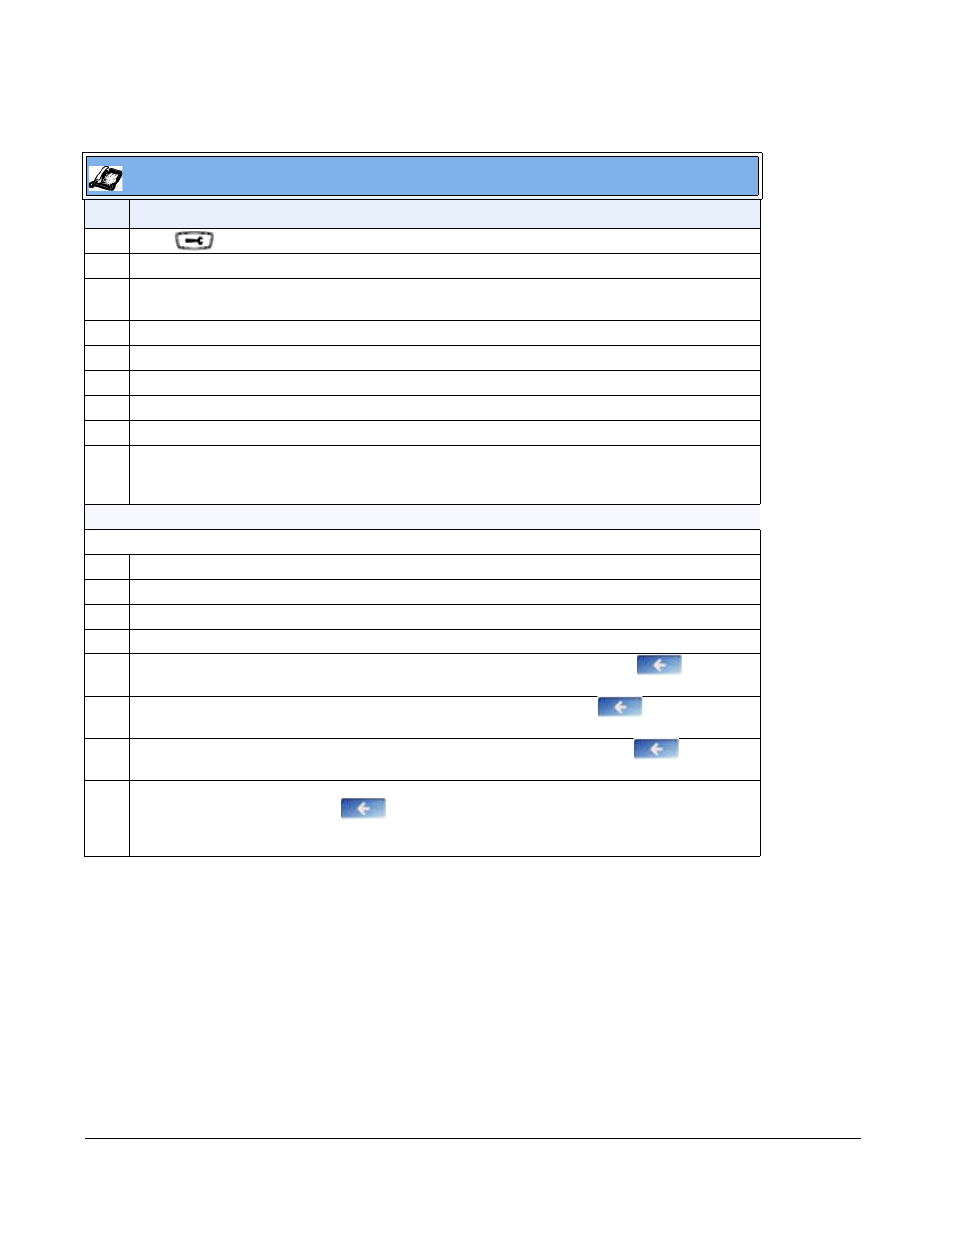
1
Press
on the phone to enter the Options List.
2
Select Administrator Menu.
3
Enter your Administrator password.
Note: The IP Phones accept numeric passwords only.
4
Select Network Settings.
5
Select IP Address and enter the IP address of the phone.
6
Select Subnet Mask and enter the subnet mask.
7
Select Gateway and enter the gateway address.
8
Select DNS and enter a Primary and/or Secondary DNS server.
9
Press Done to save the changes.
The IP phone is manually configured.
For the 6739i:
Note: To manually configure DHCP parameters, DHCP must be disabled on the phone.
1
Press the Options key on the phone to enter the Options List.
2
Press Advanced. A keyboard displays.
3
Enter the Administrator password using the keyboard. Default is “22222”.
4
Press Network.
5
Press IP Address, enter the IP address of your phone in the text box and press
. The IP
Address must be entered in the fomat 0.0.0.0; for example, 192.168.0.7.
6
Press the Subnet Mask button, enter the subnet mask address and press
. For example,
255.255.0.0.
7
Press Gateway, enter the IP address of your gateway in the text box and press
. The
Gateway must be entered in the fomat 0.0.0.0; for example, 192.168.0.1.
8
If required, press the Primary DNS and/or Secondary DNS buttons, enter the IP address of these
servers as applicable and press
. The IP addresses must be entered in the format 0.0.0.0.
The IP Phone is manually configured.