Calibrating the probing electrode, 4 calibr ation and set u p – HEIDENHAIN TNC 406 User Manual
Page 46

HEIDENHAIN TNC 406, TNC 416
25
2.4 Calibr
ation and Set
u
p
Calibrating the probing electrode
The probing electrode is to be calibrated in the following situations:
During commissioning
When the electrode is changed
When the probing feed rate is changed
In case of irregularities, such as those arising when the machine
heats up
During calibration, the TNC finds the effective length and the effective
radius of the electrode.
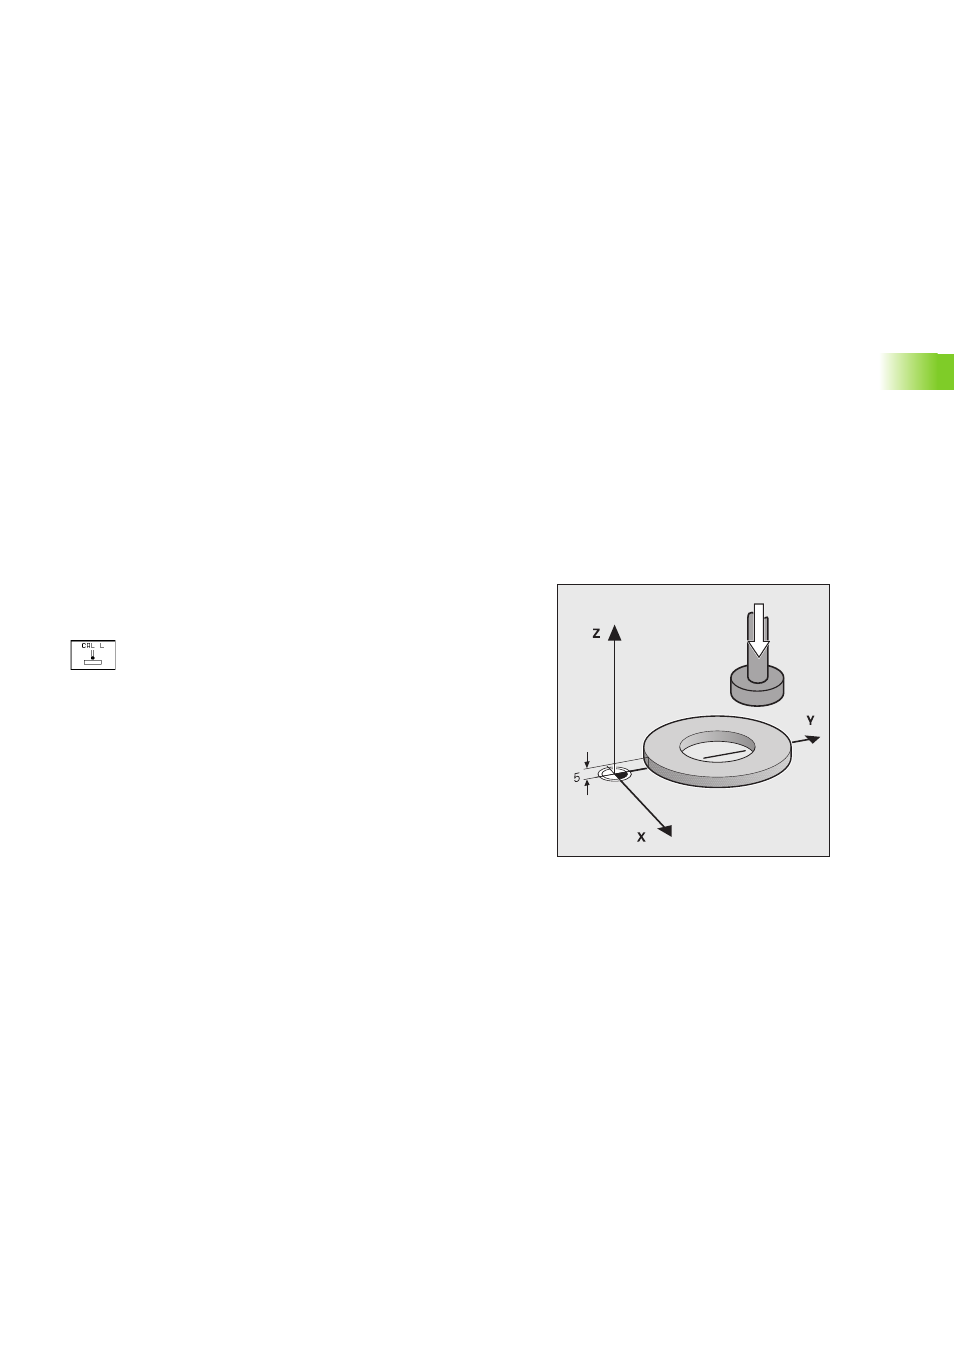
To calibrate the electrode, clamp a ring gauge of known height and
inside diameter to the machine table.
To calibrate the effective length:
8
Set the datum in the spindle axis such that for the machine tool table
Z=0.
8
Select the calibration function for the electrode length
(second soft-key row).
8
(QWHU WKH WRRO D[LV ZLWK WKH D[LV NH\
8
'DWXP (QWHU WKH KHLJKW RI WKH ULQJ JDXJH
8
Move the probing electrode to a position just above
the ring gauge.
8
,I QHFHVVDU\ FKDQJH WKH GLUHFWLRQ ZLWK WKH FXUVRU
NH\V
8
The electrode probes the surface of the ring gauge:
Press the START button.
