4 calibration and setup, Using an electrode – HEIDENHAIN TNC 406 User Manual
Page 44

HEIDENHAIN TNC 406, TNC 416
23
2.4 Calibr
ation and Set
u
p
2.4 Calibration and Setup
Using an electrode
An electrode and the probing functions of the TNC 406 can
significantly reduce setup time. The TNC 406 offers the following
probing functions:
Compensation of workpiece misalignment
(Basic rotation)
Datum setting
Measuring
- lengths and positions on the workpiece
- angles
- circle radii
- circle centers
Measurements during program run
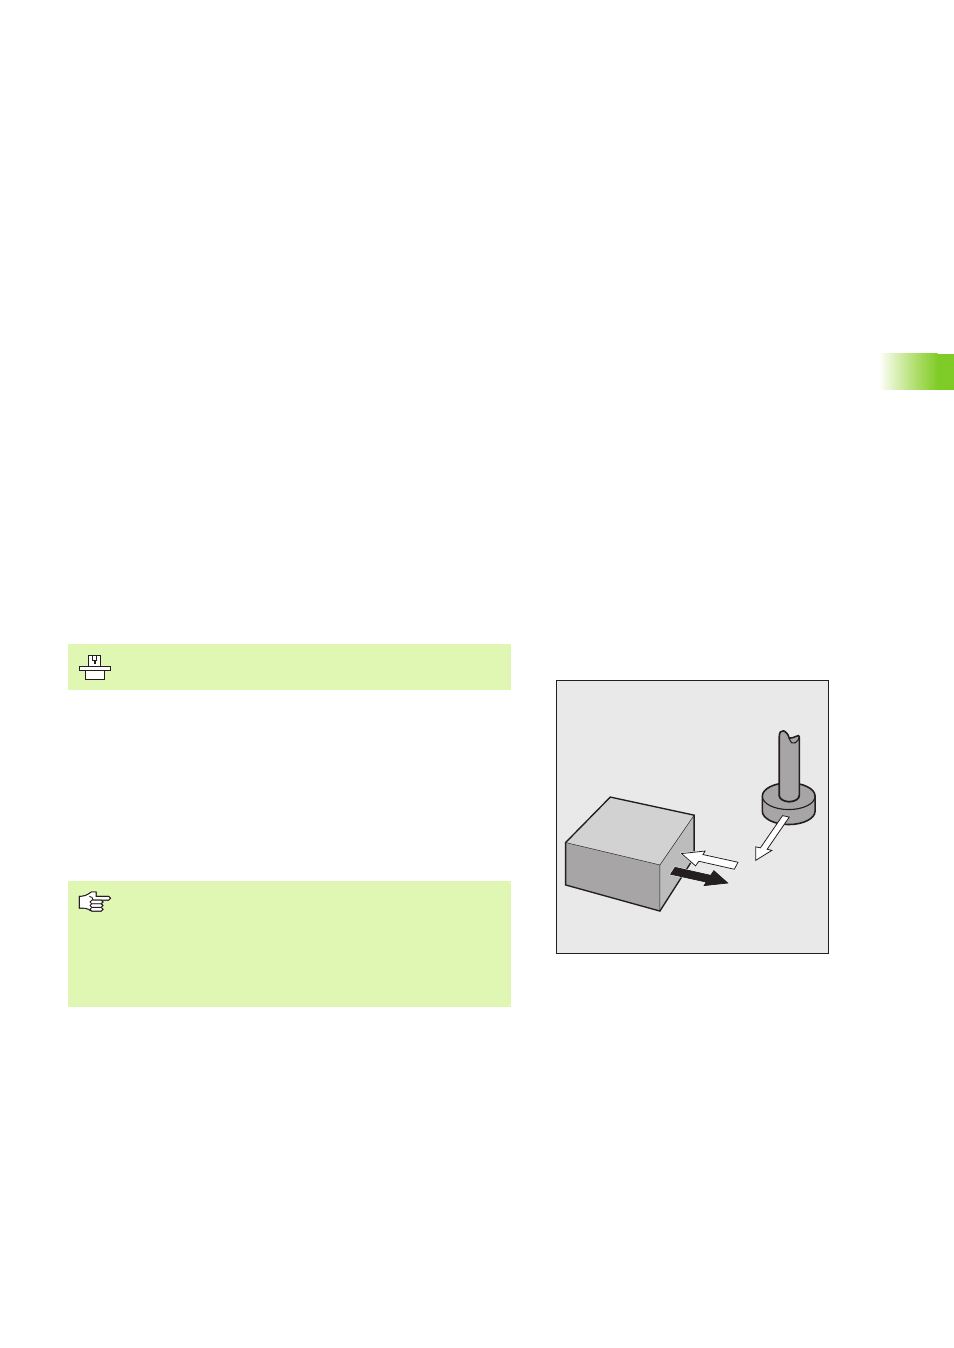
In probing functions, the electrode starts moving after the external
START button is pressed. The machine tool builder determines the
feed rate F for movement towards the workpiece.
When the probing electrode touches the workpiece,
the TNC stores the coordinates of the probed position,
the probing electrode stops moving,
the probing electrode returns to its starting position in rapid
traverse.
The TNC must be prepared by the machine tool builder
before the probing functions can be used.
Machine parameter 6100 determines whether each
probing process is to be executed once or several times
(maximum number of probing processes: 5). If you wish to
probe several times, the TNC calculates the average of all
touch points. This average value is the probing result.
(See also ”Selecting the General User Parameters” on
page 246)
F
max
F
F
