Figure 17 configure date and time (manually), 17 configure date and time (manually), Figure 16 – HP StorageWorks 2.140 Director Switch User Manual
Page 58
Monitoring and managing the director
58
The current date and time display in the Date and Time fields. If the Periodic Date/Time
Synchronization field is checked, the Date and Time fields are disabled (grayed out).
To enable and disable Periodic Date/Time Synchronization, click the check box and then click
Activate.
NOTE:
FICON Management Style only—An error results if periodic synchronization and
clock alert mode are enabled (see ”
Configuring the FICON Management Server
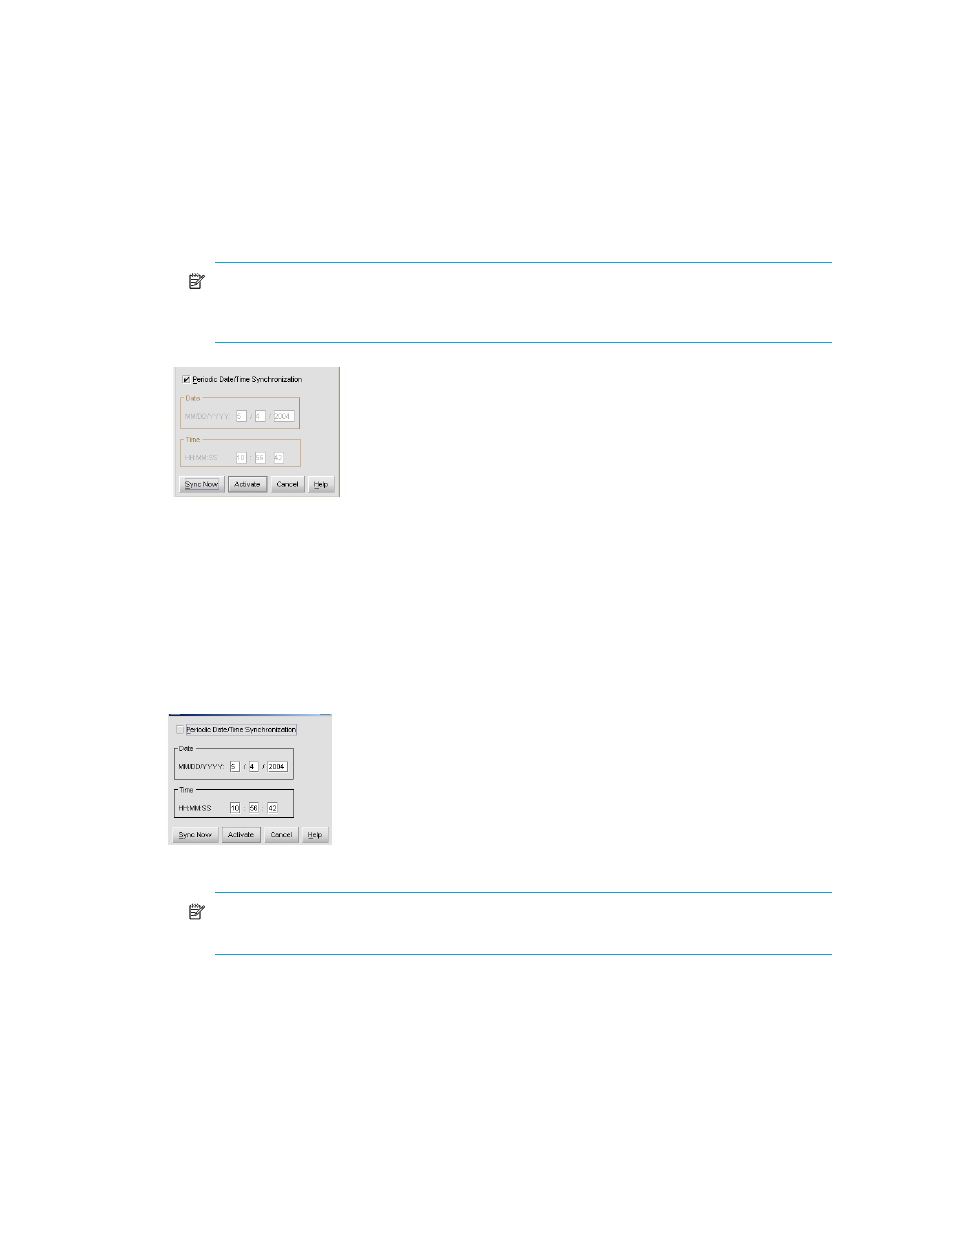
Figure 16
Configure Date and Time Periodic Synchronization dialog box
Configure the date and time as follows:
•
To immediately synchronize the director date and time with the HAFM appliance, be sure the
Periodic Date/Time Synchronization option is enabled and then click Sync Now.
•
To have the time synchronized at the next update period, enable the Periodic Date/Time
Synchronization option and click
Activate.
•
To manually set the director with a specific date and time, make sure that the Periodic Date/Time
Synchronization field is not selected (see
). Enter the date and time, and then click
Activate.
Figure 17
Configure date and time (manually)
NOTE:
Use the range of 0 to 23 for hours. Use the range of 0 to 59 for minutes and
seconds.
•
Set Director Online State—Displays the Set Online State dialog box. The dialog box displays the
current state (off line or on line) and provides a button for changing the state.