Figure 59 configure date and time dialog box, Setting date and time manually, Synchronizing date and time – HP StorageWorks 2.140 Director Switch User Manual
Page 139: 59 configure date and time dialog box
Director Element Manager user guide 139
To set the switch date and time:
1.
Select Configure > Date/Time.
The Configure Date and Time dialog box is displayed, as shown in
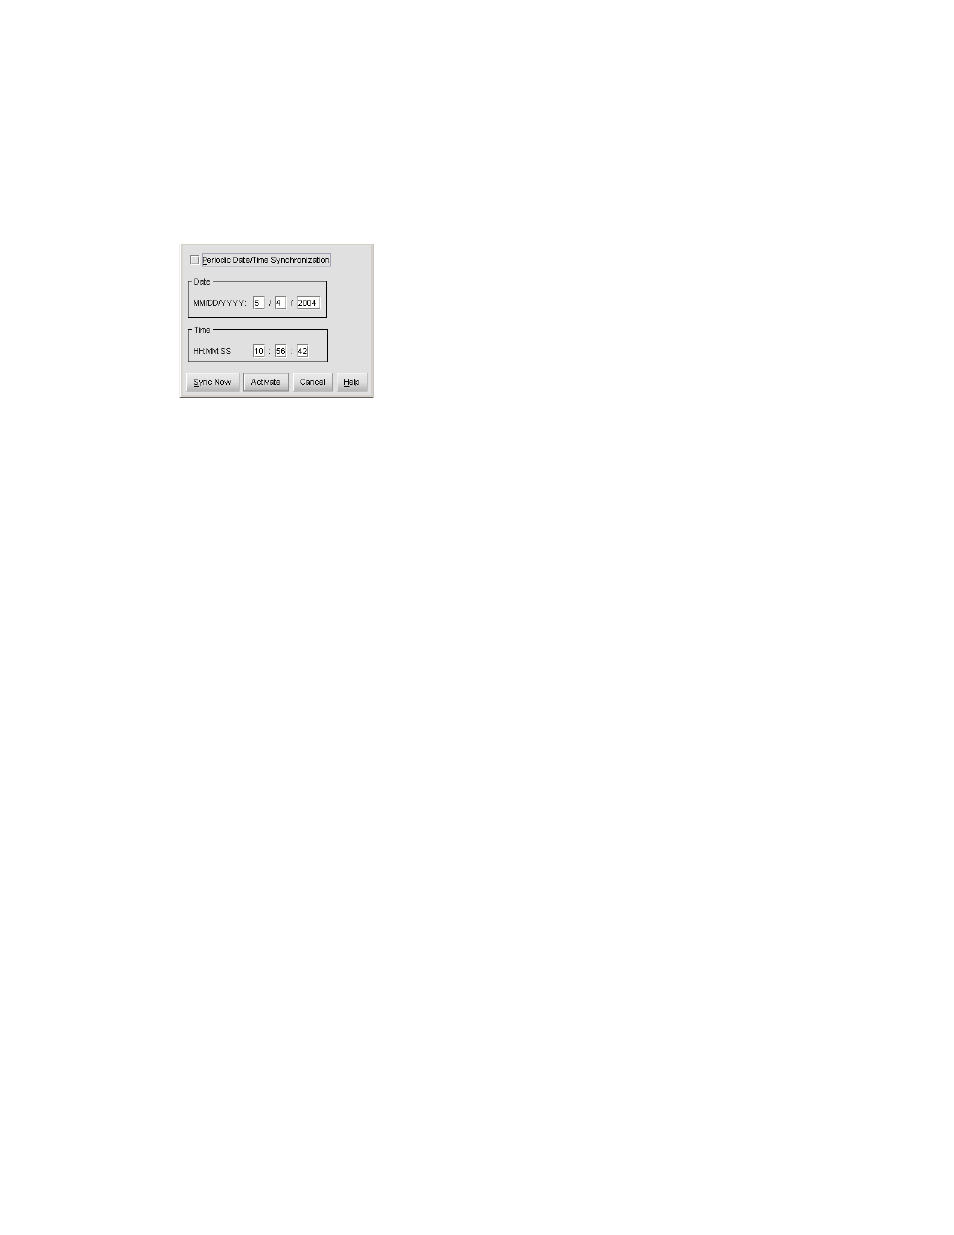
Figure 59
Configure Date and Time dialog box
2.
You can set the director date and time manually, or set for periodic updates.
For specific instructions, see the following sections:
• ”
Setting date and time manually
• ”
Setting date and time manually
To set the director date and time manually:
1.
In the Configure Date and Time dialog box, click the Periodic Date/Time Synchronization check
box to deselect the option (no check mark in the box).
The grayed-out Date and Time fields activate.
2.
Click the Date fields that require change, and type numbers in the following ranges:
Month (MM): 1 through 12
Day (DD): 1 through 31
Year (YYYY): greater than 1980
3.
Click the Time fields that require change, and type numbers in the following ranges:
Hour (HH): 0 through 23
Minute (MM): 0 through 59
Second (SS): 0 through 59
4.
Click Activate to set the director date and time, and close the Configure Date and Time dialog
box.
Synchronizing date and time
To set the director to periodically synchronize date and time with HAFM:
1.
In the Configure Date and Time dialog box, click the Periodic Date/Time Synchronization check
box.
The Date and Time fields are grayed-out and not selectable.