Testing the dg capture service – Grass Valley K2 System Guide v.7.2 User Manual
Page 77
07 April 2010
K2 System Guide
77
Testing the DG capture service
5. Enter the paths to the destination bin and the tracking bin, which are defined as
follows:
• Destination Bin — This is the clip bin in the K2 media storage that receives the
media imported by the DG capture service. The destination bin is defined by the
K2 media database and appears in AppCenter as a media bin. The bin must be
on the K2 system’s V: drive.
• Tracking Bin — This is another clip bin in the K2 media storage. This bin is used
by the K2 capture service. It stores a second instance of each spot, for the
purpose of tracking house IDs. You do not use it for normal K2 media
operations. The bin must be on the K2 system’s V: drive. If you specify a bin
name that does not yet exist, the K2 system creates it when files are imported to
it.
6. Set the Capacity, which specifies the maximum number of DG spots retained in K2
media storage. When this maximum number is reached, the DG capture service
deletes the five oldest spots from the K2 media storage. Set the capacity to be larger
than the capacity of the DG Spot Box.
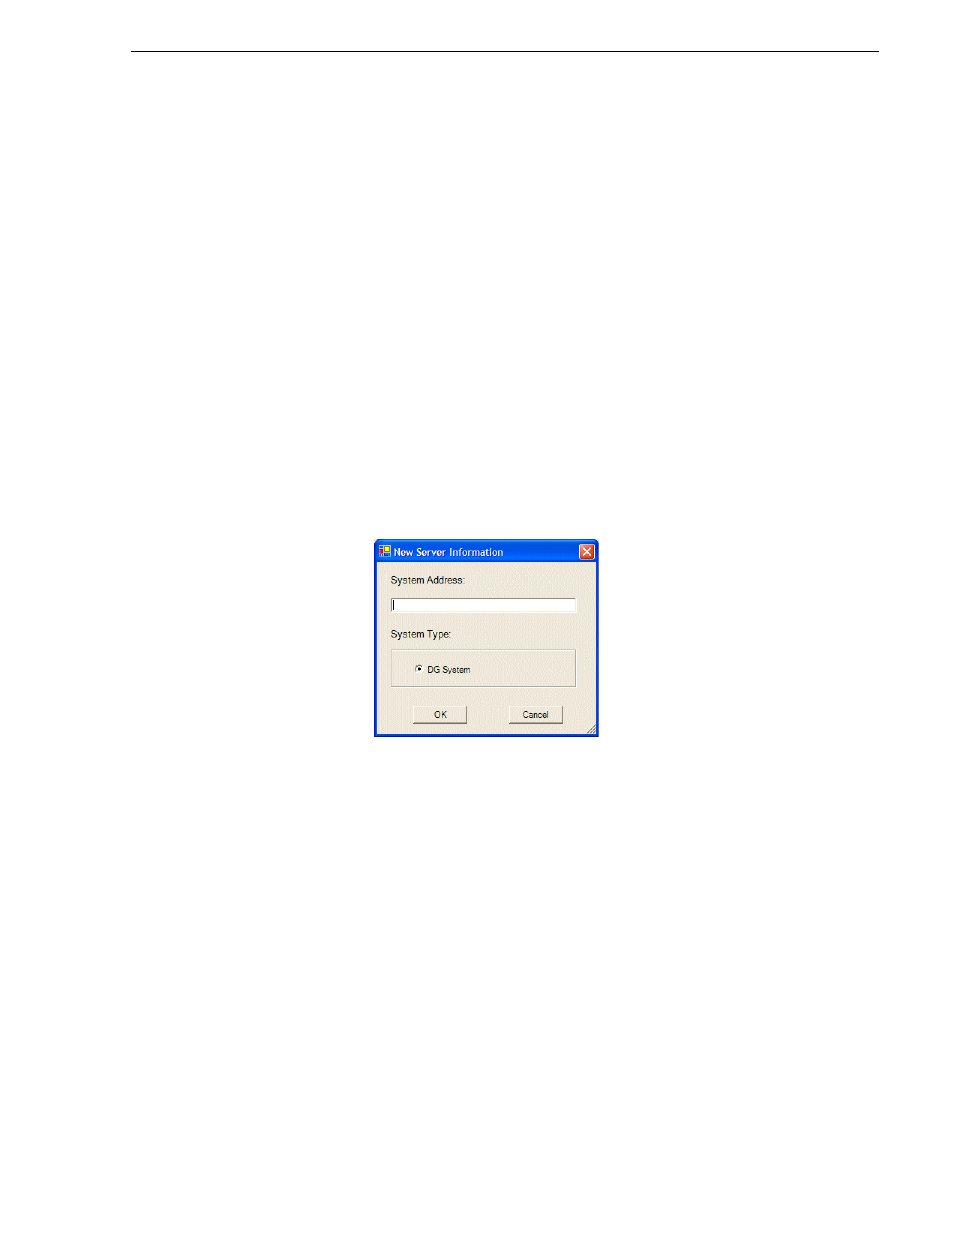
7. Click
Add
. The New Server Information dialog box opens.
8. Enter the IP address of the DG Spot Box and click
OK
.
9. When your DG capture service settings are complete, on the K2 Capture Services
utility dialog box, click
Apply
.
10.A success message displays. Click
OK
. The DG capture service starts up and
continues to run after you exit.
A message appears that informs you about the write filter and prompts you to
restart.
11. Click
OK
.
The K2 system restarts.
Testing the DG capture service
1. On the DG Spot Box, assign a house ID to a spot.
2. On the K2 system, open AppCenter and verify that the media has been imported
into the destination bin.
3. Playout the media to verify that the import was successful.