Grass Valley K2 System Guide v.7.2 User Manual
Page 118
118
K2 System Guide
07 April 2010
Chapter 4 Managing Stand-alone Storage
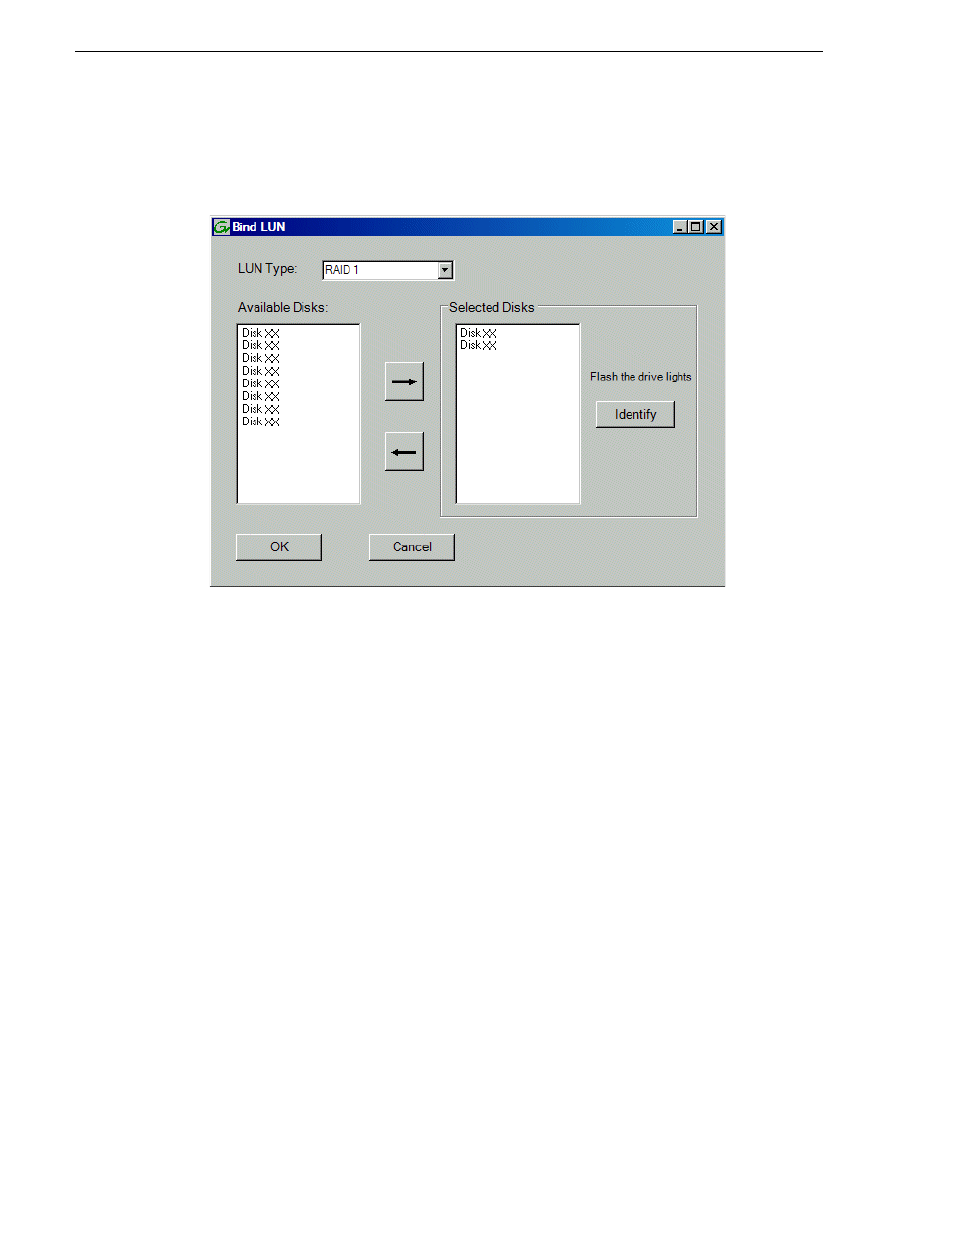
The Bind LUN dialog box opens showing all unbound disks for the controller listed
in the Available Disk list.
3. In the LUN Type drop-down list, for internal storage select either RAID 0 or RAID
1. For direct-connect storage select RAID 5. Then proceed as follows:
• RAID 0 — In the Available Disks list, select one media disk, then click the
arrow button to add it to the Selected Disks list. K2 Solo Media Server supports
RAID 0 only.
• RAID 1 — In the Available Disks list, select two contiguous disks, then click
the arrow button to add them to the Selected Disks list. (TIP: Use ‘shift-click’ or
‘control-click’ to select disks.)
• RAID 5 — In the Available Disks list, select six contiguous disks, then click the
arrow button to add them to the Selected Disks list. (TIP: Use ‘shift-click’ or
‘control-click’ to select disks.)
NOTE: As an aid in identifying a disk module’s physical location, select it in the
Selected Disks list, then click
Identify Disks.
This causes the disk drive LED to flash.
4. Click OK to close the Bind LUN dialog box and begin the binding process.
The Progress Report opens and displays binding progress.
5. Repeat the previous steps for remaining unbound disks. You do not need to wait
until the first LUN is bound before you can start binding the next LUN. Multiple
LUNs can be in the binding process all at the same time.
6. When progress reports 100% complete for all the LUNs that you are binding,
proceed to the next step.
7. Restart the K2 system.