Map a generic logo to an external logo, Set default playout properties for a mapped logo – Grass Valley iTX System v.2.6 User Manual
Page 187
Configuring channel plug-ins
•
Use PinPoint to select a logo.
The logo appears in the Live Logo Setup dialog when you close PinPoint.
3.
Set default properties for the logo, if you want to. See below, "Set default playout
properties for a mapped logo".
4.
Click OK to close the Live Logo Setup dialog.
When you close the Live Logo Setup dialog, the Save button on the Channel Configuration
pop-up layout flashes; this is to show there are unsaved changes.
5.
Click Save to save the logo mapping.
iTX associates the generic logo with the logo file.
Note:
•
An imported schedule can include a logo filename that overwrites the logo mapping.
For more information about this functionality, see the document for the iTX Import
Protocol; you can download this from the Club iTX website.
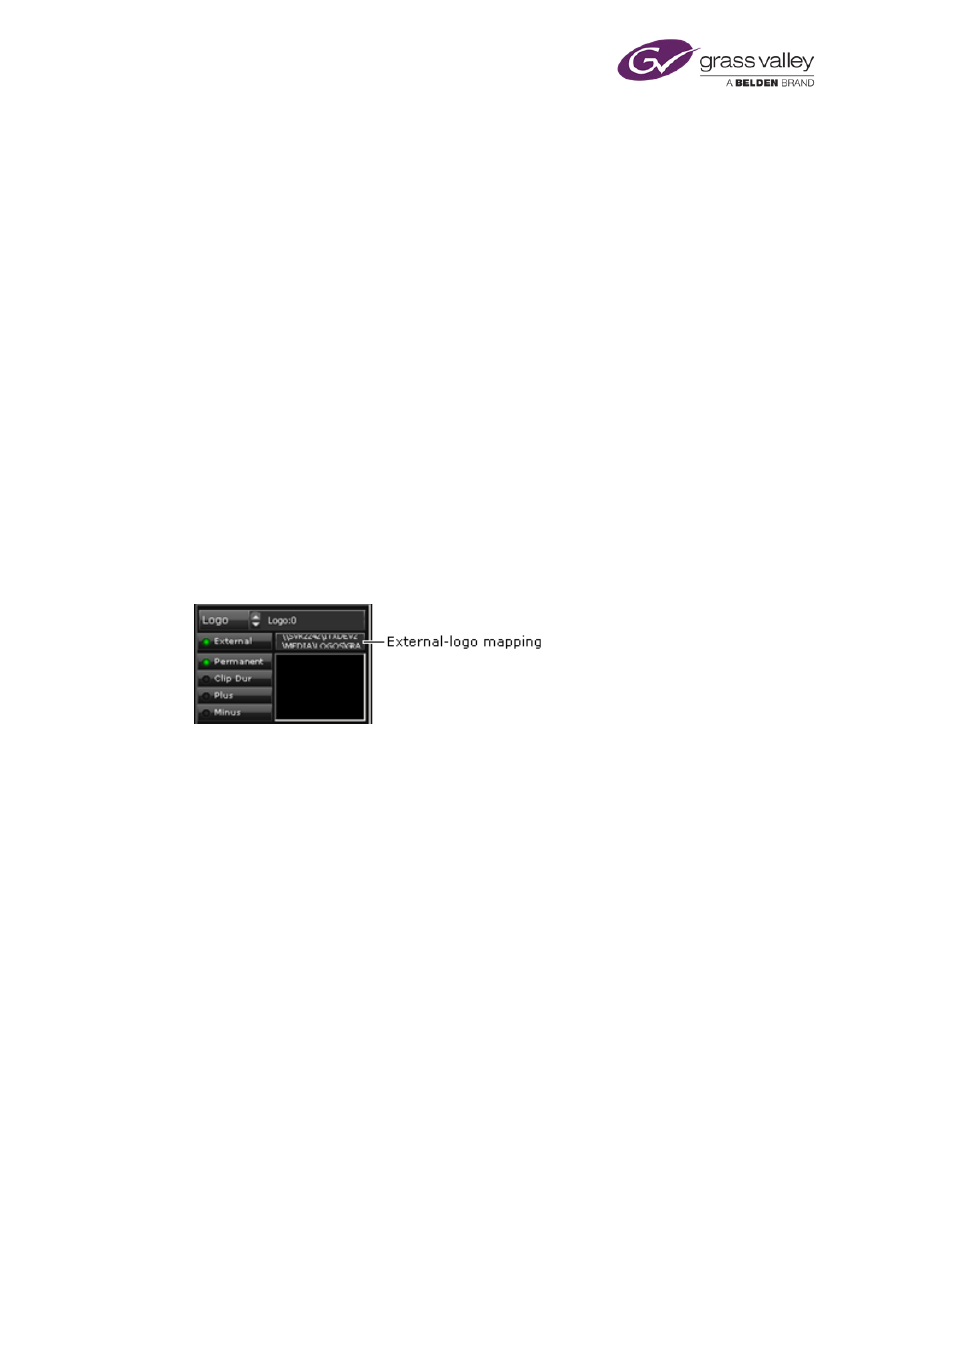
Map a generic logo to an external logo
To map a generic logo to an external logo, you need to select External and enter the path and
name of the logo in the associated text box:
Set default playout properties for a mapped logo
You can assign default playout properties to a mapped logo; for example, its in- and out-
transitions.
1.
Do the following, if necessary, to display the mapped logo in the Live Logo Setup dialog.
•
Select the logo in the Logo box.
•
Click the logo preview pane to open the Live Logo Setup dialog with the logo loaded.
2.
Do the following to set the physical properties of the logo.
•
Click the logo in the Live Logo Setup dialog or click Logo Edit. The Logo Editor opens and
displays the logo.
•
To re-position the logo, drag it into the new position; or enter values in the X and Y
boxes.
•
To resize the logo, keeping the same proportions, ensure Lock Aspect is selected. Drag
any edge of the logo; or enter values in the W and H boxes.
•
To resize the logo, changing its height and width independently, ensure Lock Aspect is
not selected. Drag any edge of the logo; or enter values in the W and H boxes.
•
Click Full Screen if you want the logo to fill the display area.
March 2015
System Administrator Guide
Page 187 of 404