Set up a destination monitor – Grass Valley iTX System v.2.6 User Manual
Page 136

Modifying layouts
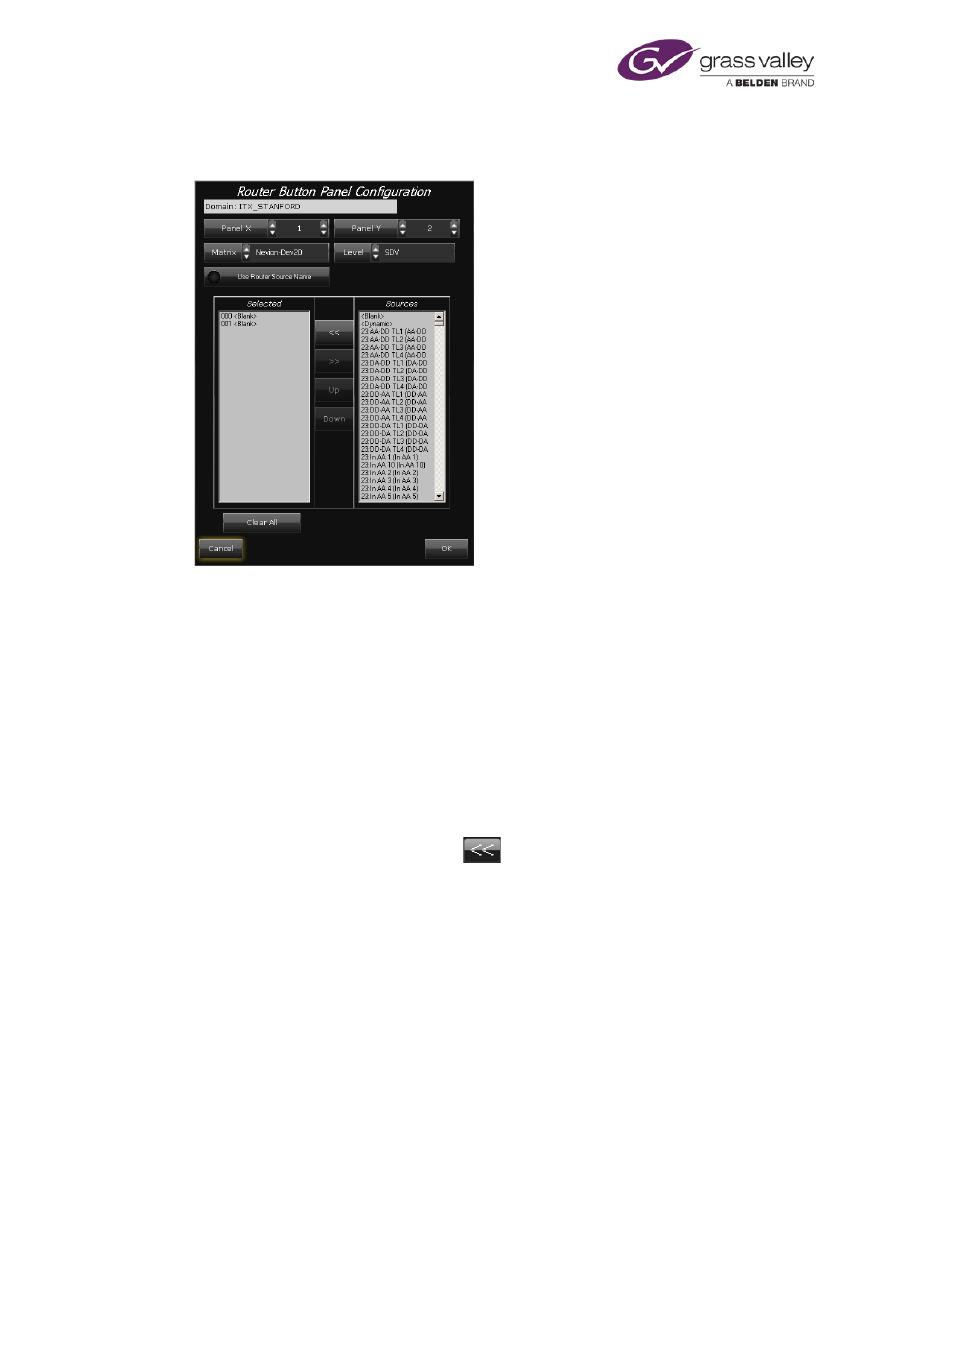
To configure a panel, you need to associate source buttons with physical router sources. You do
this through the Router Button Panel Configuration dialog:
1.
Right-click the Source Button Panel, close to its edge, to display the component menu.
Select Properties.
The Router Button Panel Configuration dialog appears. The Panel X and Panel Y boxes
show the number of buttons in the panel. You may change the values in these boxes.
2.
Do the following to set up the source buttons.
•
Select a matrix router in the Matrix box.
•
Select SDV or another type of video signal in the Level box. This setting affects the
button appearance, which indicates when the specified signal is present.
•
Select one or more router sources in the Sources pane; select the same number of blank
entries in the Selected pane; click
to overwrite the blank entries with the selected
sources.
•
Leave the other options unchanged. Selecting Use Router Source Name causes the
buttons to display router-crosspoint names instead of aliases.
•
Click OK to close the dialog.
On the layout, the mapped source buttons appear active and display the names of the
router sources.
Set up a Destination Monitor
A Destination Monitor specifies the destination that the selected source in a Source Button
Panel is connected to. Its function is similar to that of the destination button in a Destination
Button Panel; it displays the name of the connected source in a UMD (under-monitor display)
slot.
In a transmission-chain group, you need to associate the Destination Monitor with the router
destination for the transmission system.
March 2015
System Administrator Guide
Page 136 of 404
