Configuring component groups, More details, E 131 – Grass Valley iTX System v.2.6 User Manual
Page 131

Modifying layouts
Add and configure an Auto Failover Control
1.
On a suitable layout in the editing mode, expand the categories ITX and FAILOVER in the
Toolbox. Select the Auto Failover Control and drag it to a clear area of the layout.
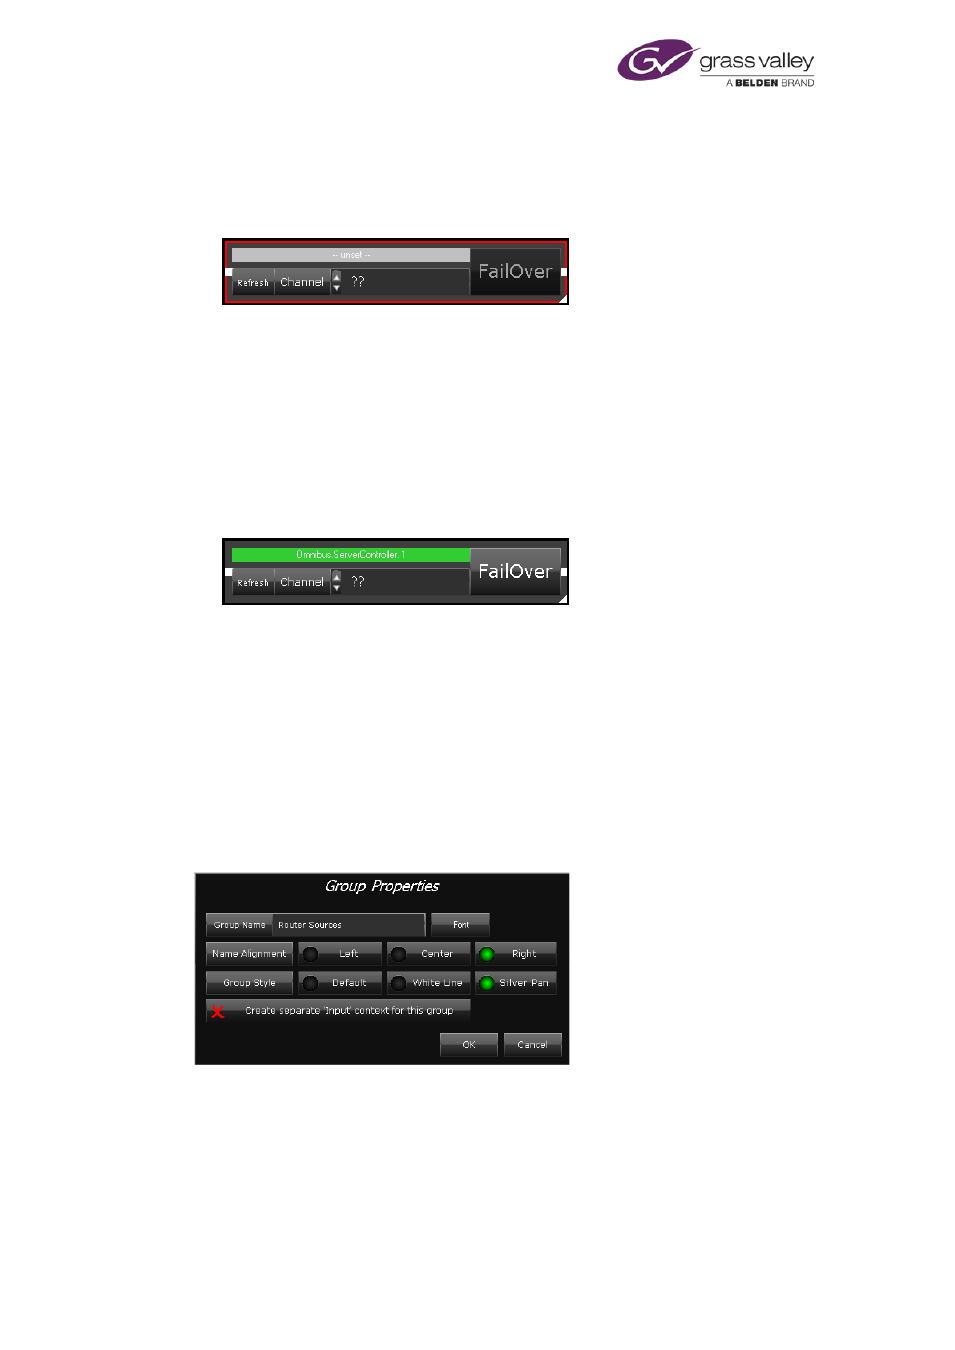
The Auto Failover Control appears on the layout:
2.
Right-click the Auto Failover Control to display the component menu (you need to click
near the edge of the component). Select Properties.
The Available Server Controllers dialog appears. This displays a list of the IP addresses (and
port numbers) of all the Server Controllers on the iTX network.
3.
Select the entry for the Server Controller running on the standby Output Server machine.
The Currently Selected Server Controller box displays your selection.
4.
Click OK to close the dialog.
In its service status box, the Auto Failover Control displays the name of the Server
Controller on the selected machine:
The green light in the box indicates that the Server Controller is running.
5.
If you want to adjust the size or position of the Auto Failover Control, do the following.
•
To resize the control, drag the white triangle (in the bottom right corner).
•
To re-position the control, click it near any of its edges and drag it.
Configuring component groups
You can modify various properties of a Group component: its size, text label, and appearance.
To do so, you use the Group Properties dialog:
You select the dialog from the component menu. Before displaying the menu, you may identify
the Group component by clicking a clear part of it: a red border appears around the group. If
you click any of the components within the group, the border appears around that component
instead.
March 2015
System Administrator Guide
Page 131 of 404
