Specifying sewing attributes 1, Step 4 sew setting stage – Baby Lock Palette 10 (ECS10) Instruction Manual User Manual
Page 218
217
Basic Design Center Operations
■
Continuing to the Sew Setting
Stage
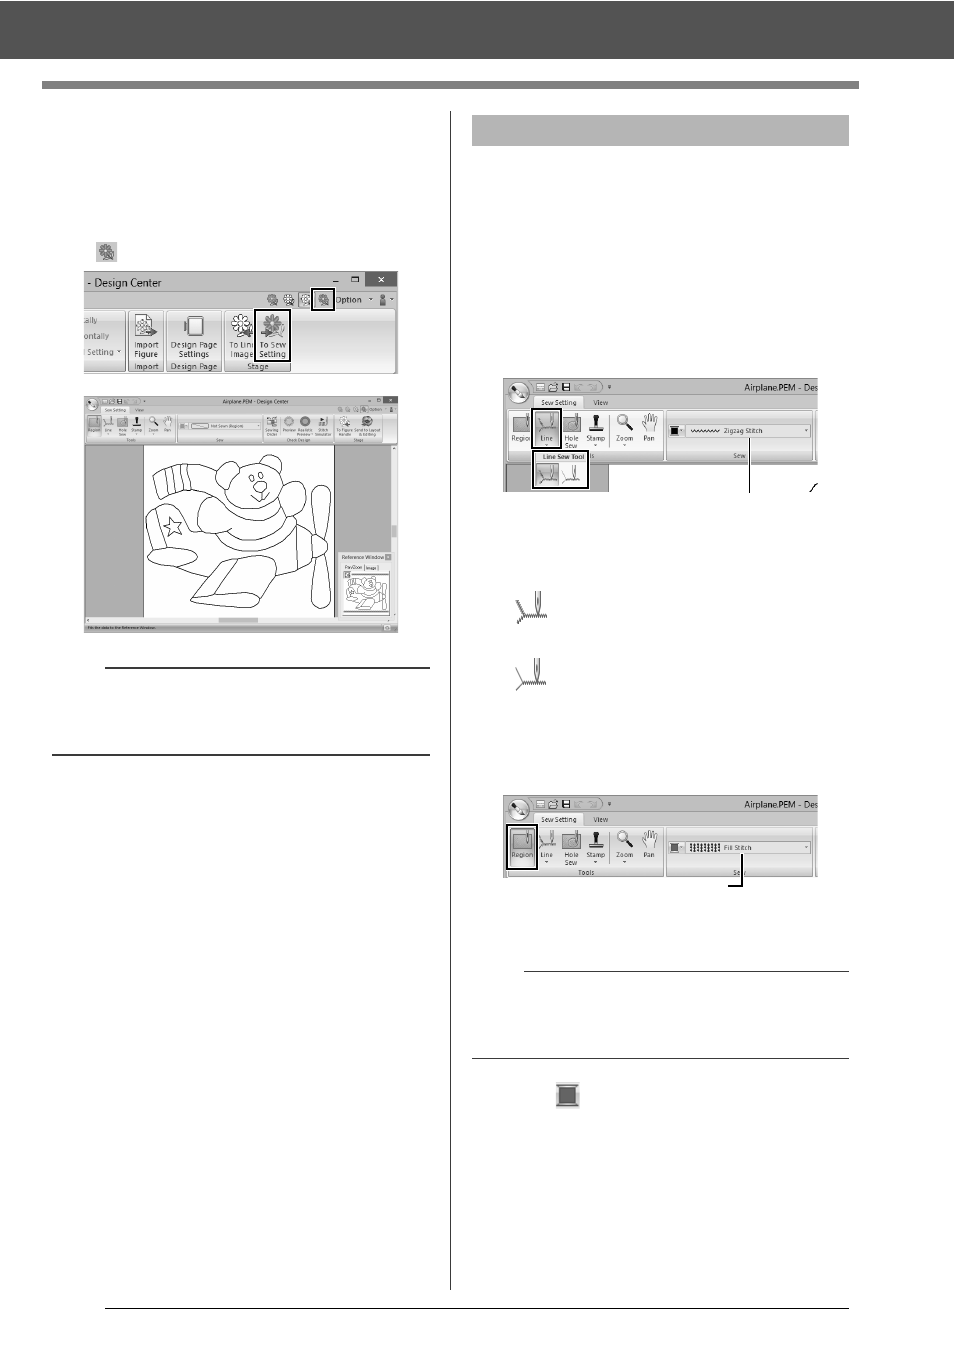
When the figure handle image is finished, continue
to the Sew Setting Stage.
1
Click [To Sew Setting] in the [Stage] group or
in the upper-right corner of the screen.
We are now going to apply sewing attributes to the
different parts of the outline to create the embroidery
pattern.
■
Specifying sewing attributes
1
Click the [Sew Setting] tab.
2
To specify the sew type for the line, click
[Line] in the [Tools] group, and then select
the desired tool from [Line Sew Tool].
1
[Line sew type] selector
: Click this button to apply sewing
attributes to the entire outline.
: Click this button to apply sewing
attributes to a portion of the outline.
To specify the sew type for the region, click
[Region] in the [Tools] group.
1
[Region sew type] selector
3
Click .
b
Even after continuing to the Sew Setting Stage,
you can return to the Figure Handle Stage to edit
the figure handle image.
Step 4
Sew Setting Stage
b
Sewing attributes cannot be applied to regions if
the region is not completely enclosed in an outline
in the Figure Handle Stage.
1
1