Step 3 printing the positioning sheet, Step 4 embroidering – Baby Lock Palette 10 (ECS10) Instruction Manual User Manual
Page 158
157
Tutorial 7: Print and Stitch
7
Specify the appropriate settings in the [Print
Setup] dialog box, and then click [OK].
cc
"Printing" on page 96.
Printing begins.
Print a sheet for aligning the image and the
embroidery.
1
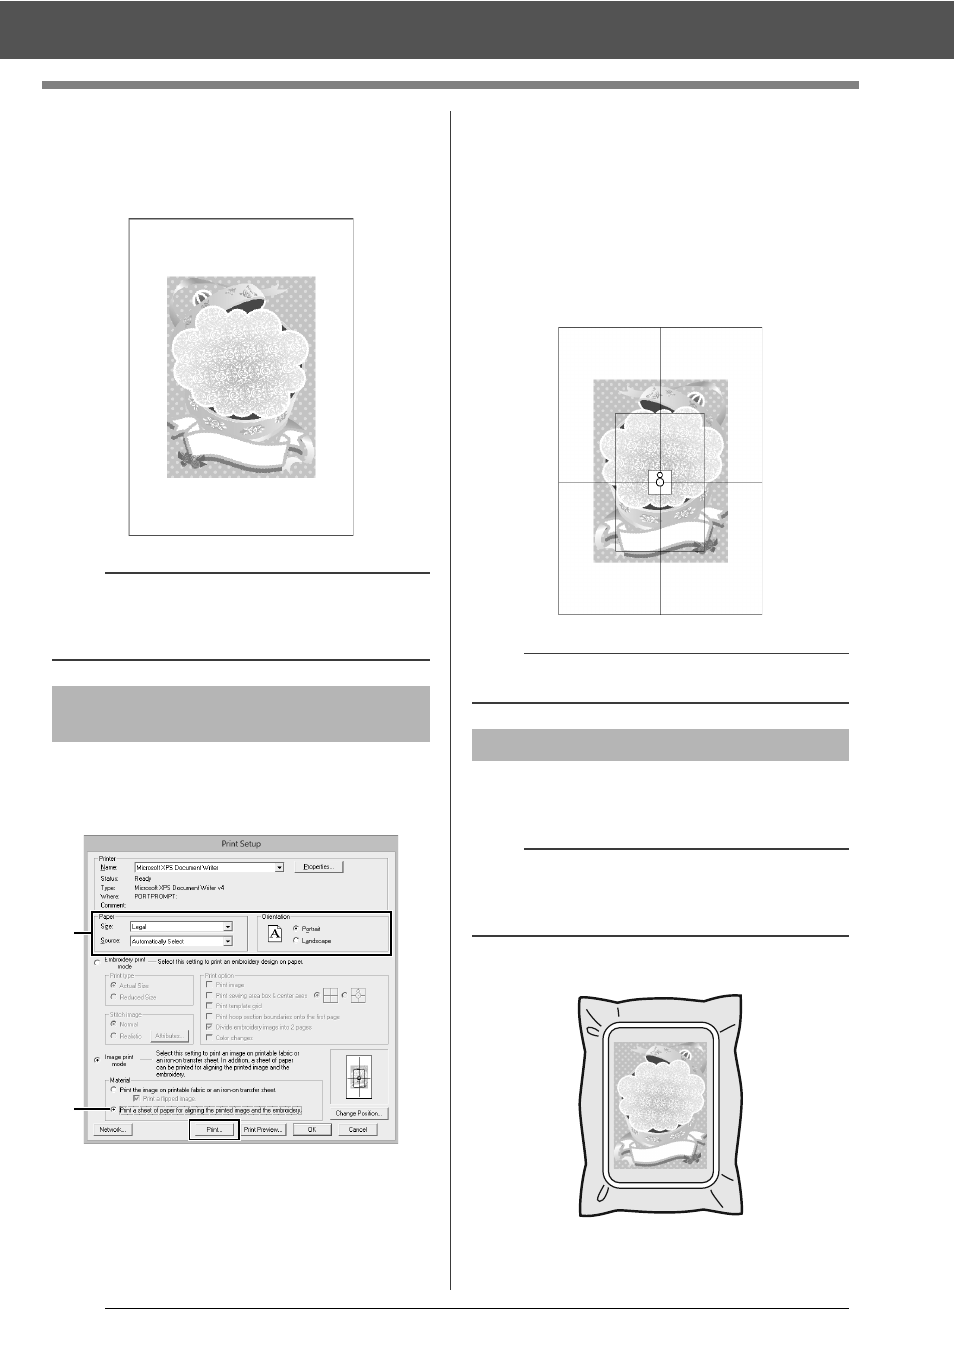
Specify the print settings.
a
Under [Paper] and [Orientation], select
the appropriate settings for the paper to
be printed on.
b
Select [Print a sheet of paper for
aligning the printed image and the
embroidery].
2
Click [Print].
3
Specify the appropriate settings in the [Print
Setup] dialog box, and then click [OK].
cc
"Printing" on page 96.
Printing begins.
1
If an iron-on transfer sheet is used, transfer
the image onto fabric.
2
Hoop the fabric in the embroidery frame.
b
For details on printing on iron-on transfer sheets or
printable fabric, refer to the instructions for the
iron-on transfer sheets and printable fabric.
Step 3
Printing the positioning
sheet
a
b
b
To check the print image, click [Print Preview].
Step 4
Embroidering
b
For details on transferring from iron-on transfer
sheets, refer to the instructions for the iron-on
transfer sheets.