203 transferring embroidery designs to machines 3 – Baby Lock Palette 10 (ECS10) Instruction Manual User Manual
Page 204
203
Transferring Embroidery Designs to Machines
3
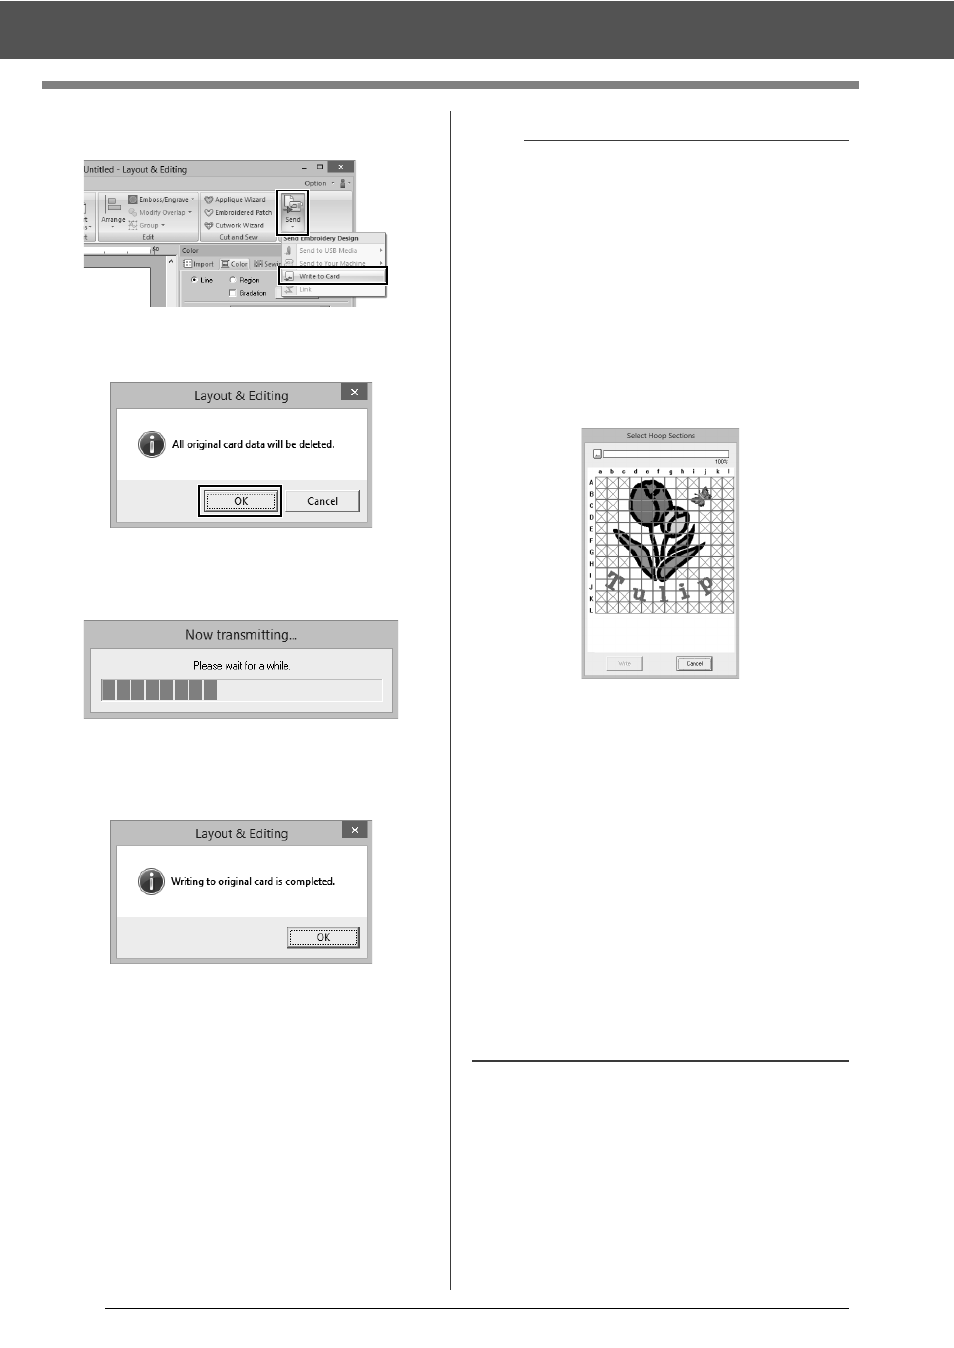
Click [Send] in the [Sew] group, and then click
[Write to Card].
4
When the following message appears, click
[OK].
Data transfer begins. The following
message appears while the data is being
transferred.
5
After the data has been transferred, the
following message appears, indicating that the
transfer is finished. Click [OK].
a
Transferring split embroidery designs
Embroidery patterns for the split patterns created
on the custom-sized Design Page are written to
cards split into their separate sections.
If the total size of the pattern exceeds the capacity
of the media or the machine's memory or if the
pattern is split into over 80 sections with a Design
Page size of 90 × 90 cm (35.4" × 35.4"), you will
need to split the pattern and write the separate
sections onto several media.
If all pattern sections cannot be saved with a single
operation, the [Select Hoop Sections] dialog box
appears. Select pattern sections until the media
becomes full.
The card capacity indicator at the top of the dialog
box shows the amount of space available on the
card (white) and the amount of space used by the
pattern sections (blue).
When a pattern section is selected, the total
amount of space used by the selected pattern
sections appears in blue. If the capacity is
exceeded, the entire card capacity indicator
appears in red. To deselect a pattern section, click
it again.
Click [Write] to write the selected pattern sections
to the media. (The [Write] button is available only
when a pattern section is selected and there is
sufficient space on the media for the selected
pattern sections.)
cc
For details on creating split embroidery
designs, refer to "Tutorial 9-1: Creating Split
Embroidery Designs" on page 177.