Rockwell Automation 1326 Digital AC Multi-Axis Motion Control System User Manual User Manual
Page 39
Publication 1394-5.0 — May 2000
Installing Your 1394 (applies to all systems)
2-9
3.
4. Hang the AM50/75 axis module on the next mounting fastener.
5. Engage the alignment tab (refer to Figure 2.7).
Figure 2.7
Alignment Tab
If you are mounting a:
Do this:
1394x-AM03, -AM04 or
-AM07; 1394C-AM50-
IH, or -AM75-IH axis
module
1. Hang the axis module on the next
mounting fastener.
2. Go to main step 5.
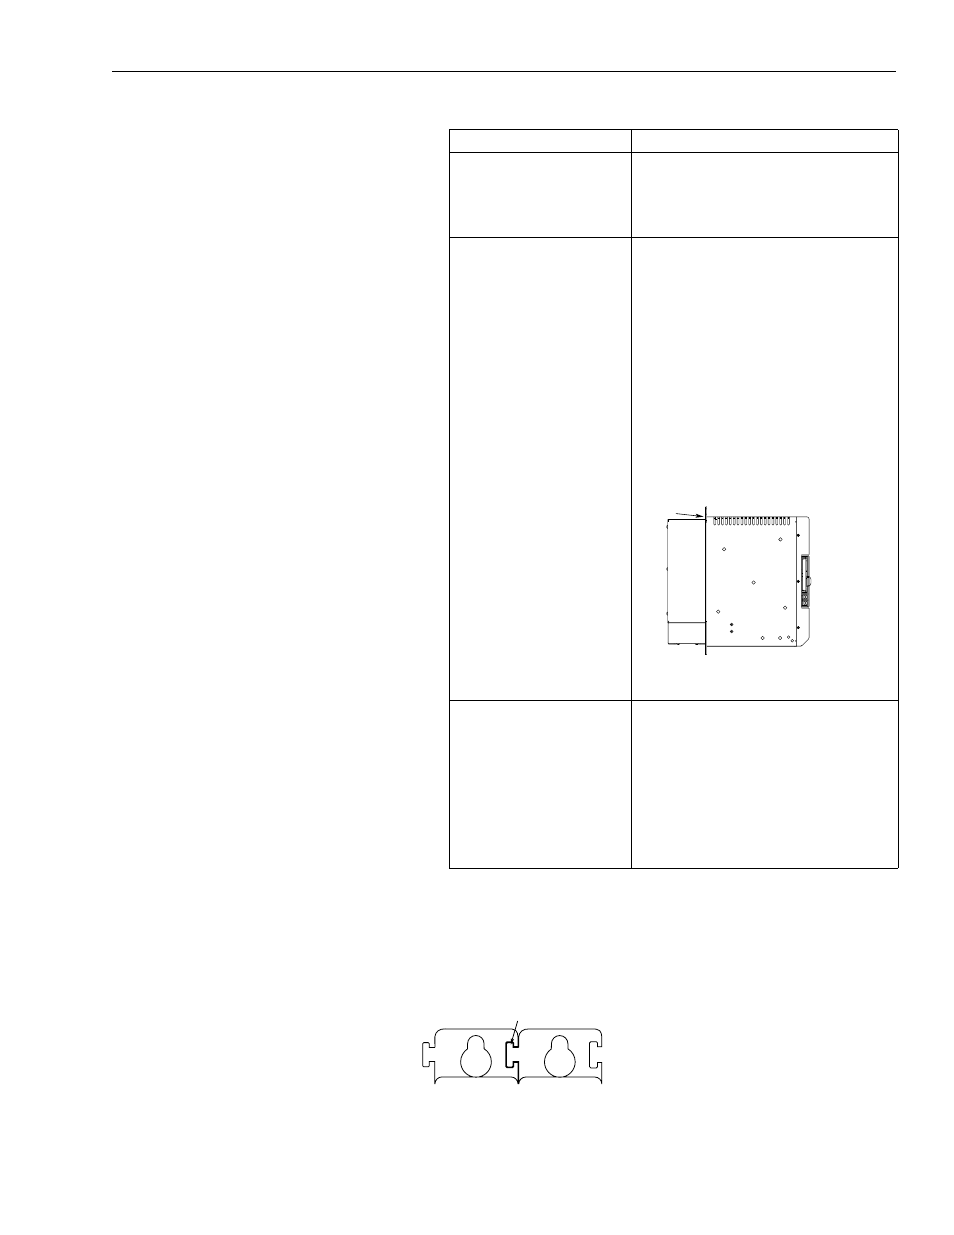
1394x-AM50 or -AM75
axis module with the
heat sink through the
back of the enclosure
(refer to Figure 2.3)
1. Remove the paper backing from
the gasket that came with the
AM50/75 axis module.
2. Position the gasket so that the
sticky side faces the axis module
and the small hole side is on top.
3. Slide the gasket over the heat sink
and attach it to the back of the axis
module.
Figure 2.6
Gasket Position
4. Go to main step 4.
1394-DCLM or
1394-DIM
1. Hang the DCLM or the DIM as the
last (right-most) module.
Note: If both DCLM and DIM are
mounted on the same
system, the DIM should be
the last module.
2. Go to main step 5.
gasket
Engaged alignment tab