Apple Color 1.0 User Manual
Page 302
302
Chapter 15
Geometry
4
When you’re ready to finish, close the shape by clicking on the first control point you
created.
5
Enter a name into the Shape Name field, and press Enter (this step is optional).
6
Click the Attach button to use the shape in the secondary tab.
A duplicate of that shape appears in the list, which shows the number of the grade and
the secondary tab to which it’s attached (the original shape you drew remains in the
list above, ready to be recycled at a future time). At this point, you’re ready to use that
shape in the secondaries tab to which it’s been attached.
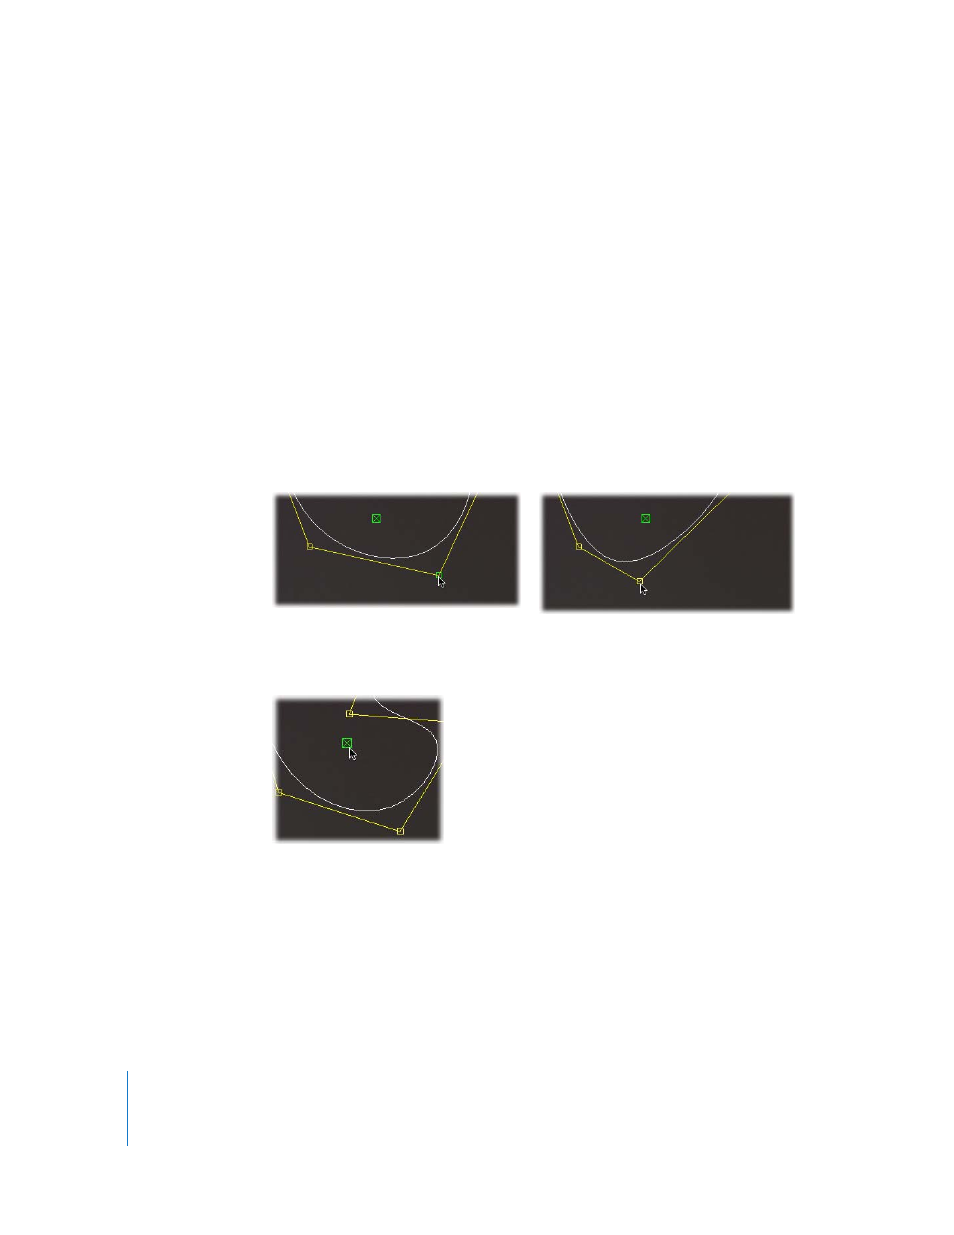
To adjust a shape:
m
Drag any of its control points in any direction.
Unlike Bezier splines, B-splines have no tangents to adjust. The only adjustments you
can make require using the number and position of control points relative to one
another.
To reposition a shape:
m
Drag its green center handle in any direction.
The center handle is the point around which keyframing and motion tracking
transformations are made.
To resize a shape:
1
Make sure the Main button is checked in the Shapes tab.
2
Drag a selection box around every control point you want to resize.