Customizing the timeline interface, P. 123) – Apple Color 1.0 User Manual
Page 123
Chapter 7
Timeline Playback, Navigation, and Editing
123
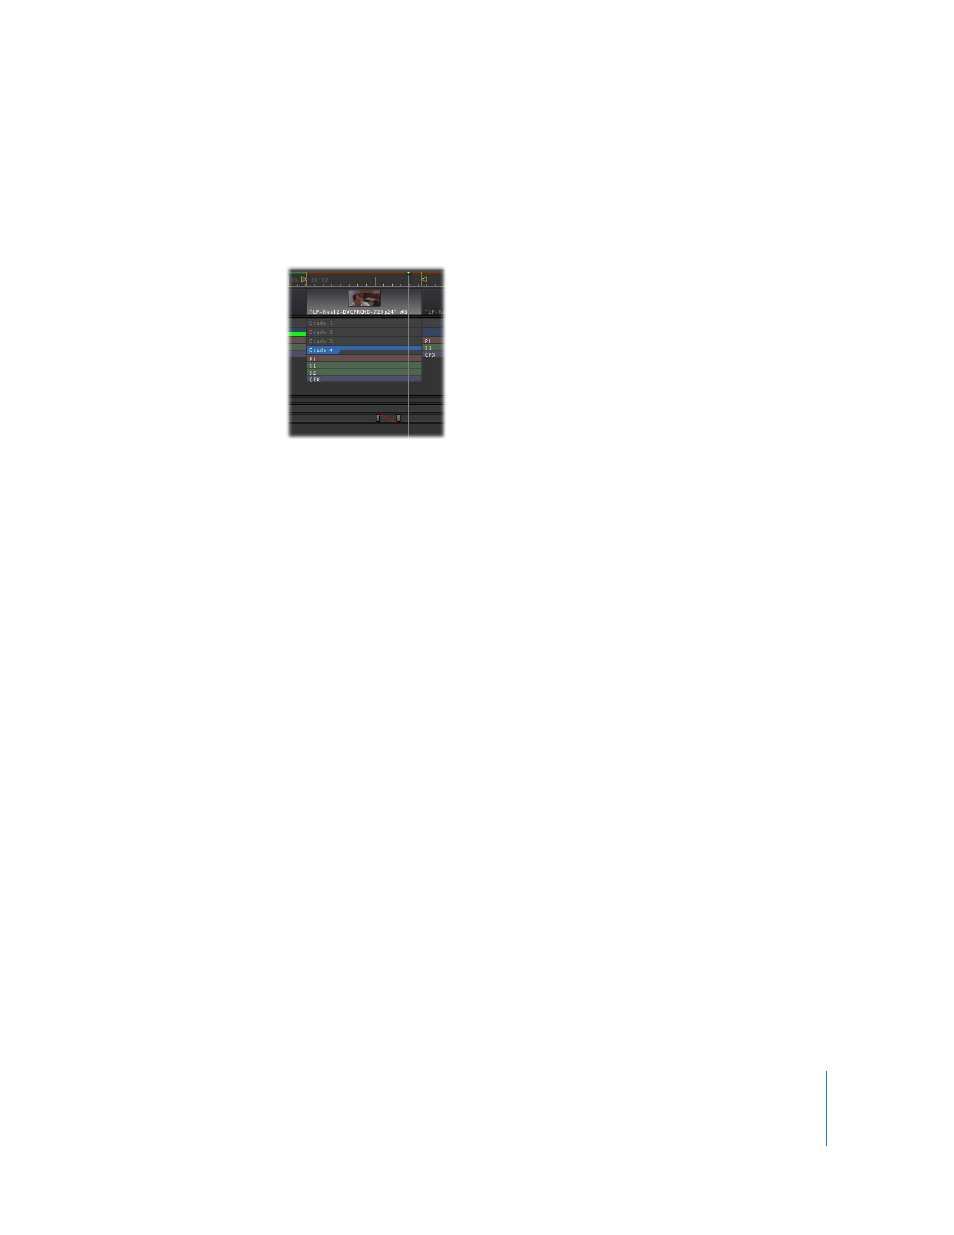
Each of the four grades may include one or more Primary, Secondary, Color FX, and
Primary Out corrections. By default, each grade appears with a single primary grade
bar, but additional correction bars appear at the bottom if you’ve made adjustments
to any of the other rooms for that grade. Each correction bar has a different color.
 P(rimary) bar: Shows whether a primary correction has been applied.
 S(econdary) bar: Shows whether one or more secondary corrections have been
applied.
 CFX (color FX) bar: Shows whether a Color FX correction has been applied.
 PO (primary out) bar: Shows whether a Primary Out correction has been applied.
 Tracker Area: If you add a motion tracker to a shot and process it, the tracker’s In and
Out points appear in this area, with a green bar showing how much of the currently
selected tracker has been processed. If no tracker is selected in the Tracking tab of
the Geometry room, nothing appears in this area. For more information, see
“
 Keyframe Graph: This track contains both the keyframes and the curves that
interpolate the change from one keyframe’s value to another. For more information
about keyframing corrections and effects, see Chapter 14, “
Customizing the Timeline Interface
There are a number of ways you can customize the visual interface of the Timeline.
To change the units used in the Timeline Ruler, do one of the following:
m
Click the Setup room tab, then click the User Prefs tab, and click the Frames, Seconds,
Minutes, or Hours button corresponding to the units you want to use.
m
Press one of the following keys:
 Press F to change the display to frames.
 Press S to change the display to seconds.
 Press M to change the display to minutes.
 Press H to change the display to hours.