Working with grades in the timeline, P. 131) – Apple Color 1.0 User Manual
Page 131
Chapter 7
Timeline Playback, Navigation, and Editing
131
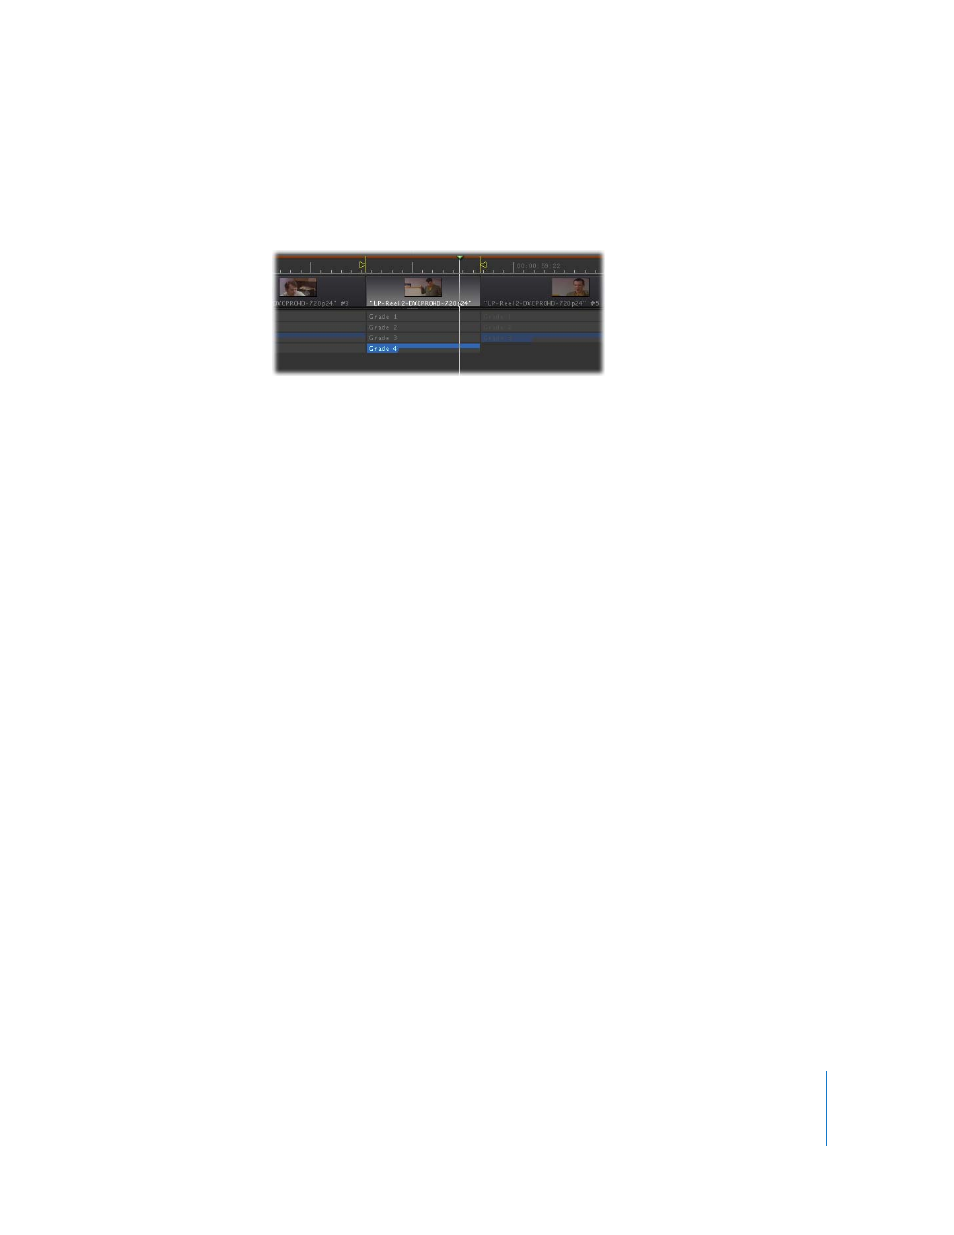
Working with Grades in the Timeline
Each shot in the Timeline can be switched among up to four different grades, shown in
the grades track.
These four grades let you store different looks for the same shot. For example, if you’ve
created a satisfactory grade, but you or your client would like to try “one other thing,”
you can experiment with up to three different looks, knowing that you can instantly
recall the original, if that’s what’s ultimately preferred.
Only one grade actually affects a shot at a time—whichever grade is selected in the
Timeline is the grade you will see on your preview and broadcast displays. All
unselected grades are disabled. For more information on creating and managing
grades, see Chapter 13, “
Managing Corrections and Grades
By default, each shot in a new project starts off with a single empty grade, but you can
add another one at any time.
To add a new grade to a shot, do one of the following:
m
Move the playhead to the shot you want to add a new grade to, then press Control–1
through 4.
m
Control-click or right-click on the grade you want to switch to, and choose Add New
Grade from the shortcut menu.
If there wasn’t already a grade corresponding to the number of the grade you entered,
one will be created. Whenever a new grade is added, the grade track expands, and the
new grade becomes the selected grade. New grades are clean slates, letting you begin
working from the original state of the uncorrected shot.
To select the current grade:
1
Move the playhead to the shot you want to switch the grade of.
2
Do one of the following:
 Click the grade you want to switch to.
 Press Control–1 through 4.