Where to start, P. 211) – Apple Color 1.0 User Manual
Page 211
Chapter 10
Secondaries
211
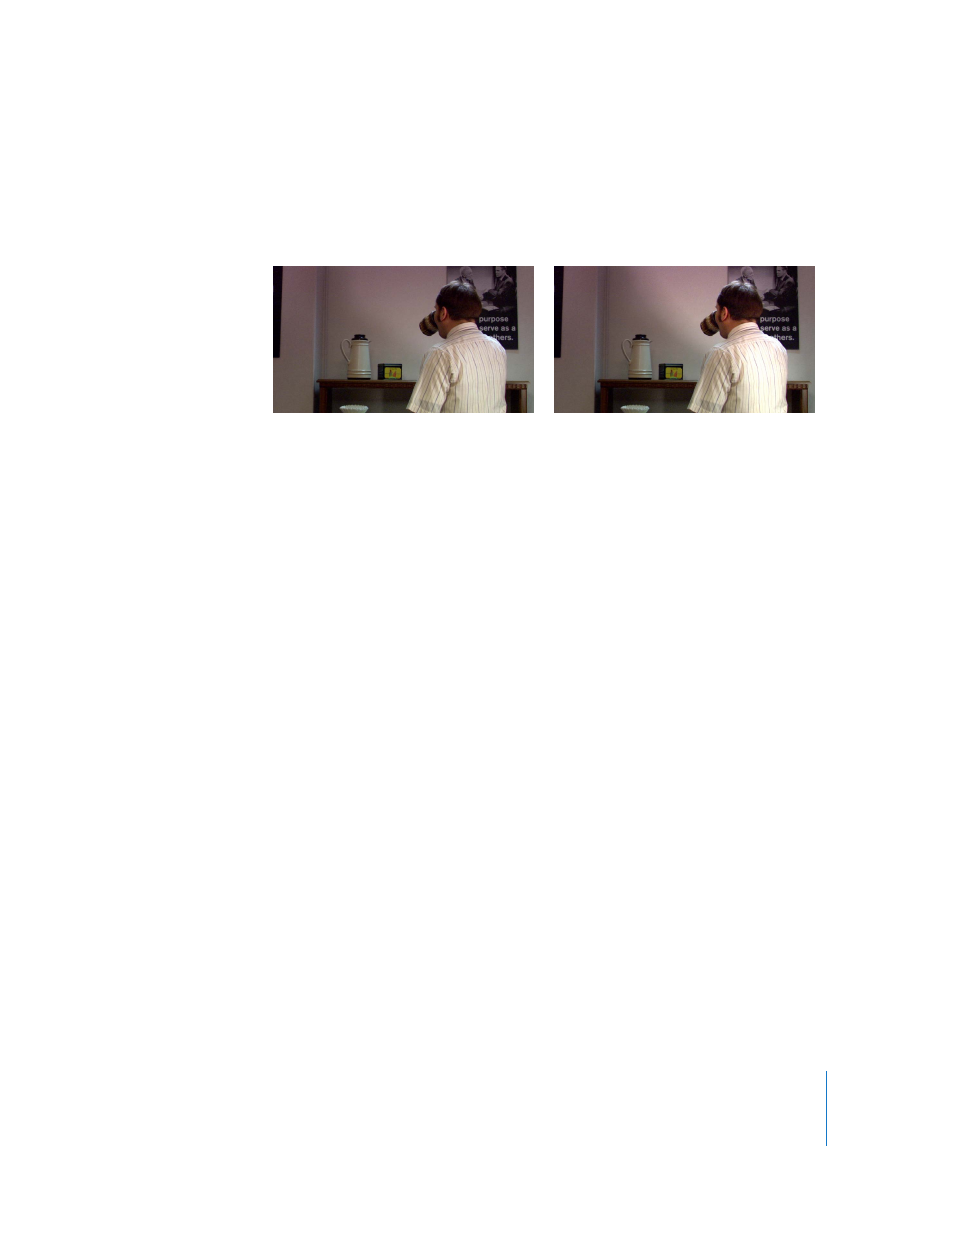
 Digitally relighting areas of the image: The same feature can be used in a different way,
drawing custom shapes to isolate regions of the image and add beams or pools of
light where previously there were none. This can come in handy in situations where
the lighting is a bit flat, and you want to add some interest to a feature in the scene.
 Making modifications changing the Primary In correction: A somewhat unconventional
use of the Secondaries room is to apply an additional correction to the entire image
on top of the original correction you made with the Primary In room. By not using
any of the secondary qualifiers, adjustments made with the color balance, contrast,
and saturation controls affect the entire image just as they do in the Primary In room.
You can use this to keep adjustments for stylized effects separate from the baseline
corrections you’re making in the Primary In room. For more information on this type
of workflow, see “
Using the Primary, Secondary, and Color FX Rooms Together to
Manage Each Shot’s Corrections
Where to Start?
The process of secondary color correction is pretty straightforward and involves the
following steps.
Step 1:
Isolate the region of the image you need to adjust
There are three basic methods you can use to isolate, or qualify, features or areas within
an image in the Secondaries room:
 Key on a range of color, saturation, or brightness.
 Use a shape as a mask.
 Use one of the secondary curves to selectively adjust a portion of the spectrum.
All these methods are covered in this chapter. Once you’ve selected a region of the
image to work on, the Control pop-up menu lets you apply separate operations to the
inside and outside of the selection.
Before
After