G.3.2 giving the scanner an ipv6 address, P.458), G.3.2 giving the scanner an ipv6 address" (p.458) – Fujitsu Ricoh Fujitsu N7100E Network Image Scanner User Manual
Page 458
G.3 Configuring IPv6 Communication Environment
458
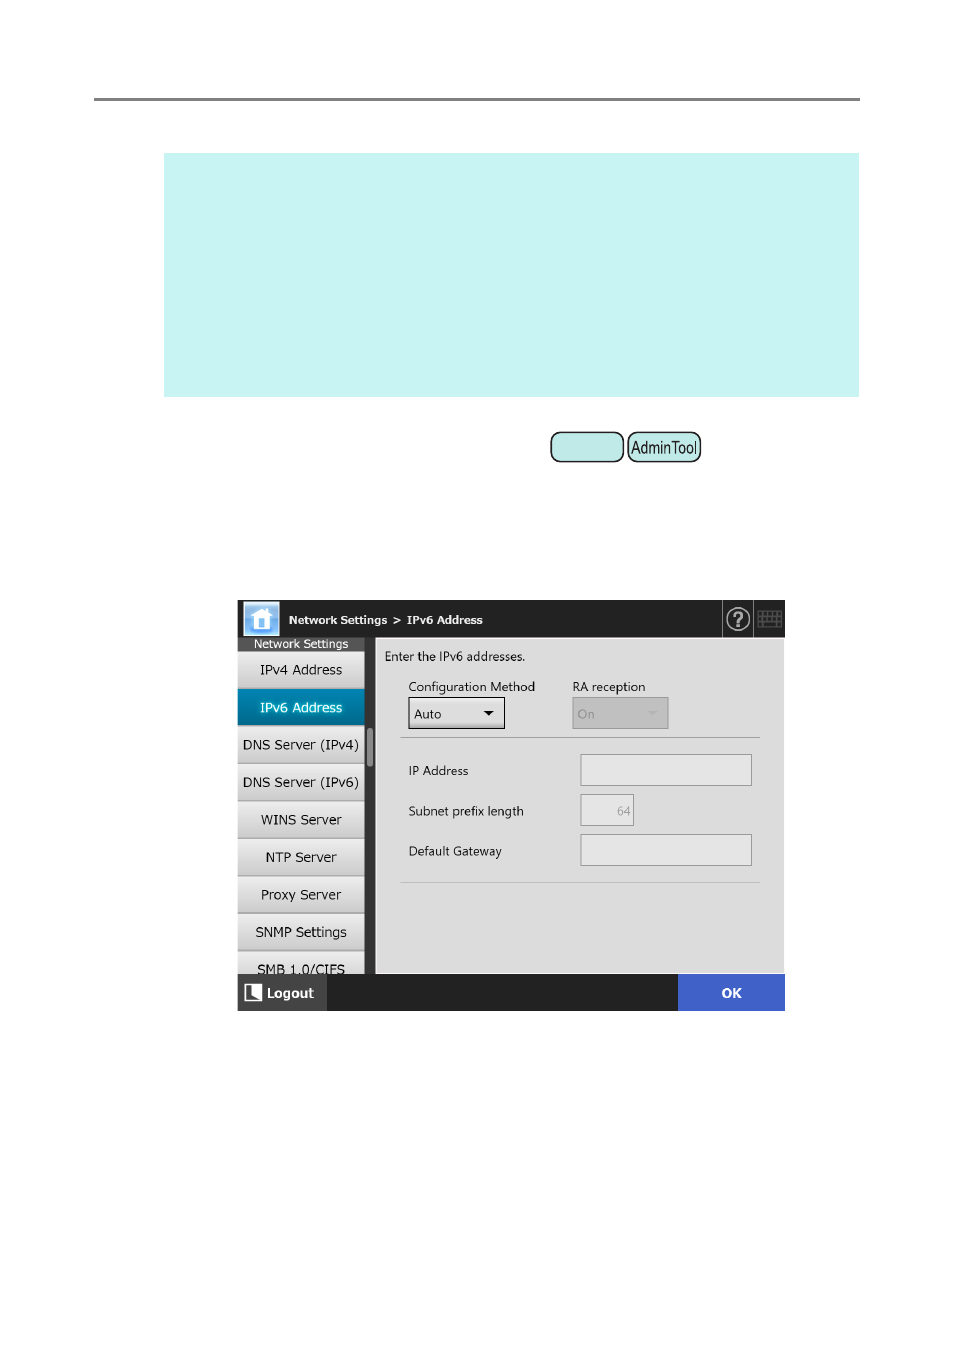
G.3.2 Giving the Scanner an IPv6 Address
An IPv6 address must be set in order to connect the scanner to a network.
1. Select [IPv6 Address] under [Network Settings].
The [IPv6 Address] window appears.
2. Specify each item.
3. Press the [OK] button.
The information entered is set.
HINT
If the IP address is the same as one already in use, network communication problems will
occur. In this case, try the following steps:
1. Disconnect the LAN cable.
2. Press the [Shutdown] button on the touch panel to turn the scanner off.
3. Press the power button to start the scanner with the LAN cable disconnected.
4. Enter a non-duplicated IP address.
5. Re-connect the LAN cable to the scanner.
The connection with the scanner is lost if the IP address is changed via the Admin Tool. To
continue with other settings, close the Admin Tool and then access the scanner via the
Admin Tool again. If you access the scanner with an IP address, use the new IP address.
Touch
Panel