F.9 saving the e-mail address book/local account, Saving the edited information to the scanner, Saving the e-mail address book/local account – Fujitsu Ricoh Fujitsu N7100E Network Image Scanner User Manual
Page 447
F.9 Saving the e-Mail Address Book/Local Account
447
F.9 Saving the e-Mail Address Book/Local Account
Save the edited e-mail address book or local account to the scanner.
■
Saving the Edited Information to the Scanner
Save the edited e-mail address book or local account to the scanner.
By saving the e-mail address book to the scanner, My List is updated with the changes.
1. Select the [Address Book] tab to save e-mail address books.
Select the [Local Account] tab to save local accounts.
2. Perform either of following operations:
Select the [File] menu
[Save to Scanner].
Press the [Save to Scanner] button on the toolbar.
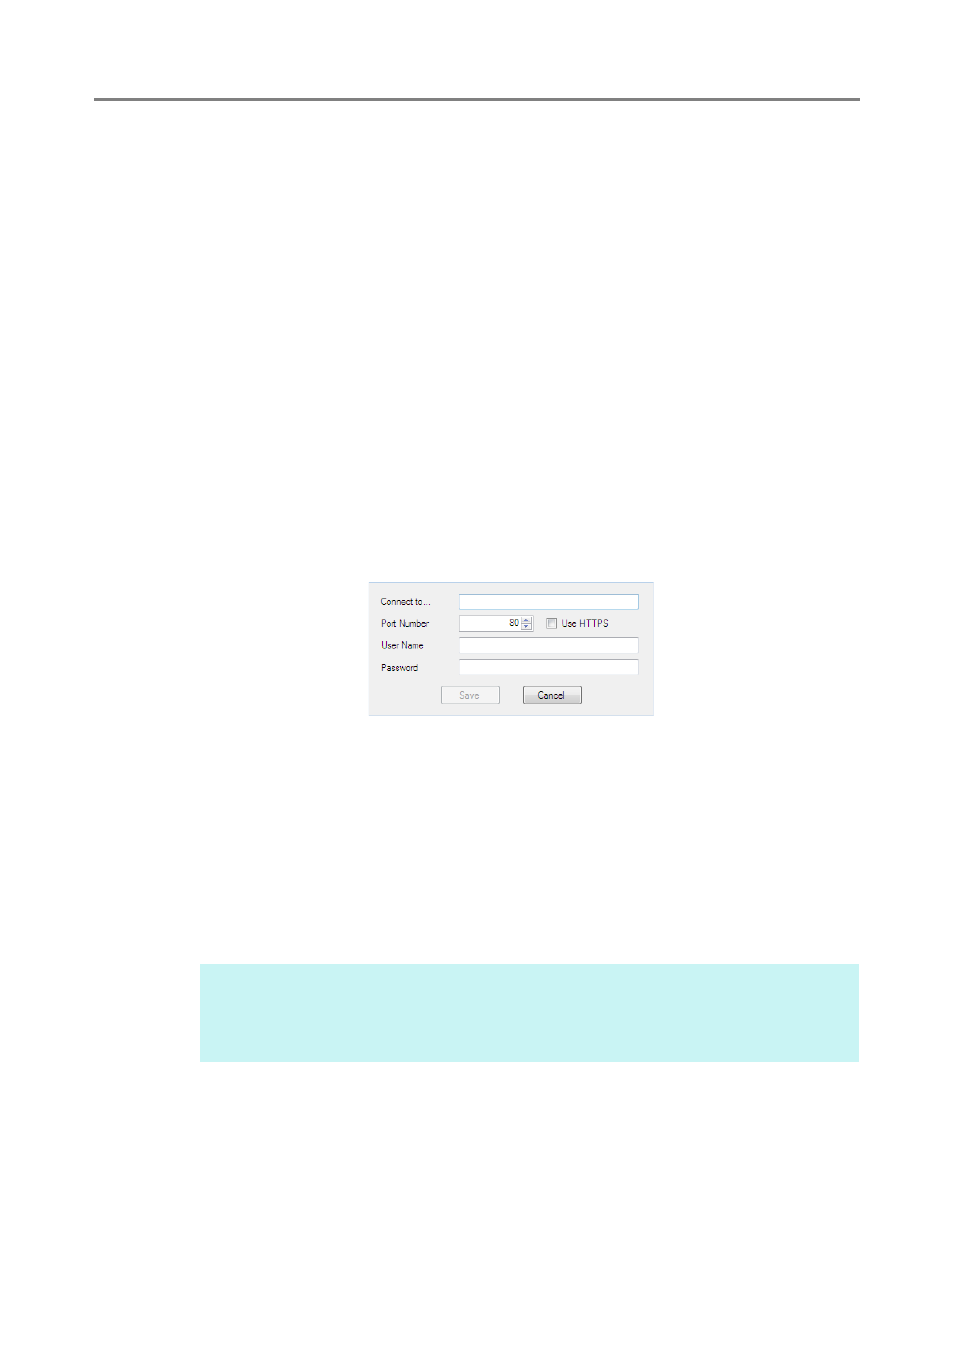
The [Save to Scanner] dialog box appears.
3. Enter the information to connect to the scanner.
Enter the scanner IP address, host name, or FQDN for [Connect to].
To enter an IP address, use the "
xxx.xxx.xxx.xxx
" format, where xxx is a value
from 0 to 255.
For a host name or FQDN, up to 255 characters can be entered.
For [Port Number], enter the number of the port to be used for communication with
the scanner, within the range of 1 to 65535. The default value is "80".
Select the [Use HTTPS] check box to use HTTPS for communication from the
scanner.
For [User Name], enter the name of the user to login to the scanner.
For [Password], enter the password for the user to login to the scanner.
4. Press the [Save] button.
e-Mail address books or local accounts are saved in the scanner.
HINT
Connect to the scanner as a user who can log in to it.
To edit an e-mail address book, login as a regular user.
To edit local accounts, login as an administrator.