Fujitsu Ricoh Fujitsu N7100E Network Image Scanner User Manual
Page 230
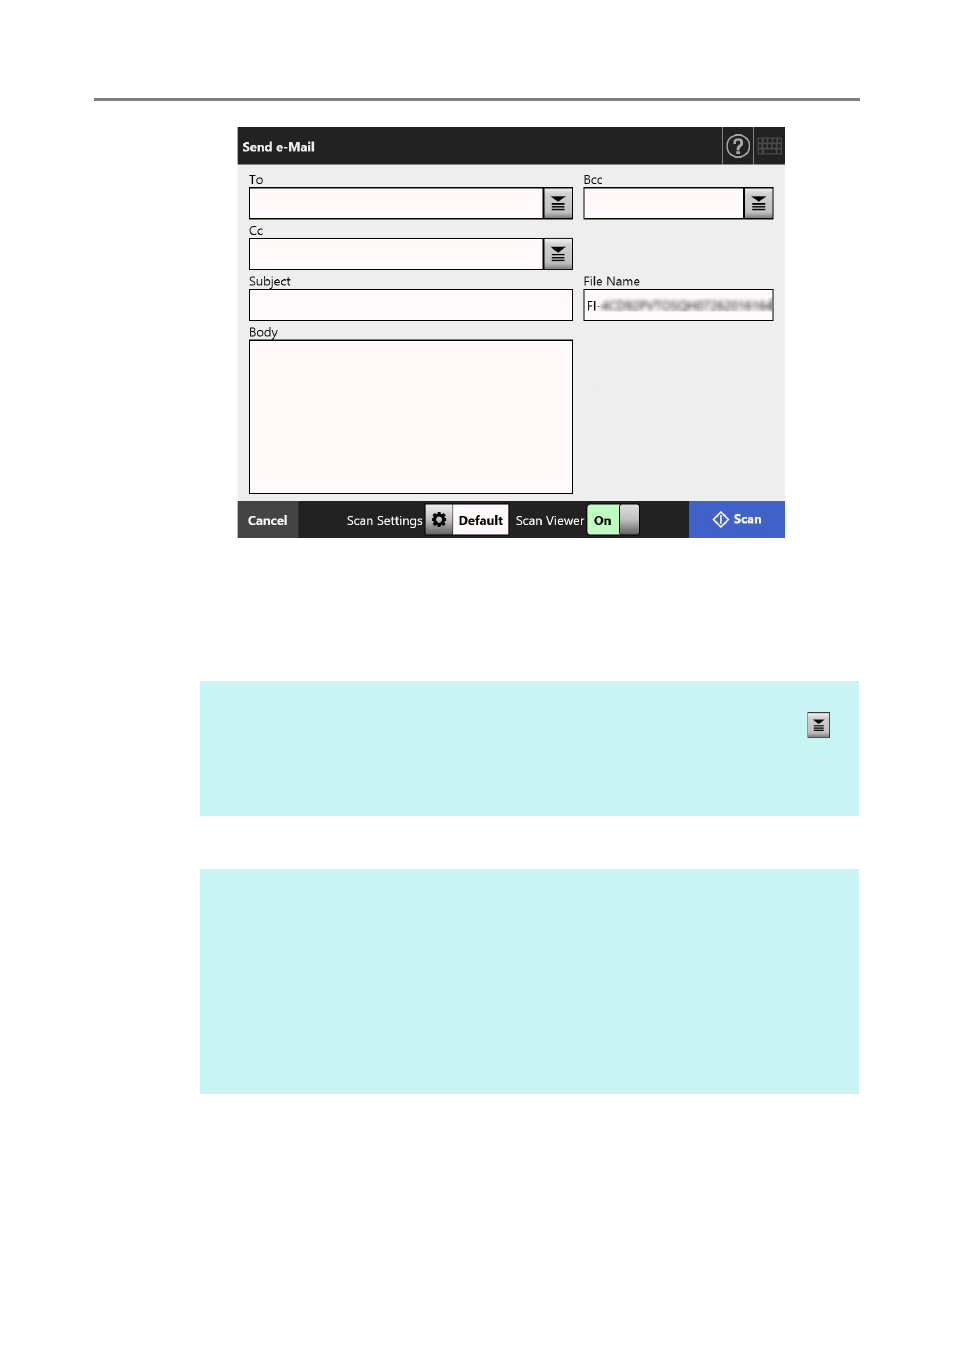
5.4 Sending the Scanned Data by e-Mail
230
3. Enter an e-mail address in the [From] field.
This field can be entered if logged in with the guest account, that has no set e-mail
address.
For details about e-mail address settings values, refer to
4. Specify the rest of the items.
5. Press the [Scan] button.
When [Scan Viewer] is [Off], this will be a [Scan & Send] button.
Scanning starts.
HINT
[From] e-mail addresses can be selected from the e-mail address book by pressing
.
For details, refer to
"5.4.1 Selecting an e-Mail Target from the e-Mail Address Book"
.
If the e-mail address book cannot be used, contact the administrator.
HINT
[Request Return Receipt] and [Send a copy to my e-mail address] are displayed when
[Request Return Receipt] and [Bcc Sender for e-Mail] are [On] in [Send e-Mail] on the
administrator window. For more details, refer to
"4.11.3 Configuring Settings for
.
The [Clear the authentication settings] button is displayed when [SMTP Authentication]
is enabled in [SMTP Server Extension] on the administrator window. For more details,
refer to
"4.11.2 Setting the SMTP Server (Extension)" (page 126)
Pressing this button enables you to clear the authentication information that you have
set.