7) deleting access codes, 8) turning restricted access on/off – TA Triumph-Adler DC 2020 User Manual
Page 134
4-52
Section 4 Other Features of this Fax
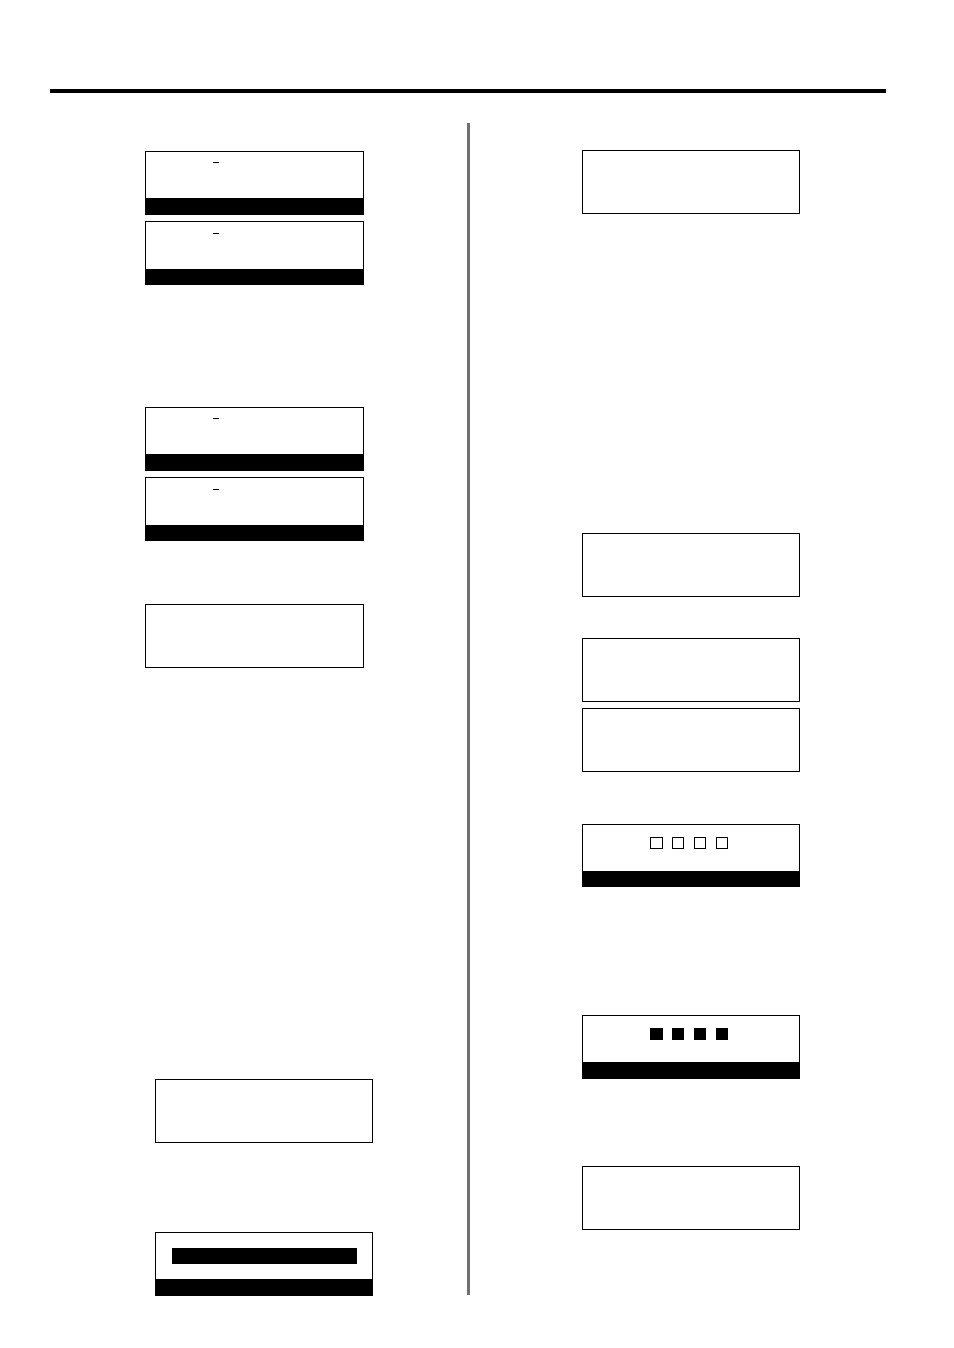
3. Press the Enter key.
4. Enter the desired department name.
(Refer to “Entering characters”, page 1-30.)
* The department name can be up to 32 characters in length.
* Press the Stop/Clear key to clear the currently displayed name
from the message display and enter the name from the
beginning.
5. Press the Enter key.
Registration of the new department name is complete.
> If you want to continue changing other department names,
repeat steps 2 - 5.
> If you are finished changing department names, press the Reset
key. The operation panel will return to the initial mode settings.
(7) Deleting Access Codes
Perform the following procedure when you want to delete a
registered access code.
* You will need to enter the registered management password when
you want to delete an access code. (Refer to “Registering the
Management Password”, page 6-17.)
* If you want to cancel the procedure part way through, press the
Reset key. The operation panel will return to the initial mode settings.
1. Perform steps 1 - 6 of “(5) Registering Access Codes”, page 4-50.
2. Use the cursor up or the cursor down key to select the access
code to be deleted.
3. Press the Stop/Clear key.
* If you want to cancel the deletion procedure, simply press the
Stop/Clear key again.
4. Press the Enter key. The selected access code will be deleted.
> If you want to continue deleting other access codes, repeat
steps 2 - 4.
> If you are finished deleting access codes, press the Reset key.
The operation panel will return to the initial mode settings.
(8) Turning Restricted Access ON/OFF
Perform the following procedure when you want to turn Restricted
Access ON or OFF.
* You will need to enter the registered management password when
you want to turn Restricted Access ON or OFF. (Refer to
“Registering the Management Password”, page 6-17.)
* If you want to cancel the procedure part way through, press the
Reset key. The operation panel will return to the initial mode settings.
1. Raise the cover plate and press the Configure key.
The “Set Fax” menu will appear in the message display.
2. Use the cursor up or the cursor down key to select “Management”.
3. Press the Enter key.
4. Use the keypad to enter the currently registered management
password (4 digits).
* If you enter the wrong password, an error message will be
displayed. In this case, press the Enter key and enter the correct
password.
5. Use the cursor up or the cursor down key to select whether to turn
Restricted Access ON or OFF.
* The asterisk (*) in the message display indicates the current
setting.
#03:SKL-G
Department Name
#03:PDL-G
Department Name
Access Code:
#01:
#02:
➪
#03:3363:PDL-G
Access Code:
#01:
#02:
➪
#03:3363:PDL-G
Access Code:#03
Press ENTER key
Delete
Access Code:
#01:
#02:
➪
#03:
#03:SKL-G
ID-code name
#03:PDL-G
ID-code name
Set Fax:
End
➪
Line Type :Tone Dial
TTI :Outside P.
Set Fax:
RX Date/Time :Off
2 in 1 RX :Off
➪
Management :Off
Set fax:
Paper feed sel:Auto sel.
2-up RX :Off
➪
Management :Off
(Inch)
(Metric)
(Inch)
(Metric)
(Inch)
(Metric)
Enter Your Password
Enter Your Password
Management:
➪
On
*Off