Analysis based on pass/fail mask, Analysis based on pass/fail mask -10, Analysis based on pass/fail – RIGOL DS6000 Series User Manual
Page 202: Mask

RIGOL
DS6000 User’s Guide
10-10
Analysis Based on Pass/Fail Mask
Press Analyze and select “Pass/Fail”. Then, set the templet used in analysis based
on Pass/Fail mask through the method below.
Press MaskRange to open the following setting menus.
1. Mask Range
Press this softkey to select “Screen Region” or “Cursor Region” for the analysis
(the default is “Screen Region”). When “Cursor Region” is selected, two gray
cursor lines appear on the screen. At this point, press CursorA and CursorB;
then, use
to adjust the positions of the two cursor lines respectively to
determine the analysis range. Or, press CursorAB and use
to adjust the
positions of cursor A and curcor B at the same time. Note that you can press
down
continuously to switch the current cursor.
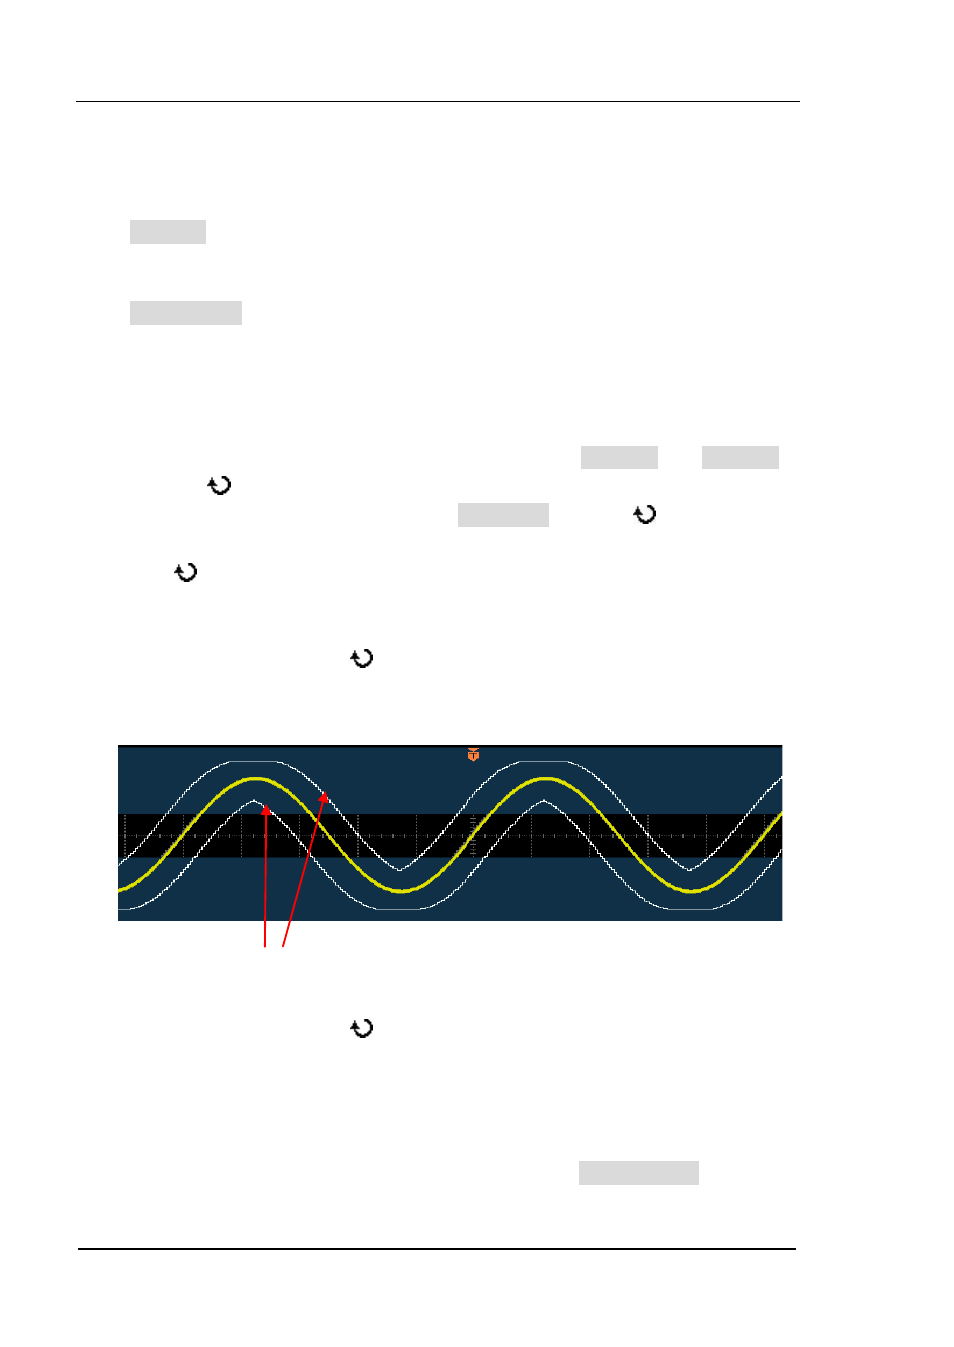
2. X Mask
Press this softkey and use
to adjust the horizontal threshold and the range
is from 0.02 div to 4.00div. During the adjustment, two curves would be
displayed to show the outline of the current mask, see the figure below.
3. Y Mask
Press this softkey and use
to adjust the vertical threshold and the range is
from 0.03 div to 4.00 div. During the adjustment, two curves would be displayed
to show the outline of the current mask.
4. Create Mask
Mask is the templet used in waveform analysis. Press Create Mask to
immediately apply the mask (X Mask and Y Mask) currently created.
Current Mask Outline
