Figure 3 – Grass Valley Trinix Multiviewer Installation User Manual
Page 46
TRINIX — TMV Installation and Service Manual
46
Installing the Trinix Multiviewer Board
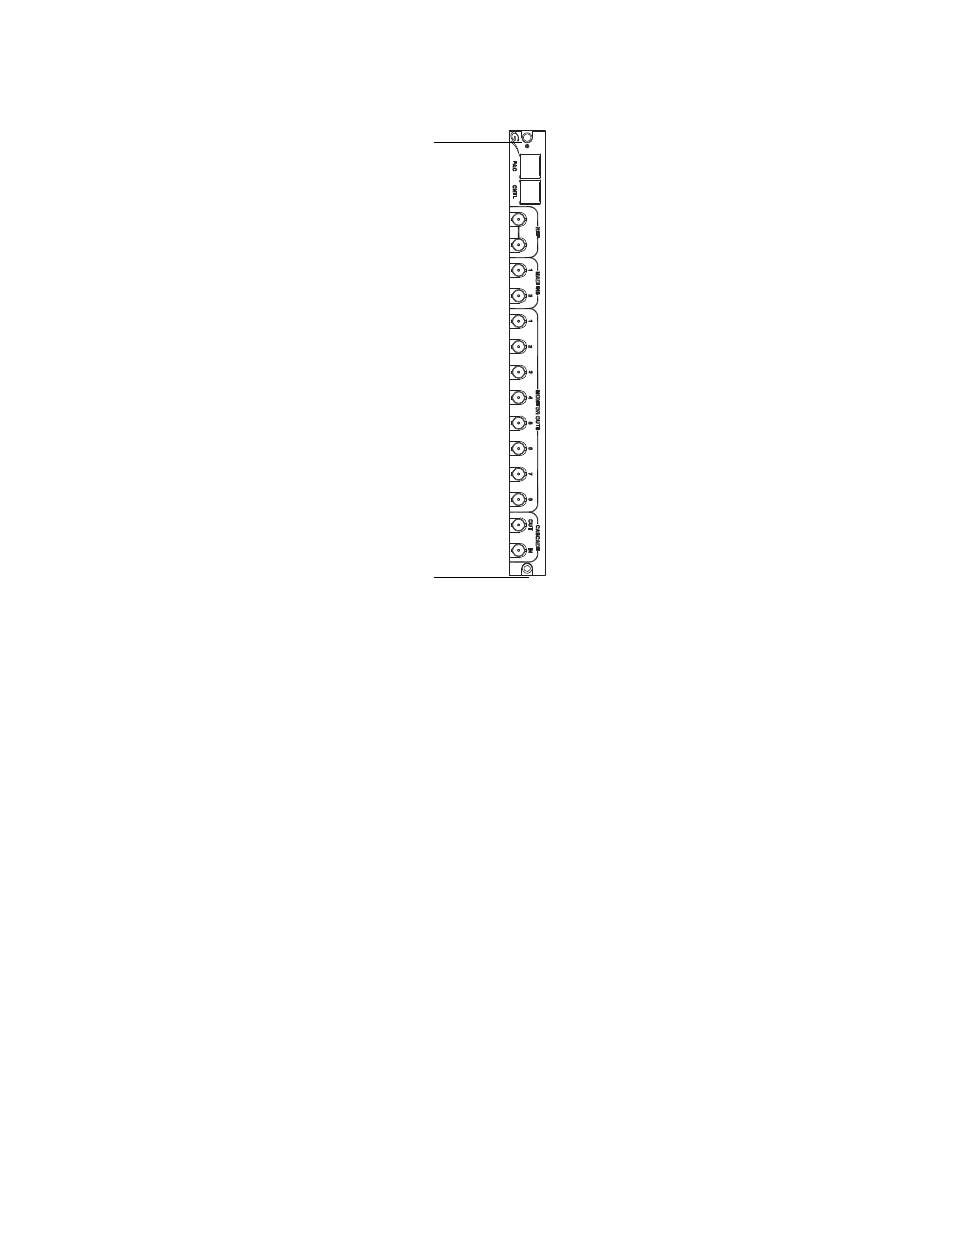
Figure 3. Install the Screws for the TMV Rear Panel
4.
Locate the front Output slot corresponding to the TMV rear panel.
5.
Insert the TMV boards into their corresponding locations from the front
of the Trinix frame and then lock them into place.
a.
To insert the boards, carefully slide the TMV board along the board
guides, keep the ejector levers spread apart; slide the board in until
the levers make contact.
b.
Fold the levers toward each other until the front ejector levers snap
into place, which will lock the board into the frame.
Note
If you are adding the Trinix Multiviewer to a symmetrical Trinix NXT frame
(that is, 128x128, 256x256, or 512x512), an added space between TMV
boards is required. See TMV Board Location
tion.
6.
Close the Trinix routing switcher’s door. Keep the routing switcher’s
door closed during operation to maintain optimum cooling conditions.
071873500_TMV-Rear-pnl-connections
Insert the top screw
Insert the bottom
screw