Grass Valley Trinix Multiviewer Installation User Manual
Page 112
TRINIX — TMV Installation and Service Manual
112
The Layout Tab
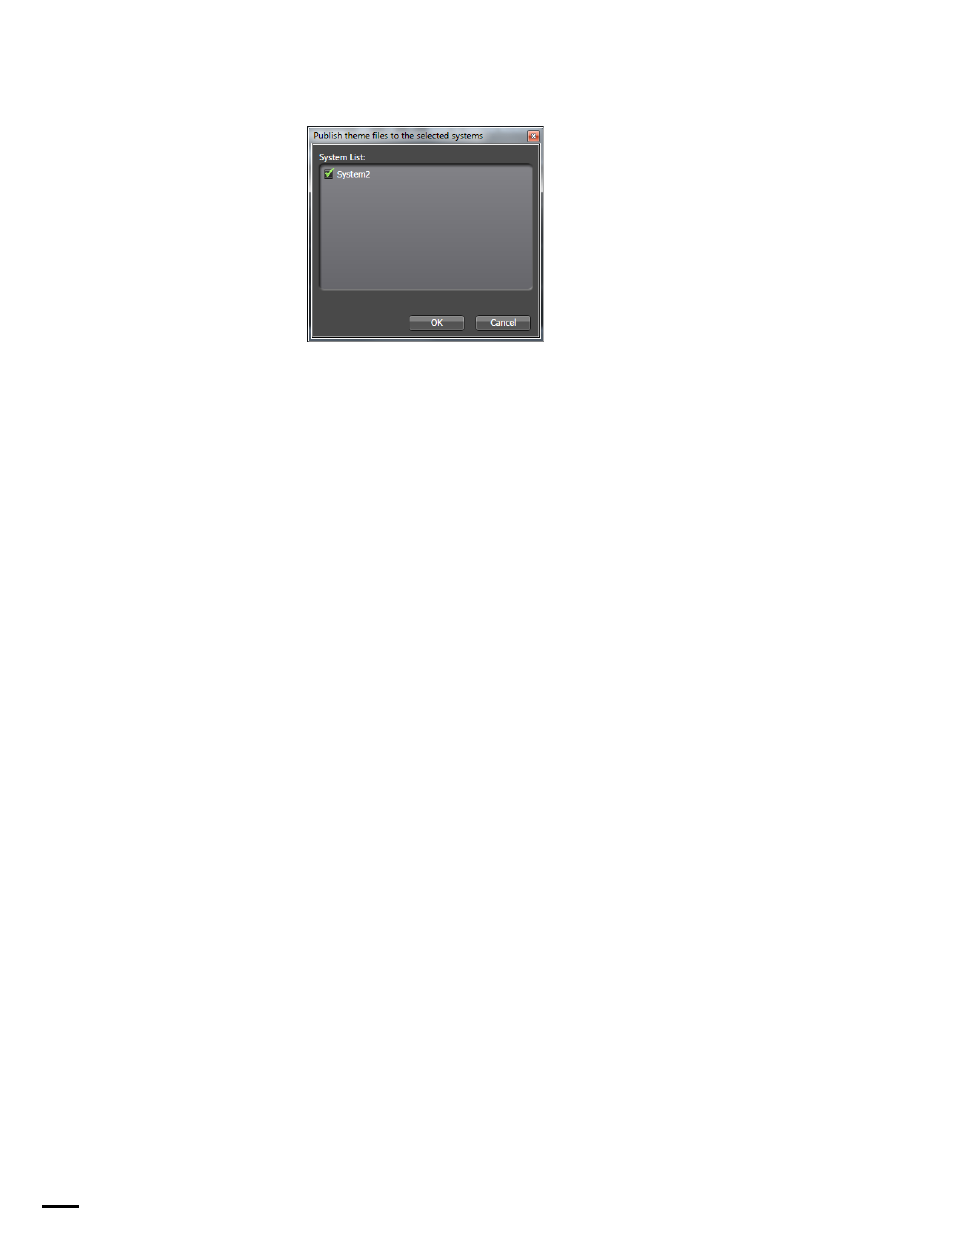
Figure 72. Publish theme files to the selected systems
From this dialog, you can select the system you wish to publish. Clicking
the
OK
button will publish the selected themes.
Print Wall Layout
: This function is only enabled when a Wall is selected.
Selecting this option will open the standard Windows Print dialog.
Print Monitor Layout
: This function is only enabled when a Monitor is
selected and the monitor is in Monitor Fill mode. Selecting this option will
open the standard Windows Print dialog.
Exit
: Closes the Trinix Multiviewer System Editor application.
Edit Menu
Undo
: Selecting the
Undo
menu option will cancel the previous change.
Redo
: The
Redo
option will become available after you select Undo.
Selecting the Redo menu option will reapply the change that was removed.
Add a system
: Selecting this menu option will create an additional system
in the Navigation panel. This option will become available after you click
the TrinixFrame item in the Navigation panel.
Note
TrinixFrame refers to the default setting of the second level node in the Navi-
gation panel. It is editable and you may rename it something else.
Remove system
: Selecting this menu option will delete the selected system
from the Navigation panel. The
Remove system
option will become available
after you select the system that you wish to delete in the Navigation panel.
Add a wall
: Selecting this menu option will immediately add a Monitor
wall. The Add a wall option will become available after you click the pre-
ferred system node in the Navigation panel.
Delete a wall
: Selecting this menu option will open a window that will ask,
“Are you sure that you want to delete this monitor wall?” Click the
Yes
button to delete the selected wall. Clicking the
No
button will close the
dialog without deleting the wall.