Adding a digital clock – Grass Valley Trinix Multiviewer Installation User Manual
Page 165
165
TRINIX — TMV Installation and Service Manual
Section 7 — Trinix Multiviewer Procedures
Audio Meter
: You can select the channels of the audio bars and how the
audio bars will be displayed, either Vertical or Horizontal. You can also
enable channel status display.
Adding a Digital Clock
You must add a Monitor before adding a Digital clock.
1.
Right click the Trinixframe item under the Untitled root node and select
the
Add a system
option to add a system. A node called
System
will appear.
2.
Right-click on the System node under the Trinixframe item and select
the
Add a Wall
option. A node called
MonitorWall1
will appear.
3.
Drag a Monitor onto the Wall.
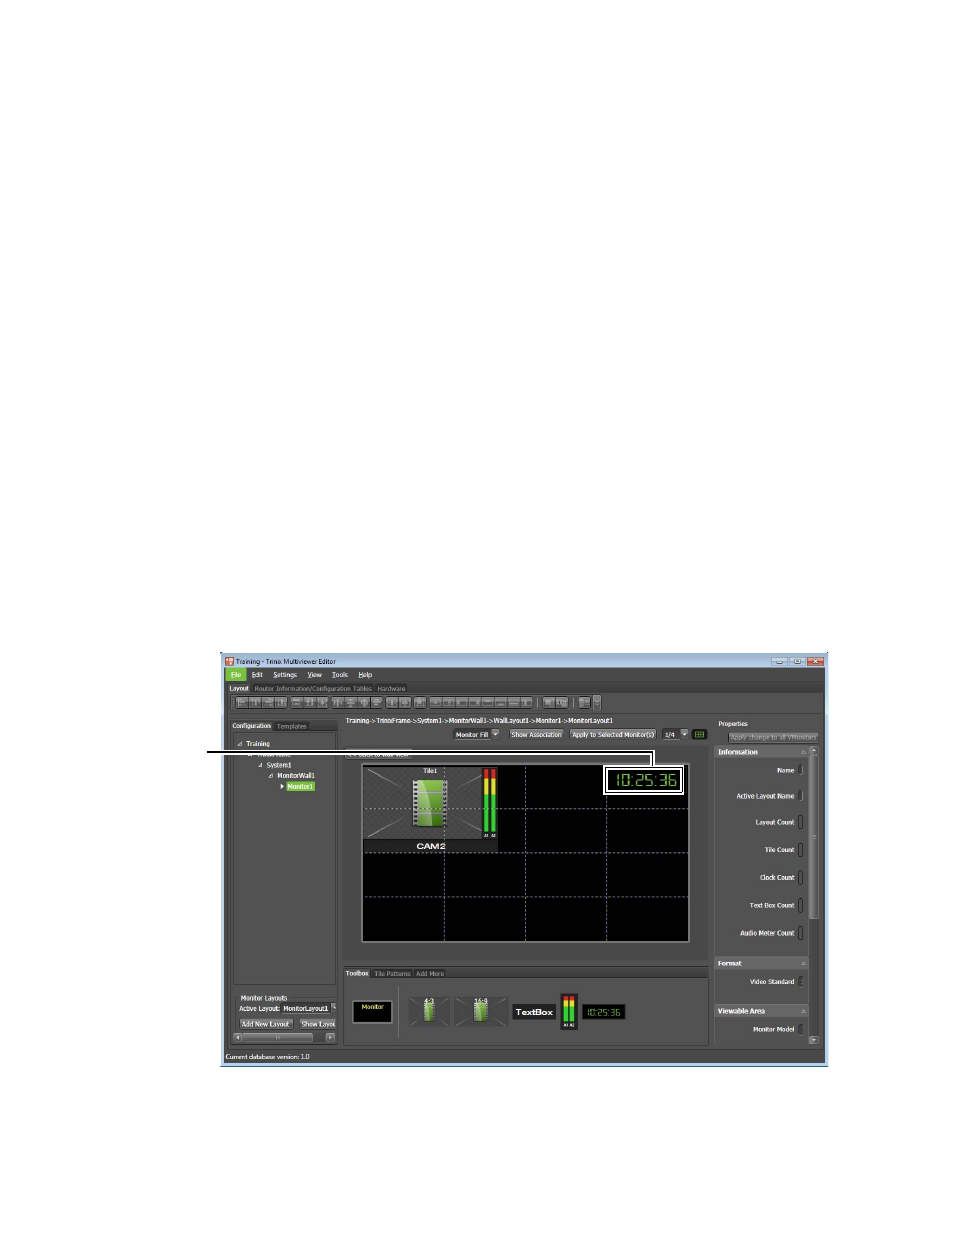
Follow these steps to add a Digital clock:
1.
Click the
Toolbox
tab and then double-click the preferred Clock icon. The
clock will be added to the center of the monitor or drag the icon onto
the monitor and place it at the same time.
2.
Adjust the size of the item and place the item in the preferred location.
3.
Adjust the properties of the clock in the Properties panel. The example
shown in
has the clock placed in the top-right corner.
Figure 163. A Clock has been Added
A Clock has
been added