PRG Vx76 User Manual 3.6 User Manual
Page 191
VX76 SOFTWARE USER MANUAL
175
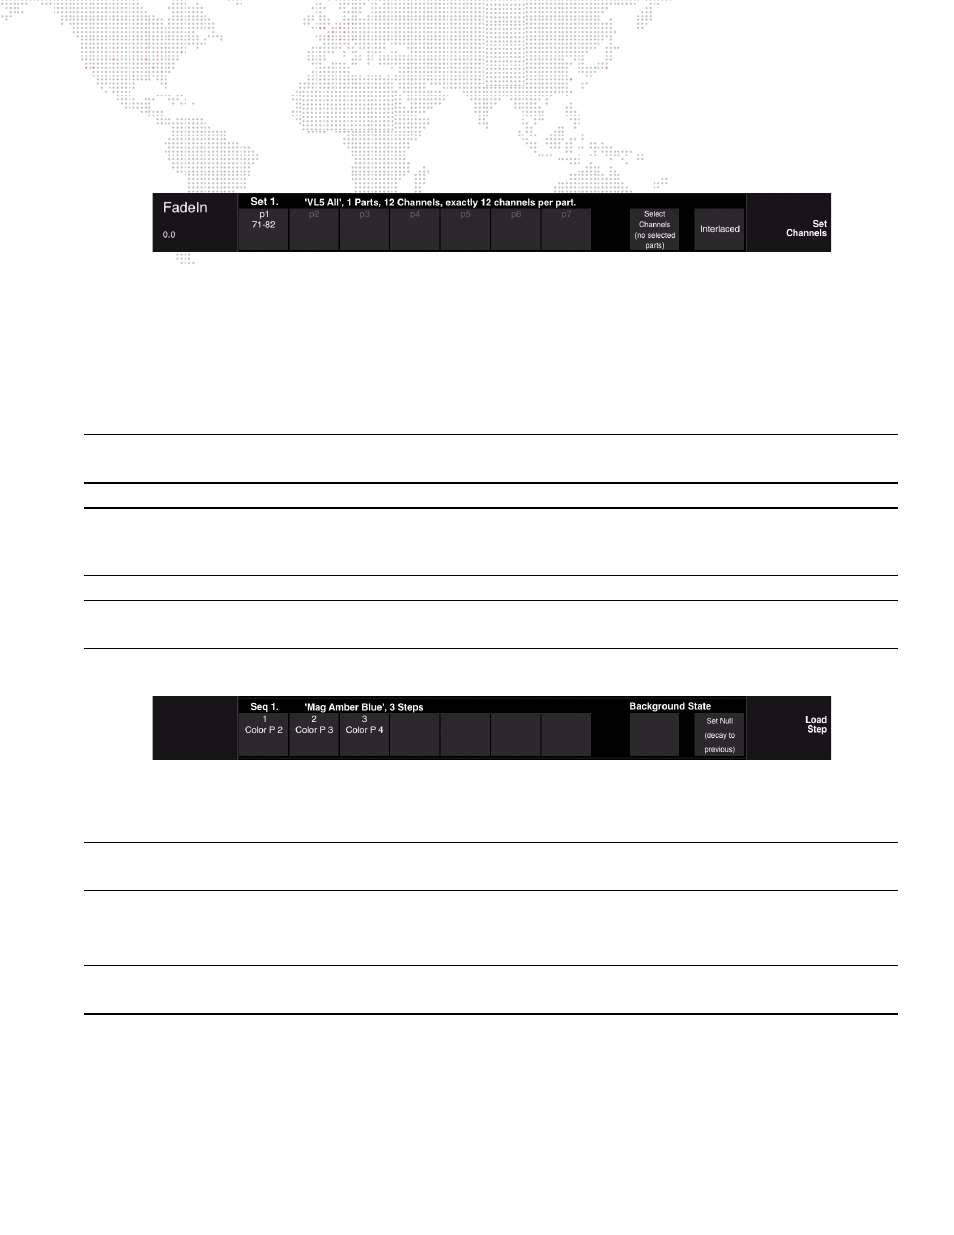
Set 0 (all patched channels) will be loaded into part 1 of the Set.
All attributes and timing will be in the default setting.
Step
4. Create a Set:
a.
Select required channels.
b.
Press
Interlaced/Sequential
button to select method of loading. (Also refer to
c.
Press and hold [Set Channels]
or
[Store] while selecting first part (for example, p1), then while
continuing to hold [Set Channels] / [Store],
drag
finger across touchscreen until last part is reached (for
example, p6). Release [Set Channels] / [Store] button. This will specify the range of parts that will
contain the channels. Channels will load across parts according to the method chosen (Interlaced or
Sequential).
Important! In order to properly load the channels across the parts, you must
drag
your finger across the
touchscreen. Pressing the first part button, then pressing the last part button will not work.
Note: Parts can be loaded in reverse order by
dragging
finger across the touchscreen in the
reverse direction
. For
example, press and hold [Set Channels]
or
[Store] while selecting
p6
, then while continuing to hold [Set Channels] /
[Store],
drag
finger across touchscreen until
p1
is reached. Release [Set Channels] / [Store] button.
Note: To create a Set with more than seven parts, it will be necessary to use the Set Edit screen. Refer to
Step
5. Create a Sequence:
a.
Press [Load Step] button (at right of screen). (Button will flash and text will turn red.)
b.
Using palettes (Preset, Color, Beam, etc.) fill steps with actions. (Selection will automatically advance to
the next step after an action is loaded.)
Note: Up to three actions can be stored in single step. To specify additional actions, select the step again and add
the new action.
c.
Press [Cancel Load Step] button. (Button will stop flashing and text will turn to white.)
d.
If desired, select a Background State. (Refer to
Note: To create a Sequence with more than seven steps, it will be necessary to use the Sequence Edit screen. Refer
to
"Using the Sequence Edit Screen"
Step
6. Label effect. (When labeling, the name can be entered on the console touchscreen keyboard
or
computer
keyboard.)
a.
Press and hold [Label] while pressing
Effect Select Button
.
b.
Enter alpha/numeric label.