Belt removal and replacement – Cub Cadet 6 x 4 Big Country User Manual
Page 28
Section 2: Clutch, Transmission, Brakes, Linkages
2- 19
2
14.
Belt Removal and Replacement
14.1. The Belt should be checked for wear every 40
hours.
This is a visual inspection, and does not
necessarily involve belt removal.
NOTE: The belt is the primary wear item in the
drive system. If drive system performance
begins to degrade, inspect or replace the belt.
NOTE: The driving clutch should engage the
belt at 2,100 R.P.M. Check the engagement
speed before and after changing the belt. If
engagement speed is high before changing the
belt, but remains high with the new belt, there
may be an issue with the driving clutch.
NOTE: If drive system operation seems labored,
or if the belt wears prematurely, insure that the
brakes are not dragging.
14.2. To remove the belt, remove the belt guard
using the following procedure:
•
Lift and secure the bed.
•
Fold both seats forward.
•
Loosen the hose clamp at the plenum end of the
hose that connects the plenum to the air filter.
•
Remove the two bolts that fasten the plenum to
the frame using a pair of 9/16” wrenches.
•
Lift the plenum straight up, and remove it.
NOTE: There are rubber flat washers between
the plenum and the frame.
•
Disconnect the barbed cable tie from the belt
guard.
•
Remove the two horizontal bolts that hold the
belt guard to the frame using a ½” wrench.
•
Remove the nuts from the bottom of the two ver-
tical bolts that hold the belt guard to the frame,
using a pair of ½” wrenches.
•
Lift the belt guard straight up and removed it.
14.3. Remove the clutch pulley brake arm according
to the instruction in the “Removal and Installation
of the Clutch Pulley Brake Arm” section of this
manual.
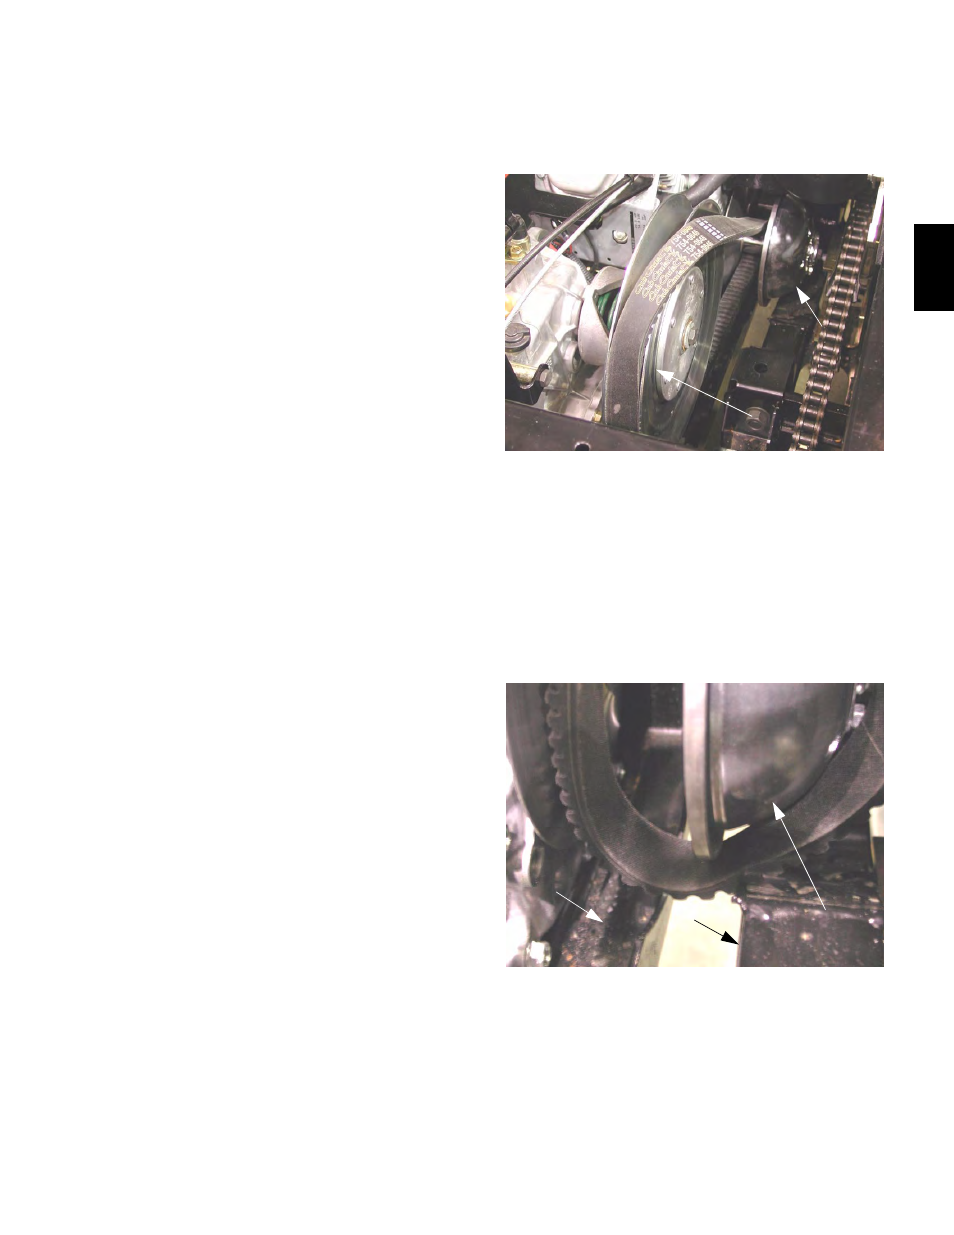
14.4. Roll the belt off of the driven clutch pulley.
14.5. Turn the belt in-side-out.
NOTE: Clearance between the driving clutch
pulley and the frame may be extremely tight.
Turning the belt inside-out will help avoid scar-
ring the belt during removal and installation.
14.6. Roll the belt off of the driving clutch pulley.
14.7. Inspect the clutch pulleys for signs of wear or
damage.
14.8. Reverse the removal procedure to install the
belt.
Figure 14.4
Driven Clutch Pulley
Driving Clutch Pulley
Figure 14.6
Frame
Engine Support
Driving Clutch