Cub Cadet 6 x 4 Big Country User Manual
Page 113
Section 6: Front Suspension
6 - 18
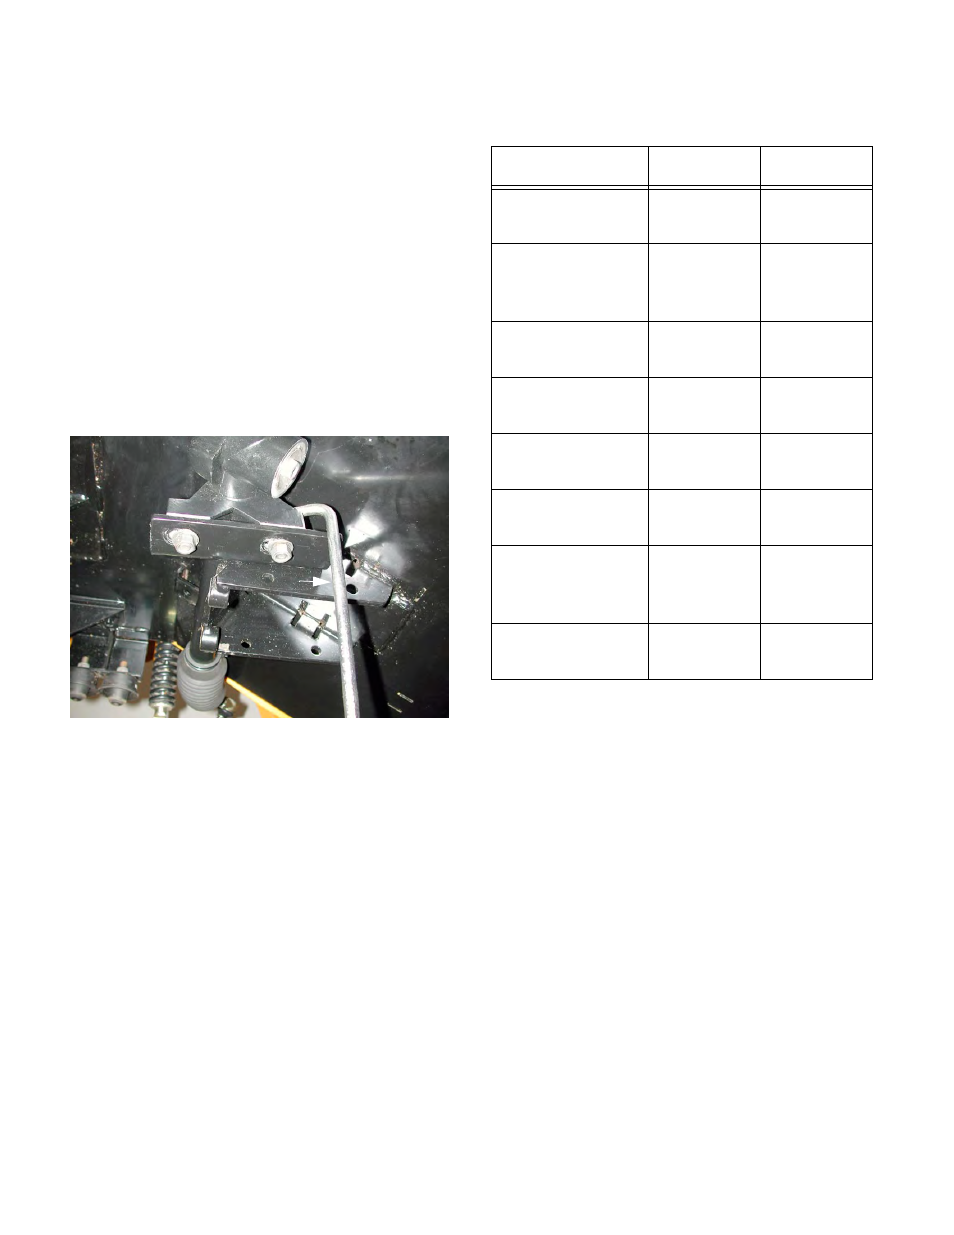
NOTE: In order to achieve proper alignment, it
may be necessary to adjust the position of the
steering rack on the steering sector bracket.
This adjustment is the reason for the slotted
mounting holes in the steering sector bracket.
10.25.Insert the clamp bolt through the hole in the uni-
versal joint
10.26.Install the lock washer and nut on the clamp bolt,
and tighten the nut to a torque of 48-58 ft-lbs.
using two 9/16” wrenches.
10.27.Tighten the nuts and bolts that hold the steering
rack to the steering sector bracket to a torque of
48-58 ft-lbs using two 9/16” wrenches.
NOTE: The bolts holding the steering rack to the
steering sector bracket are accessible in the
vehicle using a crow foot wrench or an automo-
tive distributor wrench.
10.28.After the steering rack is firmly mounted, push
the stop collar up against the bottom bearing on
the upper steering shaft. Secure it by tightening
the set screw using a 1/8” allen wrench.
10.29.Install the front axle assemblies as described in
the “Front Axle Assembly Removal and
Replacement” section of this manual.
10.30.Check the alignment as described in the “Check-
ing and Adjusting the Front Wheel Alignment”
section of this manual.
10.31.Test drive the Big Country in a safe manor
before returning it to service.
11.
Torque Table: Front Suspension
Automotive Distributor Wrench
Location
Inch-lbs
Foot-Lbs
Front Wheel
to Vehicle
80-95 ft-lbs
Tie Rod to
Steering
Knuckle
80-95 ft-lbs
Tie Rod
Jam Nut
48-58 ft-lbs
Steering Mount-
ing Bracket
48-58 ft-lbs
Steering Sector
Clamp Bracket
48-58 ft-lbs
Universal Joint
Clamp Bolt
48-58 ft-lbs
Steering
Knuckle to Axle
assembly
80-95 ft-lbs
Axle Assembly
to Vehicle
175-195
ft-lbs