Removing interface cards – B&K Precision 9171-9174 - Manual User Manual
Page 24
12
both sides. Slide the card down carefully. When it touches
the 48-pin connector, slowly push the card all the way in until
the panel of the interface card aligns with the rear panel of
the power supply.
4. Place the two screws to tighten and secure the installed card.
5. Connect the power cord and turn on the power supply. The
newly installed card will be detected during boot up, indicated
next to
S1: or S2: (depending on which slot the card is
installed into).
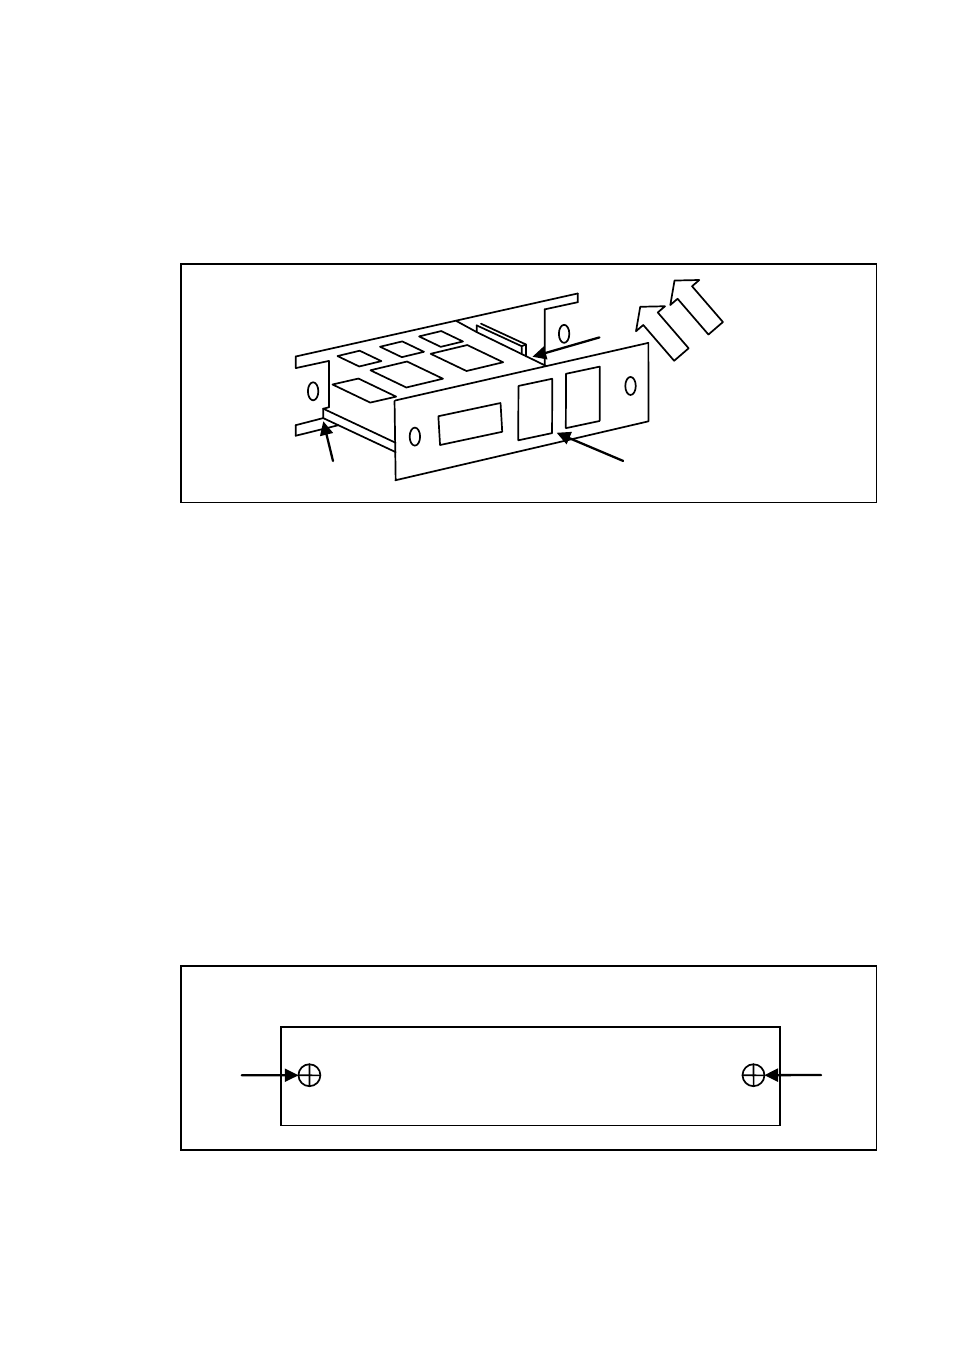
Removing Interface Cards
1. Power off the instrument and disconnect the AC power cord
in the rear panel. Remove the two screws on each side of
the installed interface card.
2. Use a flat blade screwdriver to gently pry the left and right
side of the interface card plate. When there is enough room,
S1
Interface card