How to move a clip gpi, How to modify a clip gpi, How to delete a clip gpi – EVS IPDirector Version 6.0 - November 2012 Part 8 User's Manual User Manual
Page 239
How to Move a Clip GPI
When a clip GPI is selected, you can move the GPI within the limits of the clip in one of
the following ways:
•
By dragging it with the mouse.
•
By pressing the following shortcut keys:
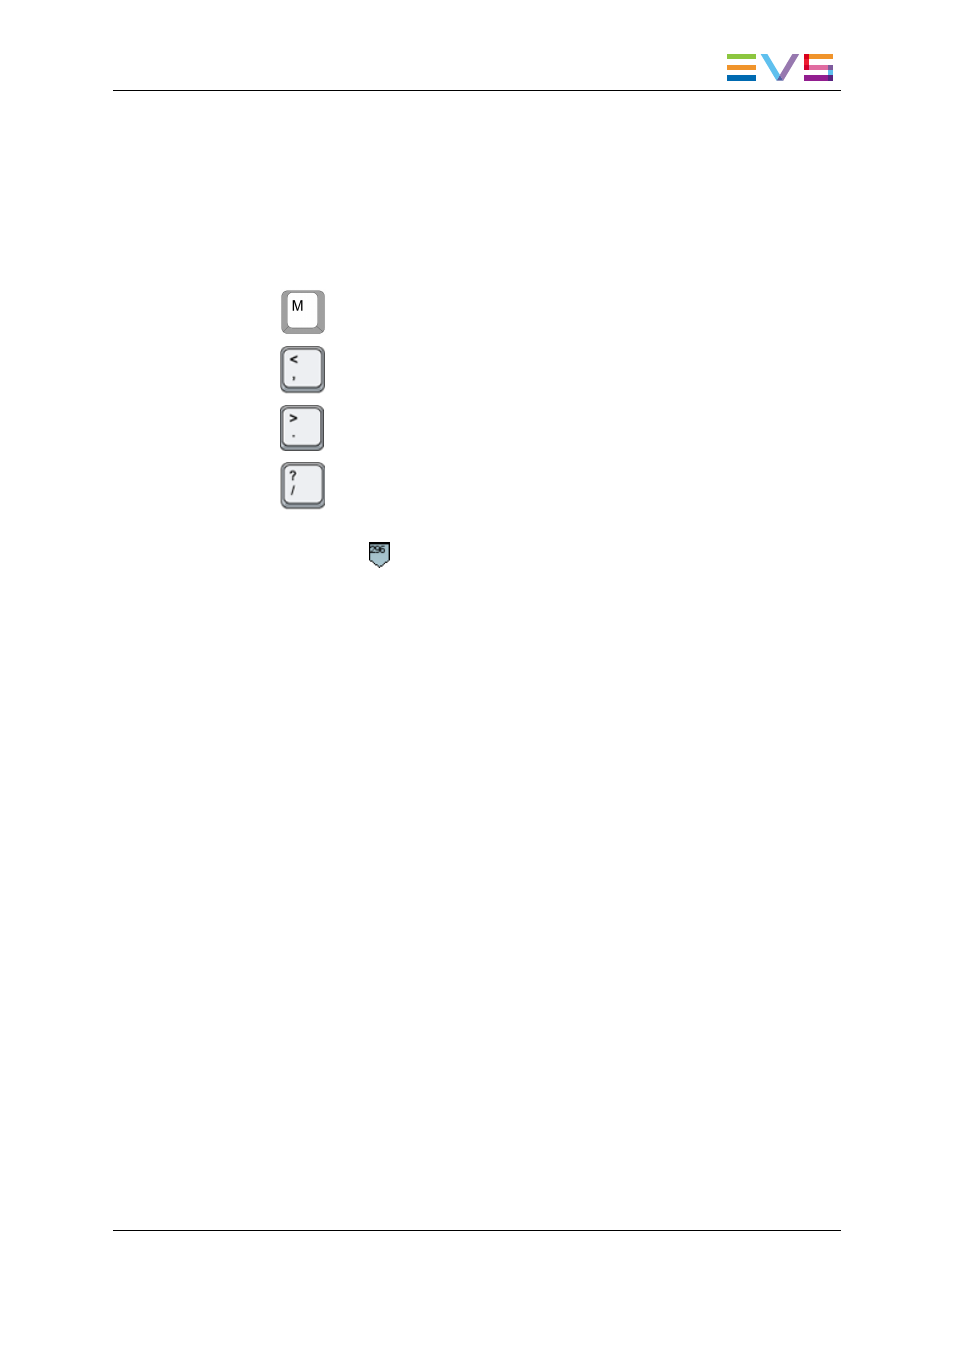
◦
to move the GPI 10 frames to the left in the clip.
◦
to move the GPI 1 frame to the left in the clip.
◦
to move the GPI 1 frame to the right in the clip.
◦
to move the GPI 10 frames to the right in the clip.
As you are moving the GPI, it turns light blue and displays the frame on which it is
positioned in the clip
.
How to Modify a Clip GPI
To modify a GPI defined on an element of the timeline, proceed as follows:
1. Select the Clip GPI with the lasso as described above in this section. The GPI marker
is displayed with a white border.
2. Right-click on the GPI and select Modify GPI from the contextual menu.
The Modify GPI OUT dialog box opens.
3. Modify the requested settings in the Modify GPI Out window.
4. Click Apply.
The settings of the clip GPI have been modified. The new GPI settings will display after
one second when you position the mouse cursor on the GPI marker.
How to Delete a Clip GPI
1. Select the Clip GPI with the lasso as described above in this section. The GPI marker
is displayed with a white border.
2. Right-click on the GPI and select Delete GPI from the contextual menu.
A warning message is displayed.
3. Click Yes to confirm that you want to delete the clip GPI.
The clip GPI marker has been removed from the Timecode bar.
IPDirector - Version 6.00 - User Manual - IPEdit
6. Timeline
227