Configuring trap host – ATL Telecom R1-SW Ethernet Switch User Manual
Page 145
Configuring SNMP and RMON
8-11
Configuring Trap Host
Trap host is the host to receive traps from an SNMP agent. Trap is message sent by an SNMP
agent to an NMS, a console, or a terminal to indicate the occurrence of a significant event, such
as a specifically defined condition or a threshold that was reached. By default, no trap host is
configured. To receive the trap generated on your managed device using NMS, you must add
the NMS as a trap host. You can specify up to twenty trap hosts on the Corecess R1-SW24L2B.
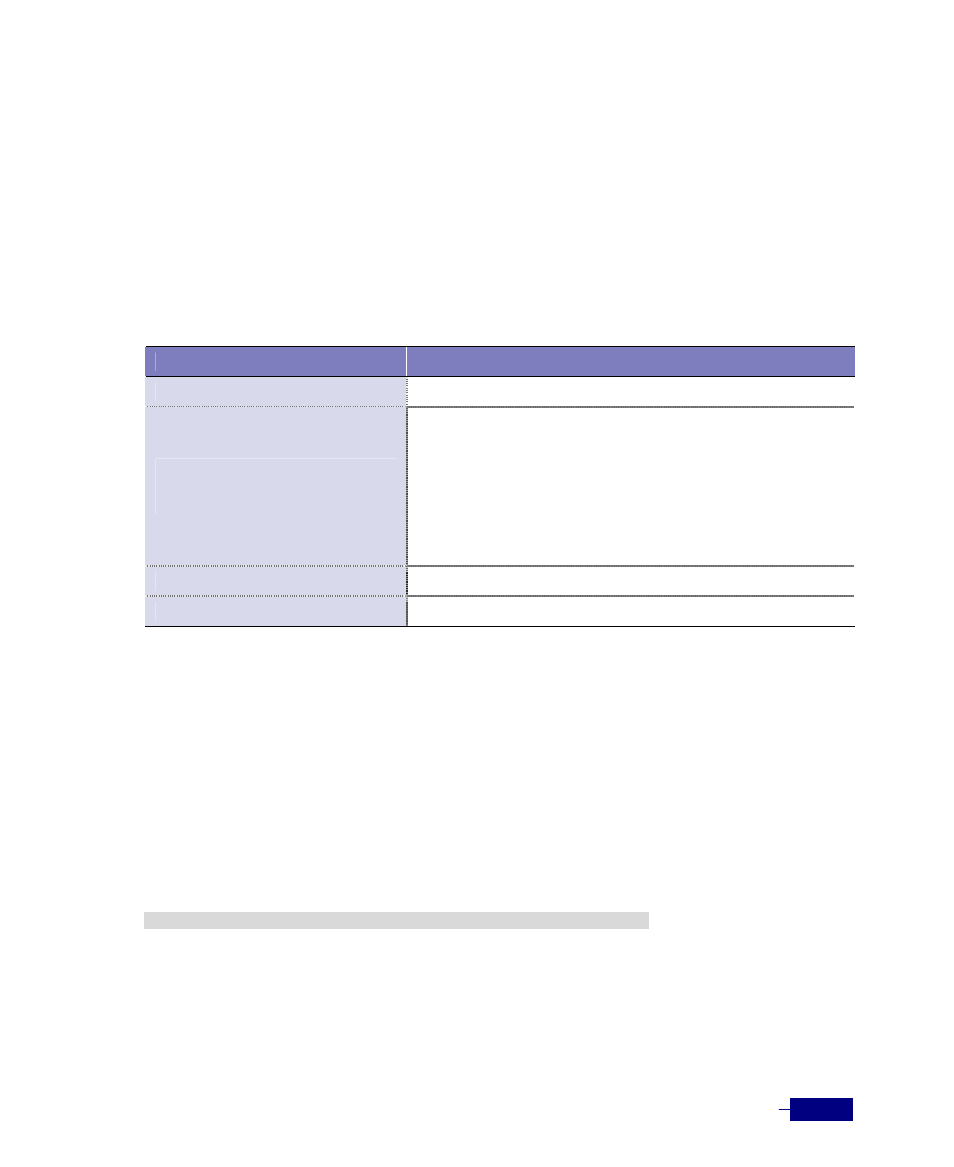
To add or modify trap hosts, use the following commands in Privileged mode:
Table 8-7 Configuring a trap host
Command
Task
configure terminal
1. Enter Global configuration mode.
snmp-server host
port
{
2. Add a trap host.
y
host that has been configured to receive traps.
y
traps to the specified SNMP host.
y
traps to the specified SNMP host (1 ~ 65535).
y
default: use 162 of default UDP port number.
end
3. Return to Privileged mode.
show snmp-server
4. Verify the trap host entries
The following example shows how to add a trap host:
# configure terminal
(config)# snmp-server host 172.168.2.23 R1SW24 port default
(config)# end
# show snmp-server
RMON: Enabled
Extended RMON: Extended RMON module is not present
:
:
rap-Rec-Address Version Trap-Rec-Community
---------------------------- ------- ----------------------
udp:172.168.2.23:162 v2c R1SW24
:
:
# write memory
Building Configuration...
[OK]
#