Rendering rewire tracks to audio files – Teac GigaStudio 3 User Manual
Page 84
84
85
Note: Only activate in your host DAW application as many ReWire audio channels
as you will need for your project. this will keep the CPU demands lower, therby leaving
more computational power for effects such as the GigaPulse convolution engine.
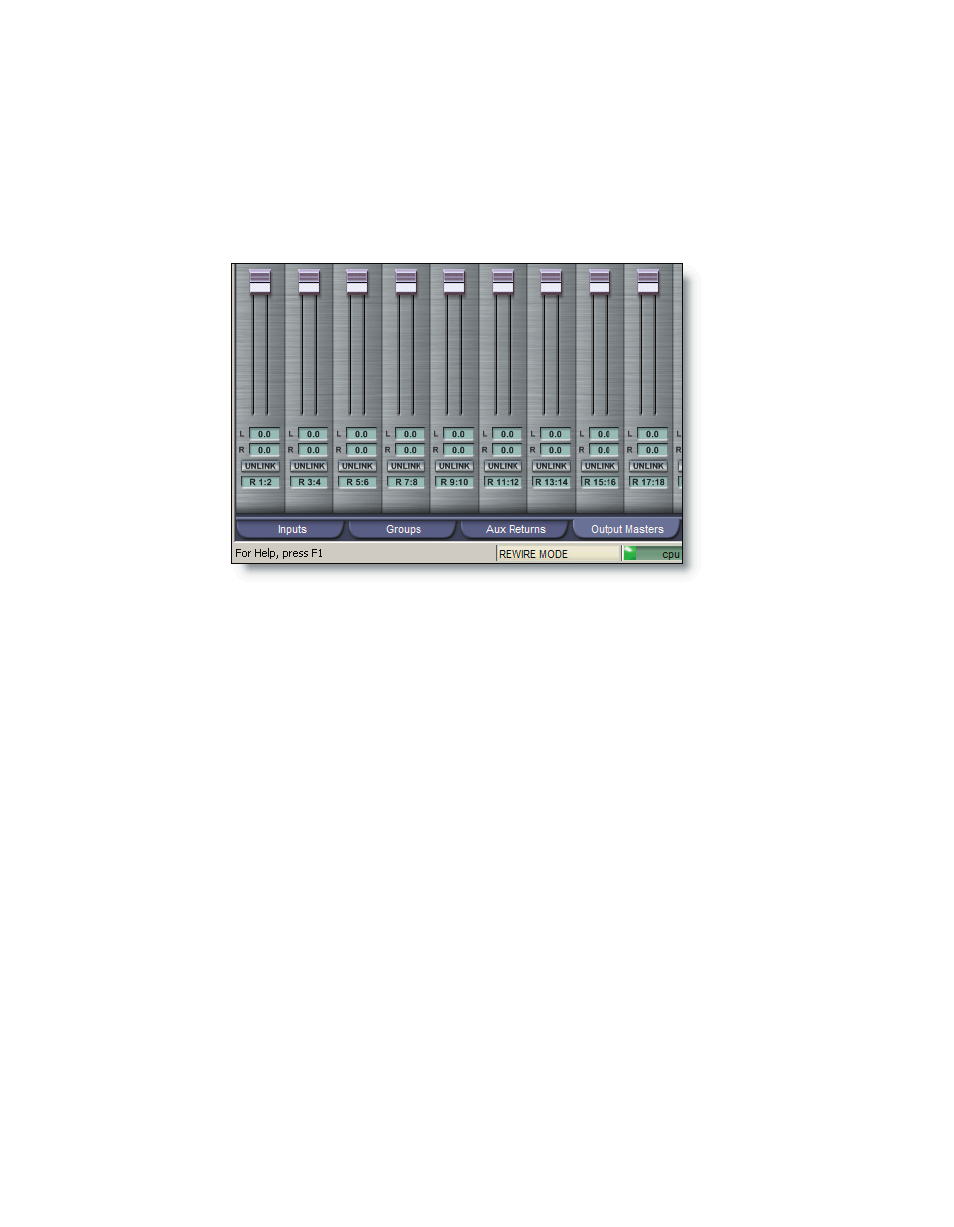
Click on the Output Masters tab to gain access to the faders for the ReWire outputs.
Adjust the levels here if you need to avaoid clipping at the inputs of the host applica-
tion.
In your host application (sequencer) activate a number of MIDI tracks, route the
MIDI outputs to “Giga3” channels 1, 2, and 3 where you have instruments loaded in
GigaStudio Port 1. The audio will be routed to “Giga3 ReWire 1/ReWire 2”, “Giga3 ReWire
3/ReWire 4”, and “Giga3 ReWire 5/ReWire 6”. You have just successfully routed 3 midi
tracks from your host application (sequencer) to GigaStudio and returned the audio
result from GigaStudio back to the host application’s (sequencer) audio mixer.
Rendering ReWire Tracks to Audio Files
With ReWire it is not necessary to record the output from GigaStudio to audio wave
files. The host application you are using can render the GigaStudio ReWire tracks along
with the rest of your projects “real world” recorded audio tracks.
By routing GigaStudio tracks individually, you can render or “bounce to disk” one
instrument at a time. It may be necessary to do this so that you can temporarily shut
down GigaStudio to maximize all your processing power for a complex or dense mix in
your sequencer.
To do this, solo each of your returning GigaStudio rewire audio tracks with the
render or “bounce to disk” option enabled and record your GigaStudio ReWire tracks.
Eventually you will replace all your ReWire tracks with audio tracks. At this point, you
can close GigaStudio, de-activate the ReWire channels and proceed with the mixing and
processing your project within your host DAW application.