Aux busses – Teac GigaStudio 3 User Manual
Page 74
74
75
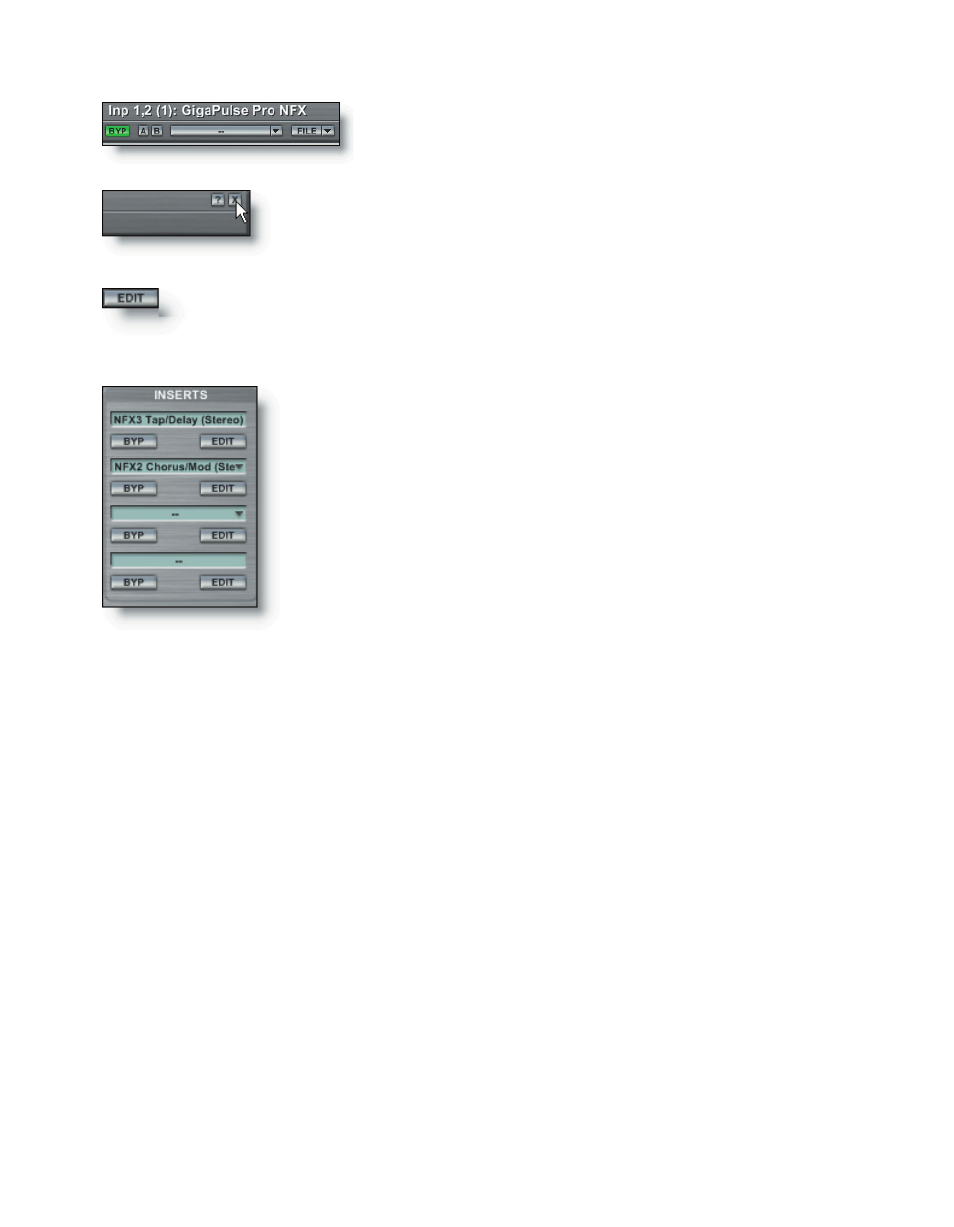
Use the “Bypass” and A-B buttons at the top of the
NFX plug-in window to listen to comparative edits as
well as the unaffected signal.
You can dismiss the NFX interface by clicking the X in the
upper right of its window. It will remain loaded but hidden
from view.
To recall and edit the NFX interface, click on the slot where
the insert is loaded and select the Edit button on the Inserts
section of the channel strip.
You can bypass all the inserted effect(s) by clicking on the
INS button at the top of the channel strip. Notice that the but-
ton changes from a bright green (loaded and active) to a dim
green (loaded but inactive). This button is always available with
the channel strip in Narrow or Wide view.
To bypass an individual effect inserted on a channel strip,
click the BYP button for the desired effect. The channel INS but-
ton will override the state of individual effects. If the loaded
effects are not bypassed, but the INS button is inactive (dim
green), then the inserted effects will not be heard.
To add more inserts to the same channel, repeat the above procedure. Up to four ste-
reo inserts can be used on a single channel strip..
To remove an insert, click on the loaded slot and select the “Remove…” option from
the drop-down menu.
Aux Busses
Assigning a plug-in to an insert on a specific channel strip is often necessary to
achieve a desired result. It is not very efficient if you are using a similar or even the
same plug-in on several channels as inserts. To get the maximum benefit from your
plug-ins it would be best to use channel inserts only in special circumstances, such as a
flanger on a bass harmonica sample.
Use an Aux bus to handle a shared effect plug-in, such as a reverb, delay, or GigaPulse
convolution model that you can apply to any number of channels routed to it through
the channel strip Aux Sends.
There are eight Aux sends that each can be configured to be pre- or post-fader, de-
pending on what the mix calls for.