Configuring ethernet/ip address, Manually configure the network address switches – Rockwell Automation 294E ArmorStart LT EtherNet/IP Version - User Manual User Manual
Page 68
68
Rockwell Automation Publication 290E-UM001B-EN-P - June 2012
Chapter 3
Product Commissioning
Configuring EtherNet/IP Address
Before using the ArmorStart LT, you may need to configure an IP address, subnet
mask, and optional Gateway address. The rotary network address switches found
on the front of the ECM, are set to 999 and DHCP is enabled as the factory
default. The network Internet Protocol (IP) address can be set one of three ways:
•
Use the switches located on the module
•
Use a Dynamic Host Configuration Protocol (DHCP) server, such as
Rockwell Automation BootP/DHCP
•
Retrieve a static IP address from nonvolatile memory
The ArmorStart LT reads these switches first at power up or after a reset to
determine if they are set to a valid IP address between 1…254. When switches are
set to a valid number the IP address will be 192.168.1._ _ _ [switch setting].
If the switches are set to an invalid number (for example, 000 or a value greater
than 254 excluding 888), DHCP is enabled. The DHCP server will assign the
IP address and the Transport Control Protocol (TCP) parameters.
The RS Logix 5000 installation provides a BootP/DHCP server found
in the Rockwell Software Program folder. Use Rockwell Automation BootP/
DHCP server utility, version 2.3 or later, that ships with RSLogix™ 5000
or RSLinx software.
A third party DHCP server can also be used.
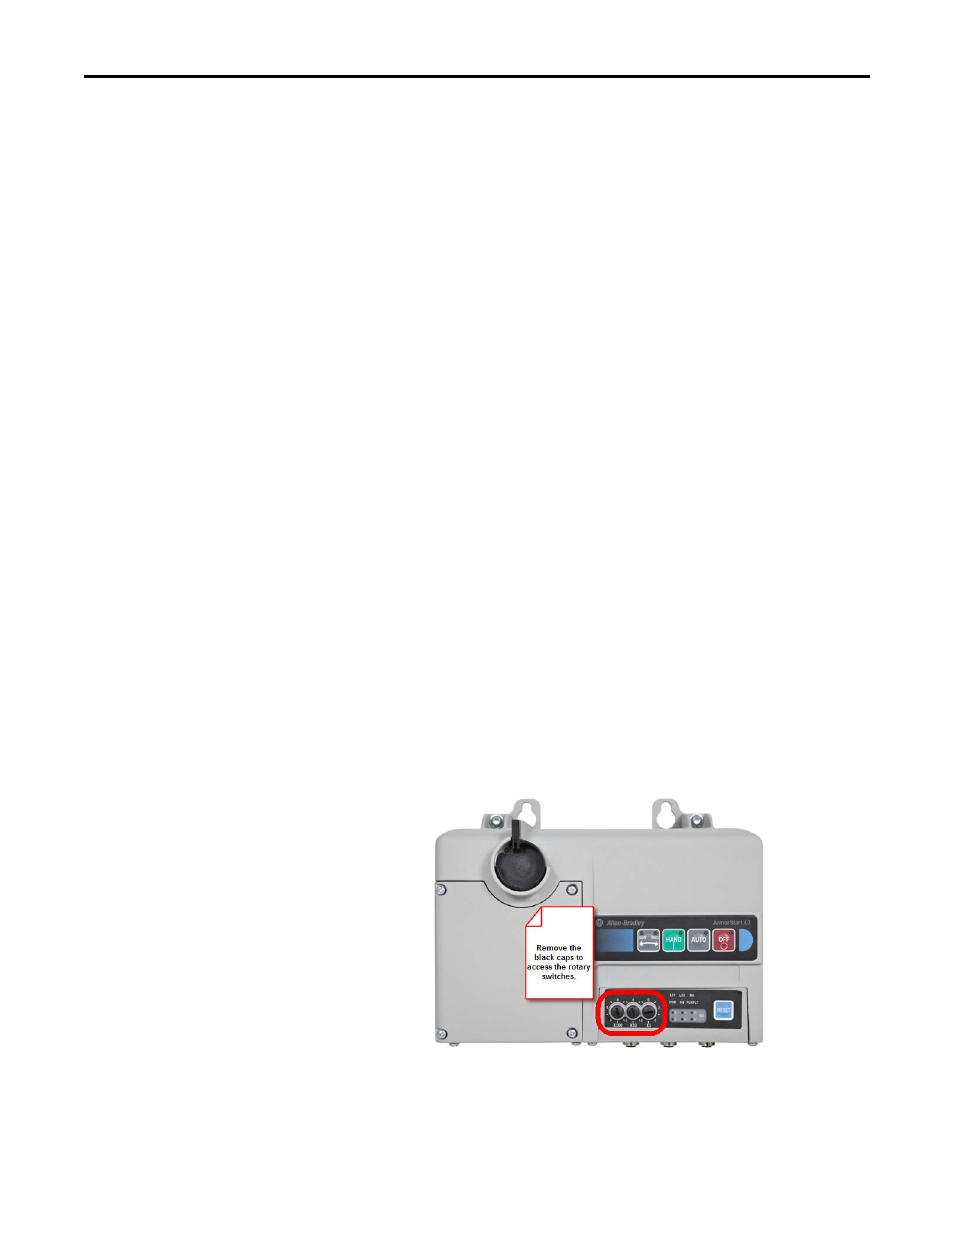
Manually Configure the Network Address Switches
Remove the protective caps from the rotary switches.
Figure 39 - Switches on the I/O module
Set the network address by adjusting the three rotary switches on the front
of the ECM.
When the IP address switches are valid, the subnet mask will be