Fig. 9–60), 2, fig. 9–60) – SkyTrak 3606 Service Manual User Manual
Page 278
Section 9
9-84
When the solenoid is de-energized, the control spool (4)
is returned to its normal condition by the centering
springs (5).
Figure 9– 60. Steer select valve location.
When troubleshooting a steering problem, also check the
steer select valve solenoids for proper operation, and
check the wiring for continuity or shorts.
Refer to Section 10 Electrical System for further informa-
tion on electrical components. Replace a defective or
faulty steer select valve with a new unit.
9.9.8
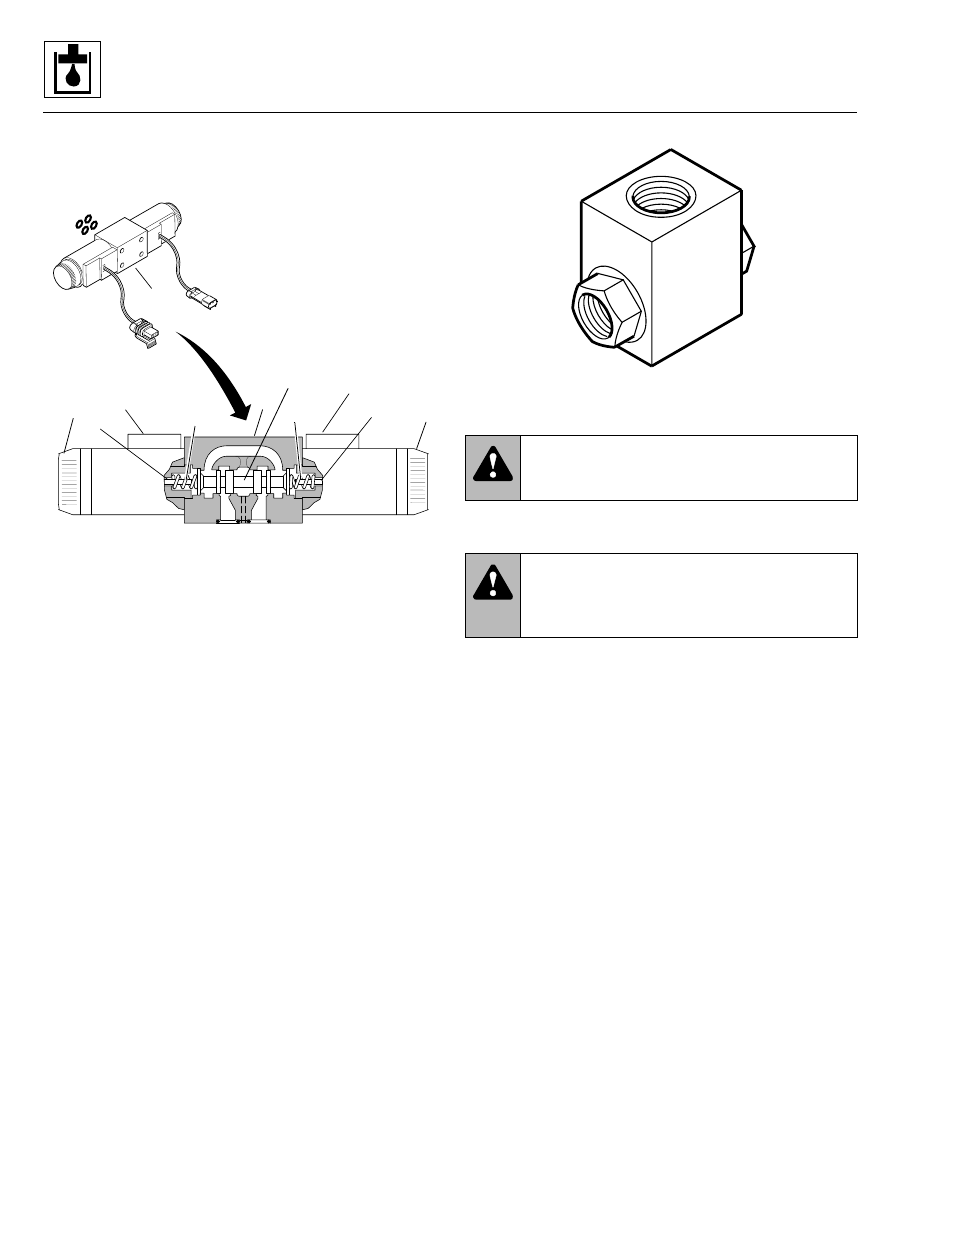
Shuttle Valve
The shuttle valve (Fig. 9– 61 and Fig. 9– 62) is attached to
the brake valve (Fig. 9– 58) with a 90° elbow fitting. The
shuttle valve joins the steering valve shuttle fluid input
line, shuttle-in line from the main control valve, and the
brake valve load-sense line. The shuttle valve contains a
pressure-dependent two-way check and is a non-service-
able item. It must be replaced in its entirety if defective.
a. Shuttle Valve Removal
1. Park the vehicle on a firm, level surface, fully retract
all hydraulic cylinders, ground the attachment (if any),
place the travel select lever in neutral (N), engage the
park brake switch and shut the engine OFF.
Figure 9– 61. Shuttle valve.
2. Unlatch, unlock and open the engine cover. Allow the
hydraulic fluid to cool.
3. Label or otherwise mark the hydraulic hoses (Fig. 9–
62) at the service brake valve in relation to the shuttle
valve. Disconnect and cap all hoses and fittings, etc.
4. Remove the shuttle valve from the vehicle. Wipe up
any hydraulic fluid spillage in, on, near and around
the vehicle.
b. Shuttle Valve Cleaning, Inspection
and Reassembly
1. Clean the shuttle valve with a suitable cleaner before
inspection.
2. Inspect internal passageways and the shuttle valve
overall for wear, damage, etc. If inner surfaces of the
component do not display an ultra-smooth, polished
finish, or are damaged in any way, replace the shuttle
valve. Most often, dirty hydraulic fluid causes failure
of internal seals and damage to the polished
surfaces within the shuttle valve.
3. Replace a defective shuttle valve with a new one.
Note: Always replace seals, O-rings, gaskets, etc. with
new parts to help ensure proper sealing and operation.
1. O-rings
2. Housing
3. Solenoids (2)
4. Control Spool
5. Return Springs
6. Push Pin
7. Manual Override
8. Solenoid-operated Valve
MS2060
WARNING: Hot hydraulic fluid can cause
severe burns. Wait for hydraulic fluid to cool
before servicing any hydraulic component.
WARNING: Escaping hydraulic fluid under
pressure can penetrate the skin, causing seri-
ous injury. Relieve hydraulic pressure before
servicing any hydraulic component.
P2
P1
P3
MS2080
Model 3606 • Origin 10/99