8a.5.1, Radiator pressure cap a-7, 8a.5.2 – SkyTrak 3606 Service Manual User Manual
Page 153: Thermostat replacement a-7, 8a.5.3
Perkins Engine
8A-7
8A.5.1 Radiator Pressure Cap
The cooling system is designed to use a radiator pres-
sure cap to help prevent the coolant from boiling. In addi-
tion, the pressure helps to eliminate the formation of
steam pockets within the engine and ensures coolant cir-
culation throughout all coolant passageways of the
engine. For a 210
°
F (99
°
C) system, use a 7 psi
(48 kPa) radiator cap. An incorrect or malfunctioning cap
can result in the loss of coolant and a hot-running engine.
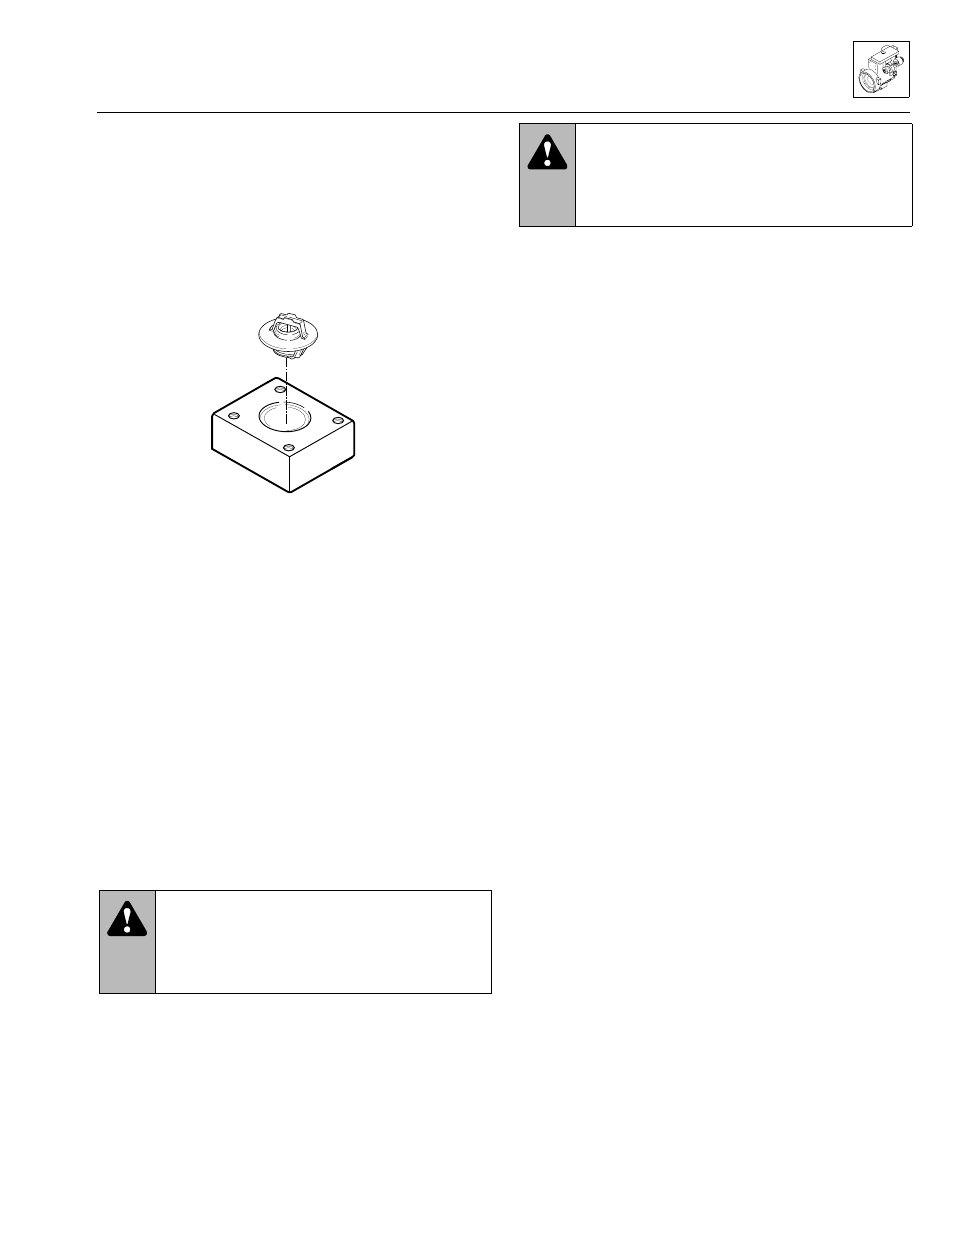
Figure 8A–3. Perkins 1004-series engine
thermostat housing (typical).
8A.5.2 Thermostat Replacement
Before considering thermostat replacement, check the
coolant level, fan belt tension and dash panel tempera-
ture gauge. If the engine seems to take a long time to
warm up, the thermostat (Fig. 8A–3) may be stuck in the
open position and requires replacement. If the engine
runs hot, check the temperature of the upper radiator
hose. If the hose is not hot, the thermostat may be stuck
in the closed position. If the engine has overheated, per-
formance may suffer, indicating other damage including a
leaking cylinder head gasket, cracked cylinder head or
block, and/or other internal engine damage.
To replace the thermostat:
1. Level the vehicle, ground the attachment, place the
travel select lever in NEUTRAL (N), engage the
parking brake switch and shut off the engine.
2. Unlatch, unlock and open the engine cover. Allow the
engine to cool before proceeding. Draining the
cooling system while the engine is hot can cause
cracks in the engine block.
3. Disconnect the negative (-) battery cable.
4. Drain approximately two quarts (2 liters) of coolant.
Slowly turn the radiator cap to the first stop and allow
any pressure to escape. Remove the radiator cap.
Place a funnel at the base of the radiator to channel
the drained coolant into a container. Open the
radiator drain plug or petcock and allow the coolant to
drain into the funnel. Transfer the coolant into a
properly labeled container. Save for reuse later or
dispose of properly. Close the radiator drain plug or
petcock.
5. Remove the setscrews securing the water outlet
connection to the engine, and remove the water
outlet connection and thermostat gasket.
6. Remove the thermostat and clean the gasket
surfaces. DO NOT let any debris into the thermostat
opening while the thermostat is removed.
IMPORTANT: Always use the correct thermostat.
NEVER operate the engine without a thermostat, or
engine damage will result.
7. Install the thermostat, gasket and water outlet
connection. Secure with the setscrews removed
earlier. Tighten the setscrews.
8. Fill the cooling system. Run the engine to operating
temperature. Visually check for leaks with the engine
running. Check the coolant level in the overflow bottle
and fill, or drain, as necessary.
8A.5.3 Perkins Engine Radiator
and Oil Cooler Replacement
Before considering radiator or oil cooler replacement for
other than obvious damage, conduct a cooling system
pressure test, check the coolant specific gravity, coolant
level, fan belt tension and dash panel temperature
gauge. If the engine runs hot, check the temperature of
the upper radiator hose. If the hose is not hot, the ther-
mostat may be stuck in the closed position. If the engine
has overheated, performance may suffer, indicating other
damage including a leaking cylinder head gasket,
cracked cylinder head or block, and/or other internal
engine damage.
WARNING: DO NOT attempt this procedure
when the engine is hot. Wait for the engine,
muffler, and tailpipes to cool down before pro-
ceeding. Failure to do so could result in severe
burns
MS1090
Thermostat
Thermostat
housing
WARNING: NEVER remove the radiator cap
while the engine is hot. The cooling system is
under pressure. Hot coolant can cause severe
burns or eye injury. Wear protective clothing
and safety glasses.
Model 3606 • Origin 10/99