Bulletin f-107-uxf3 – Dwyer UXF3 User Manual
Page 74
-66-
4.10.6.3. How to validate the zero adjustment with the external contact.
Description
z The zero adjustment can be performed by closing or opening the contact.
z The contact should be closed or open for about 1 second.
z During zero adjustment, “ZERO ADJUSTMENT” is indicated on the 2nd line of the LCD display (for about 4 seconds).
z Related setting items: “4.7. Zero Adjustment”
Note 1) This function is valid when the LCD display is measurement screen. When the display is setting screen, it becomes invalid.
Note 2) Even if the measuring fluid is supplied, zero adjustment is carried out by the contact input. Be sure to bring it to the still water
status (upstream/downstream valves closed) before the contact input.
For actual keying, refer to the typical operation indicated below. Set the parameter protection to OFF beforehand. (See Section 4.4.1.)
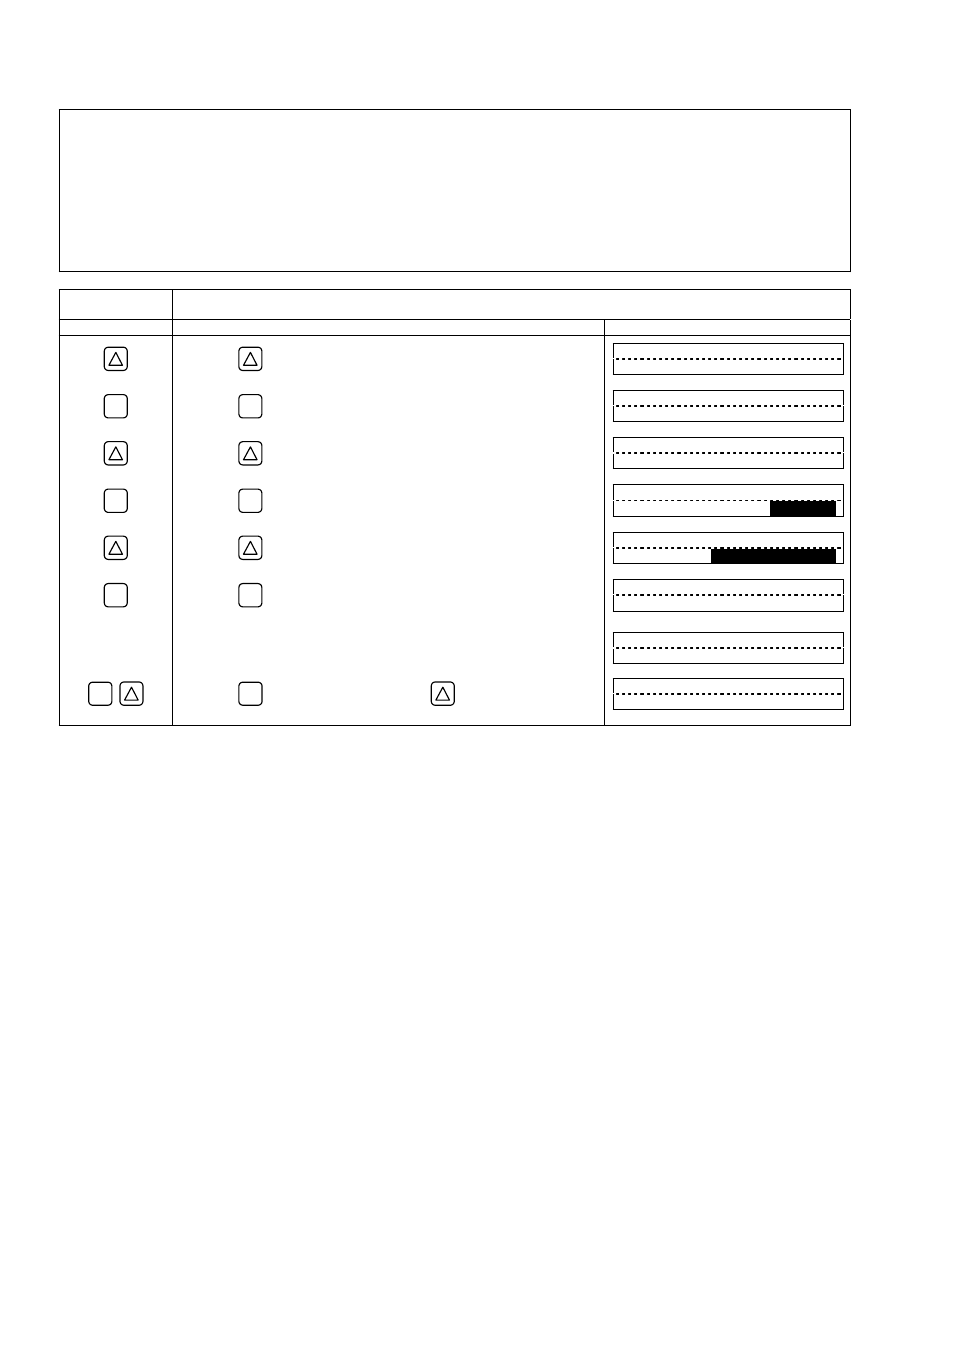
Operation
(example)
Set the DI1 output to “ZERO ADJUSTMENT”.
Key operation
Description
Display
ź
Press the
key twice to display “OUTPUT SETTING”.
OUTPUT SETTING
ENT
ź
Press the
ENT
key once to display “ZERO ADJUSTMENT”.
ZERO ADJUSTMENT
SET ZERO
ź
Press the
key 9 times to display “DI1 INPUT”.
DI1 INPUT
NOT USED
ENT
ź
Press the
ENT
key once to blink the cursor.
DI1 INPUT
NOT USED
ź
Press the
key 2 times to display “ZERO ADJUSTMENT” on the
2nd line.
DI1 INPUT
ZERO ADJUSTMENT
Press the
ENT
key once to register “ZERO ADJUSTMENT”.
DI1 INPUT
COMPLETE
Ļ
ENT
ź
ź
ź
ź
ʊʊʊ “ZERO ADJUSTMENT” has been registered. ʊʊʊ
DI1 INPUT
ZERO ADJUSTMENT
ESC
Press the
ESC
key once and then press the
key 3 times to enter
the measurement mode.
0.000 %
0.000 m3/h
Bulletin F-107-UXF3