3 the board information screen – ZyXEL Communications MES-2110 User Manual
Page 62
Chapter 6 System Details
MES-2110 User’s Guide
62
The following table describes the labels in this screen.
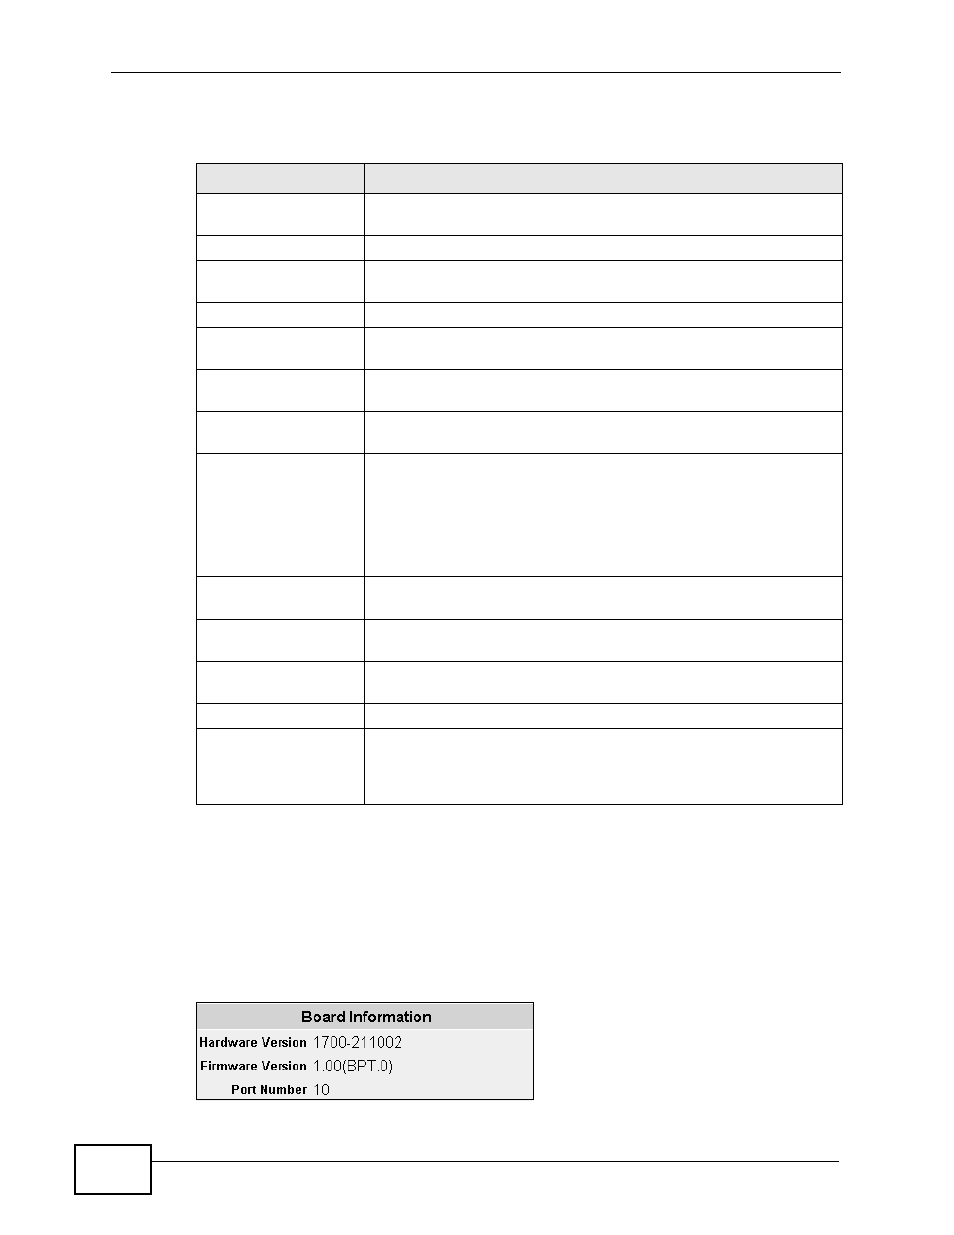
6.3 The Board Information Screen
Use this screen to view the hardware and firmware information. Click System
Details > Board Info. to open the following screen.
Figure 21 System Details > Board Info.
Table 7 System Details > System Info.
LABEL
DESCRIPTION
Description
This is the descriptive name of the MES-2110 for identification
purposes.
Model Name
This is the model name of the MES-2110.
Object ID
An Object ID defines what trap the MES-2110 should send an
SNMP Manager.
Up Time
This shows how long the MES-2110 has been turned on.
System Name
Choose a descriptive name for identification purposes. This name
consists of up to 64 printable characters; spaces are allowed.
Contact Name
Enter the name of the person in charge of this MES-2110. You can
use up to 32 printable ASCII characters; spaces are allowed.
Location
Enter the geographic location of your MES-2110. You can use up
to 32 printable ASCII characters; spaces are allowed.
DHCP Client
This shows whether the DHCP client is Enabled or Disabled. If
DHCP is disabled, you must enter an IP address, subnet mask and
gateway in the following fields. Otherwise, a DHCP server will
assign this information to the MES-2110.
for details about configuring the
DHCP client.
IP Address
Enter the IP address of your MES-2110 in dotted decimal notation
for example 192.168.1.1.
Subnet Mask
Enter the IP subnet mask of your MES-2110 in dotted decimal
notation for example 255.255.255.0.
Gateway
Enter the IP address of the default outgoing gateway in dotted
decimal notation, for example 192.168.1.254.
Undo
Click this to restore your last saved settings.
Apply
Click Apply to save your changes to the ZyXEL Device’s run-time
memory. The ZyXEL Device loses these changes if it is turned off
or loses power, so use the Save Settings link in the navigation
panel to save your changes to the non-volatile memory.