Adobe Dreamweaver CS3 User Manual
Page 207

DREAMWEAVER CS3
User Guide
200
Set a column to a fixed width
❖
Do one of the following:
•
Click the column header menu, and then select Make Column Fixed Width. Make Column Fixed Width specifies
a width for the column (in the code) that matches the current visual width of the column.
•
Select a cell in the column by clicking an edge of the cell, then select Fixed and type a numeric value in the Property
inspector. If you enter a numeric value that is less than the width of the column’s content, Dreamweaver sets the
width to match the width of the content.
The width of the column appears at the top or bottom of the column.
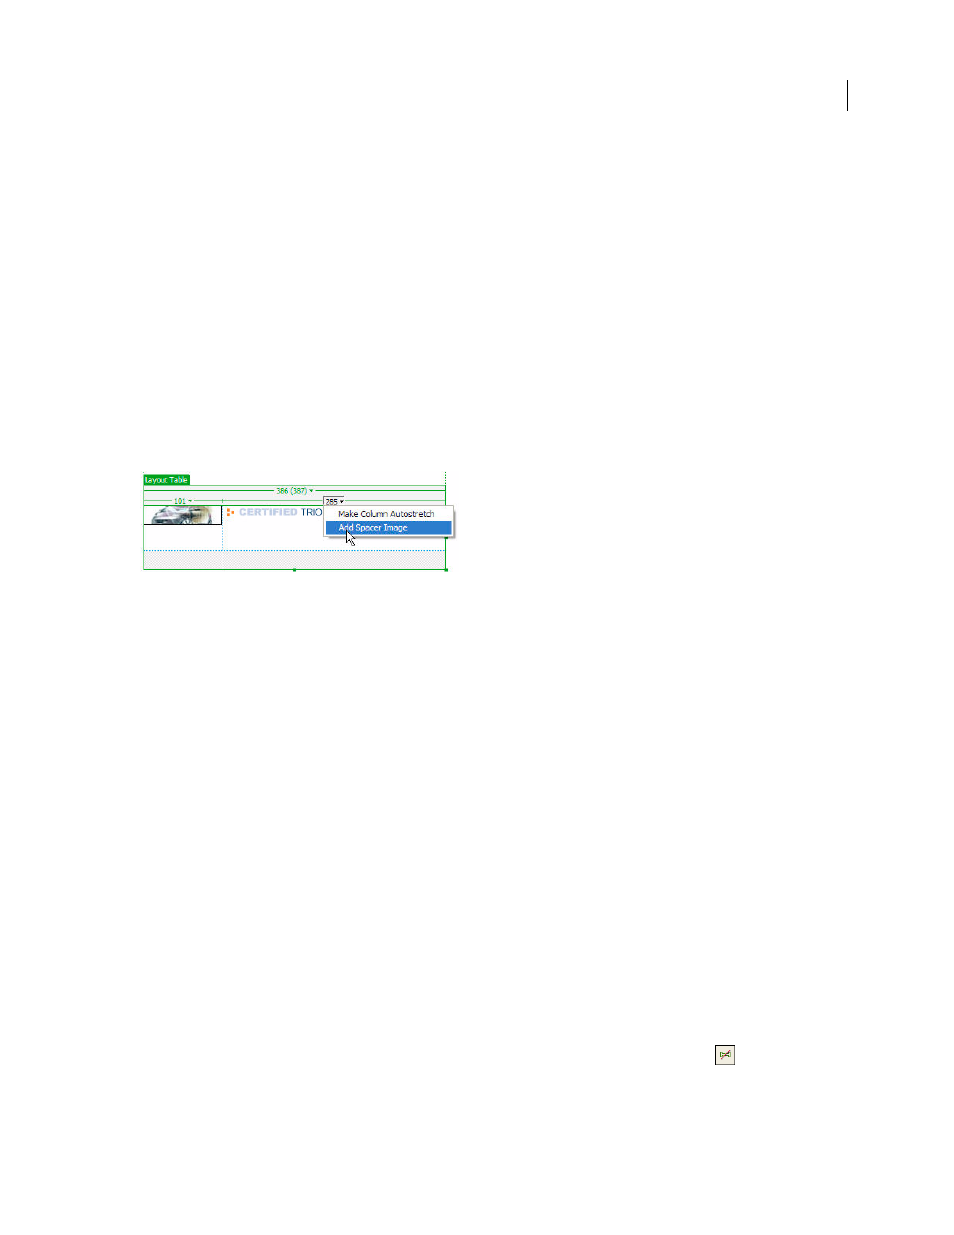
Insert a spacer image into a column
If you’re making a column autostretch, you can choose whether to use a spacer image, and which spacer image to
use. The image is not visible, but the column might shift slightly and a double bar appears at the top or bottom of the
column to indicate that it contains a spacer image.
1
Click the column header menu, then select Add Spacer Image.
2
If you have not set a spacer image for this site, in the Choose Spacer Image dialog box, select the image to use and
click OK.
Create A Spacer Image File
Creates a GIF image to use as a spacer image, and allows you to select a folder in which
to store the spacer image file, such as your site’s images folder. This is the recommended option, unless you’ve already
created a spacer image file for your site.
Use An Existing Spacer Image File
Allows you to specify an existing spacer image file to use in autostretch tables. The
spacer image should be a single-pixel transparent GIF.
Don’t Use Spacer Images For Autostretch Tables
Specifies that Dreamweaver should refrain from automatically
adding spacer images to tables. (This option does not appear if you’re inserting a spacer image without making a
column autostretch.) If you select this option, fixed-width columns in your layout might collapse to a small width,
or even to zero width; spacer images help maintain the structure of your layout as you originally drew it. Use this
option only if you’ve already placed enough content in your fixed-width columns to prevent them from collapsing,
or if you have already added spacer images manually.
Remove a spacer image from a single column
❖
Click the column header menu and select Remove Spacer Image.
Note: The column might shift when the spacer image is removed.
Remove all spacer images from a table
❖
Do one of the following:
•
Click the table header menu and select Remove All Spacer Images.
•
Select the table and click Remove All Spacers in the Property inspector (Window > Properties)
.
September 4, 2007
