Edit detailed settings for mojikumi – Adobe InCopy CC 2015 User Manual
Page 306
304
Typography
Last updated 6/13/2015
Edit detailed settings for mojikumi
1
Do one of the following:
• Select Type > Mojikumi Settings > Detailed.
• In the Paragraph panel or Control panel, choose Advanced Settings From Mojikumi.
• Click Detailed in the Mojikumi Settings dialog box.
2
Select a mojikumi set to edit from the Mojikumi pop-up menu or click New to create a new set. You can also import
a mojikumi set from another document by clicking Import.
3
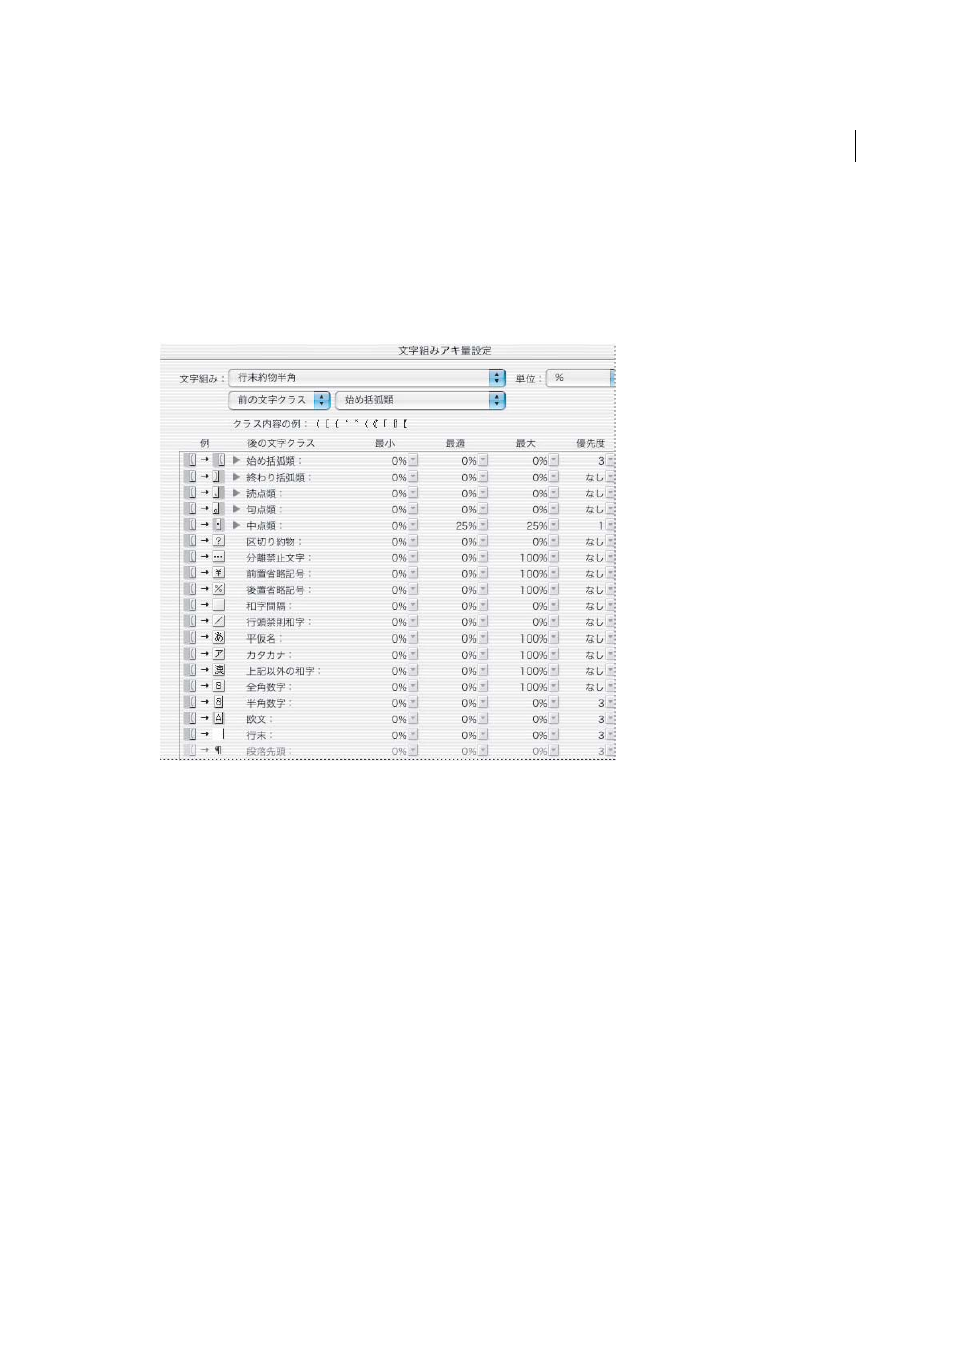
From the Character Class pop-up menu at the bottom of the Mojikumi menu, select the character class to edit its
character aki settings. A list of settings that can be edited is included in the class. You can individually set Open
Parenthesis, Close Parenthesis, commas, periods or middle punctuation items, but you can also specify aki in more
detail for individual characters such as Japanese periods or Roman periods.
4
Choose Previous Class or Next Class from the Before & After pop-up menu, and set whether the class aki value is
to be entered before or after the entered character. To set the aki for a character following a Japanese period, for
example, choose Japanese Period from the Character Class popup menu, and select previous character class from
the Before & After pop-up menu.
5
For each item, set Minimum, Desired, and Maximum values. The Minimum value is used to compress lines for
kinsoku (specify a value less than the Desired value). The maximum value is used to spread lines for fully justified
text (specify a value greater than the Desired value).
6
For item names that have a triangle indicator, you can further specify mojikumi settings in detail for each character.
For example, click the triangle to the left of Open Parenthesis to display the items. The three items Open Bracket,
Open Round Parenthesis, Other Opening Parenthesis are displayed, allowing you to set mojikumi settings for each
character.