Adjust the zero point, Change the default zero point, Use grids – Adobe InCopy CC 2015 User Manual
Page 121

118
InCopy documents
Last updated 6/13/2015
Adjust the zero point
When you move the zero point, it moves to the same relative location in all spreads. For example, if you move the zero
point to the top left corner of the second page of a page spread, it will appear in that position on the second page of all
other spreads in the document.
❖
Do one of the following:
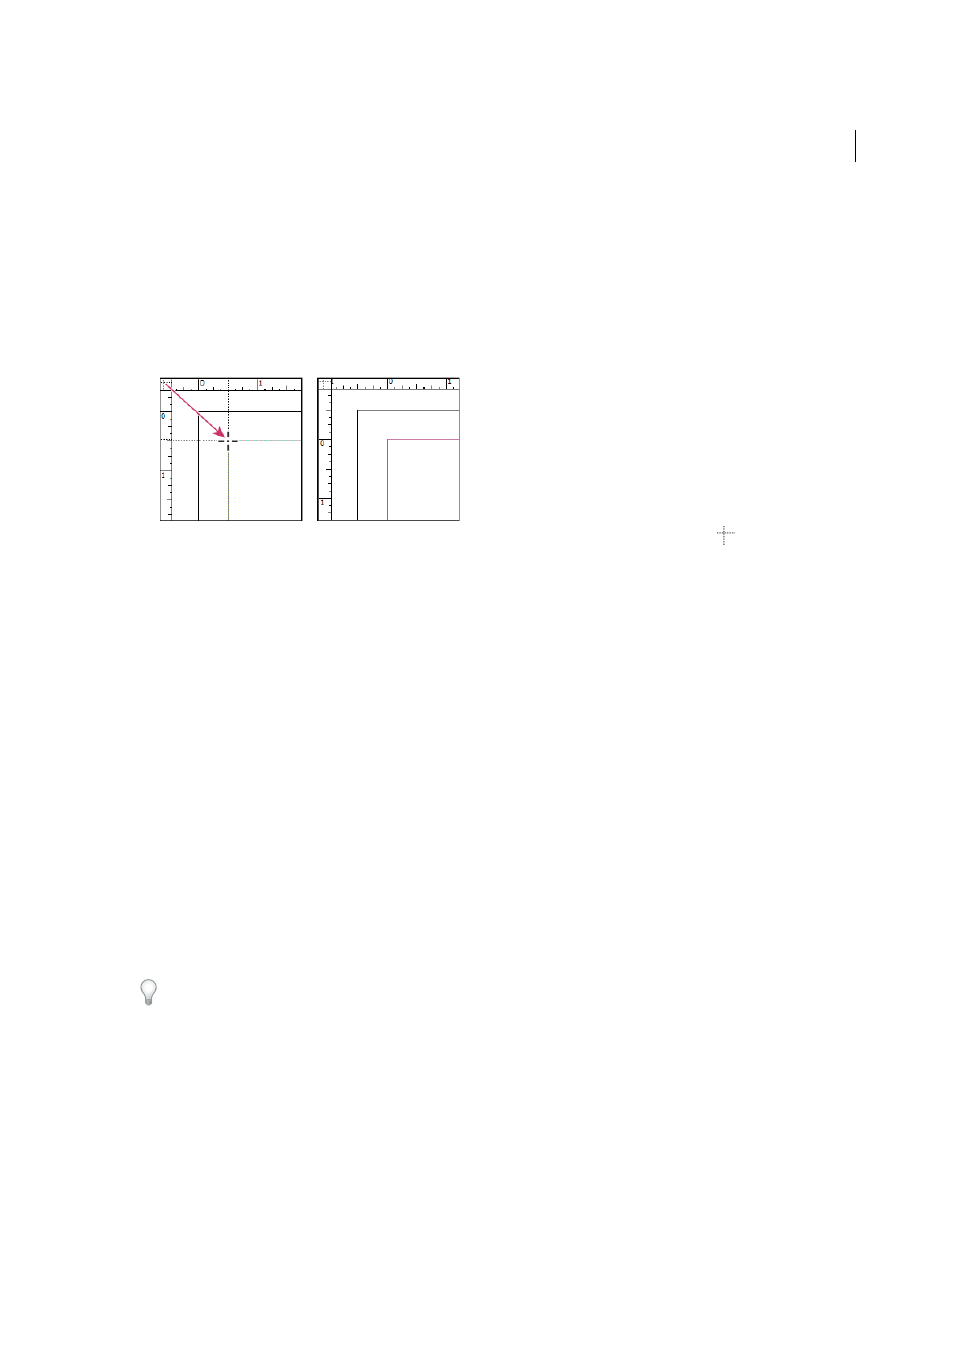
• To move the zero point, drag from the intersection of the horizontal and vertical rulers to the position on the
layout where you want to set the zero point.
• To reset the zero point, double-click the intersection of the horizontal and vertical rulers
.
• To lock or unlock the zero point, right-click (Windows) or Control-click (Mac OS) the zero point of the rulers,
and choose Lock Zero Point in the context menu.
Change the default zero point
Using the Origin setting in the Preferences dialog box, you can set the default zero point for rulers as well as the scope
of the horizontal ruler. The scope determines whether the ruler measures across the page, across the entire spread, or,
for multipage spreads, from the center of the spine.
If you set the ruler origin at each spread’s binding spine, the origin becomes locked at the spine. You won’t be able to
reposition the ruler origin by dragging it from the intersection of the rulers unless you choose another origin option.
1
Choose Edit > Preferences > Units & Increments (Windows) or InCopy > Preferences > Units & Increments (Mac
OS).
2
In the Ruler Units section, in the Origin menu, do one of the following:
• To set the ruler origin at the top-left corner of each spread, choose Spread. The horizontal ruler measures across
the entire spread.
• To set the ruler origin at the top-left corner of each page, choose Page. The horizontal ruler starts at zero for each
page in a spread.
• To set the ruler origin at the center of the spine, choose Spine. The horizontal ruler measures in negative numbers
to the left of the spine and positive numbers to the right of the spine.
You can also change horizontal ruler origin settings using the context menu that appears when you right-click
(Windows) or Control-click (Mac OS) the horizontal ruler.
Use grids
In Layout view, you can view (or hide) a framework of grids and guides to show the position and alignment of objects.
In most work systems, a designer working with InDesign sets up the grids and guides for the publication. InCopy users
can see these layout aids after an InCopy story is linked to the InDesign document.
You can create grids within InCopy. But, because InDesign grids override InCopy settings when files are linked, this
feature is more useful for stand-alone documents that you publish directly from InCopy.
